BEST DOOR STOPPER FILLING TO USE

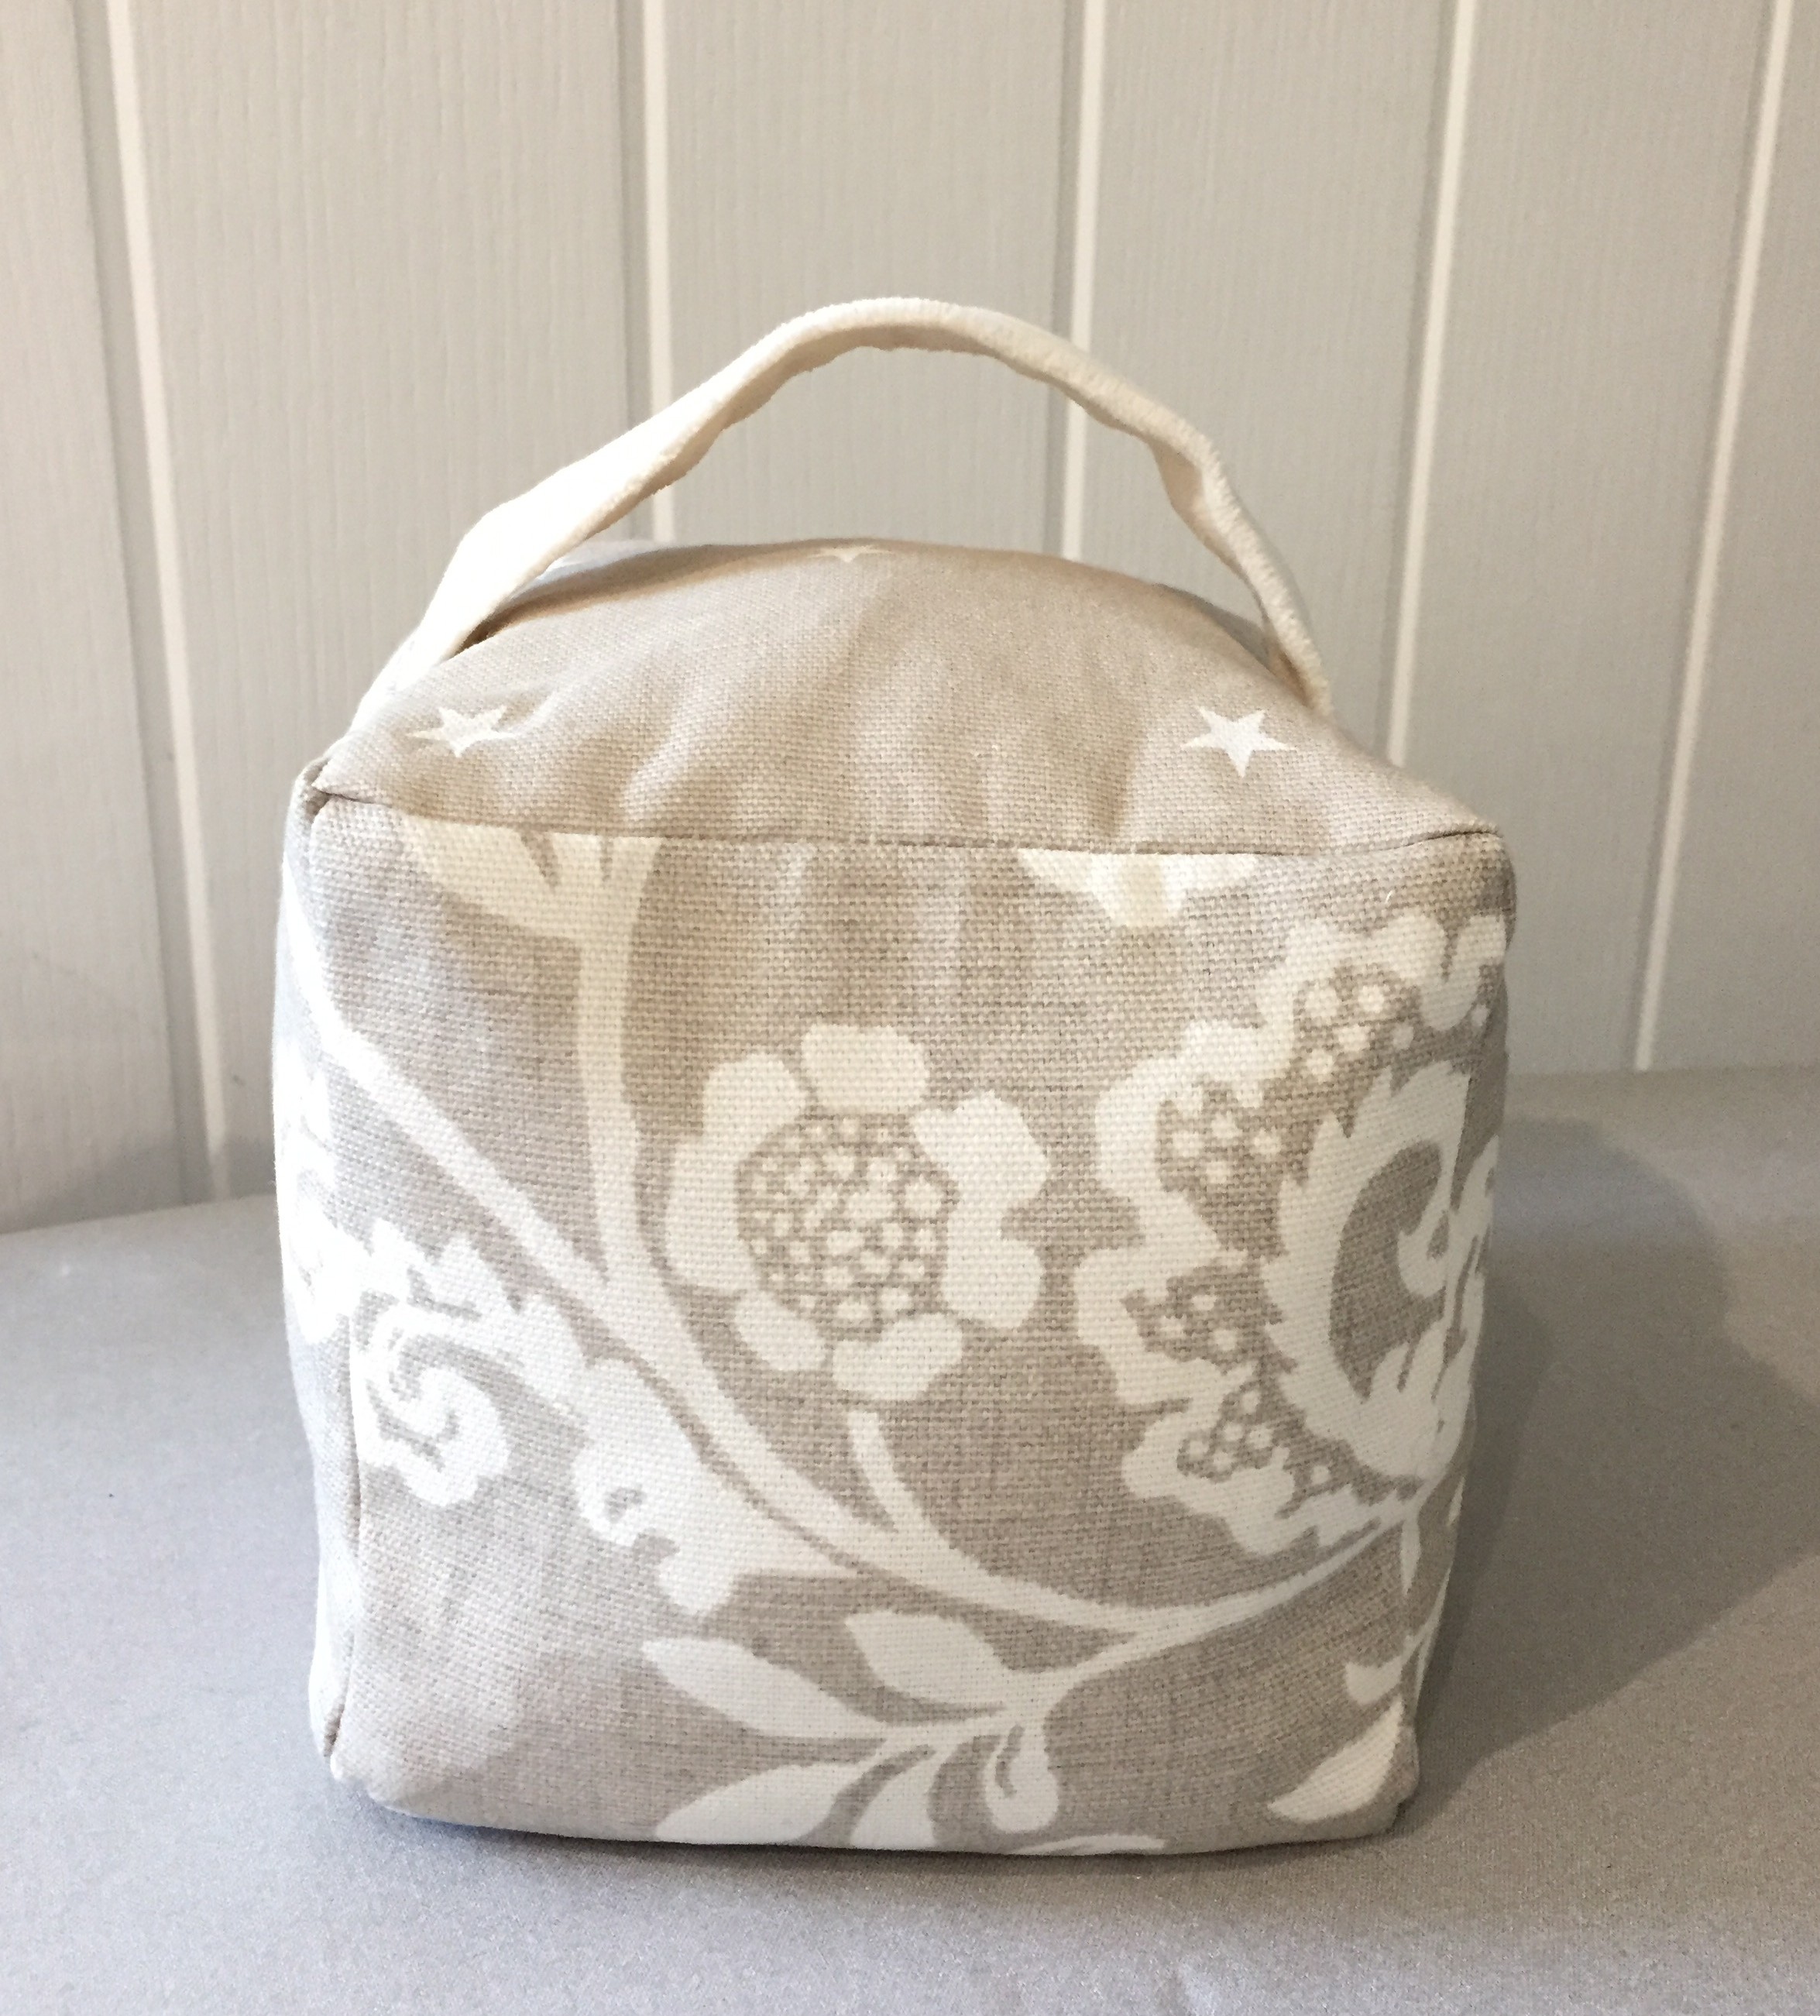
This month’s Sew Club project was a cube shaped Door Stopper. Of course we worked on getting nice corners and so on but mostly we chatted about what’s the best door stopper filling to use.  The ones you buy in the shops have something heavy at the bottom to give it the necessary weight and polyester filling on top to push out the shape.  When I last did this project  I used dried beans as they were on special offer but some of my students were concerned that beans or rice could attract mice!!  Thinking this was a very good point, I decided to look into an alternative.

Whilst browsing the internet I soon discovered ‘weighted plastic beads’ designed for the job.  They are advertised specifically to weight down toys, door stoppers and blankets for Autistic children.  Unfortunately these beads would work out too expensive as I needed enough for 15 doorstops and like to keep costs to a minimum for my students. I also thought of using marbles but again they would be too expensive. And another idea was bags of sand, something I’d seen used so much in shop bought stoppers.  Although this would be much more affordable, I was worried I’d end up with sand all over my floor!

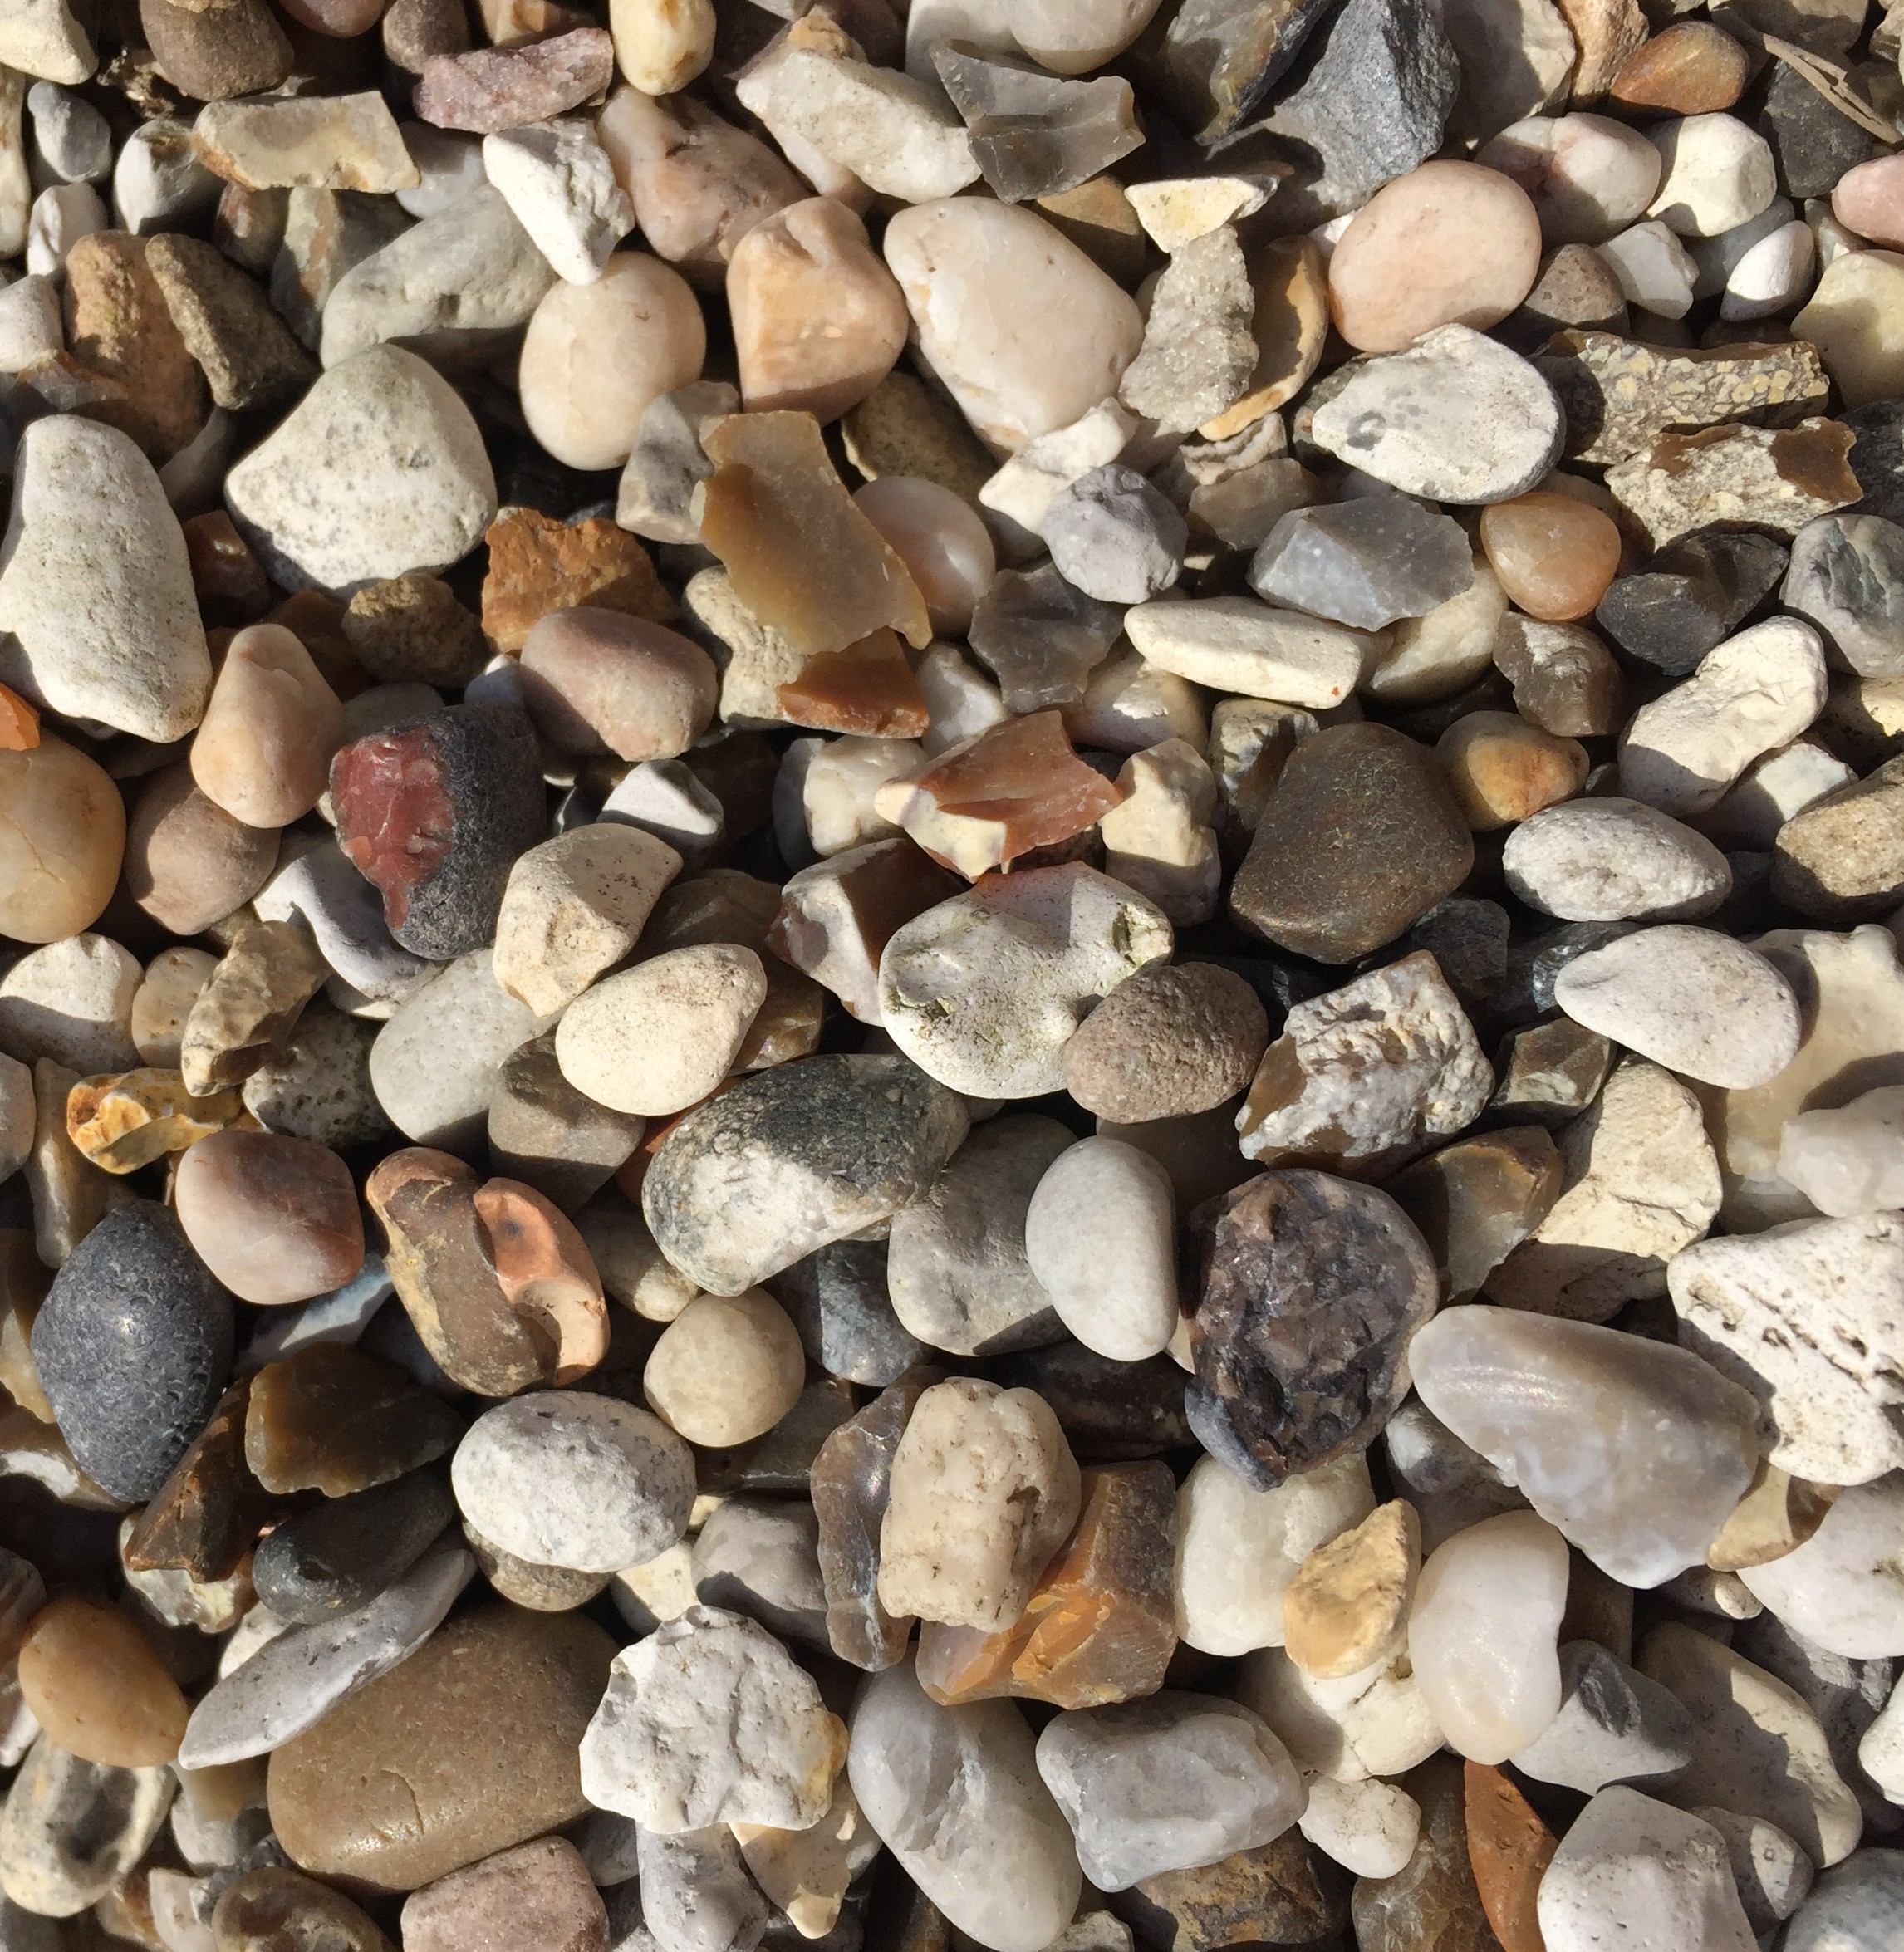
After looking at lots of options, I decided to go for a 10mm pebble gravel, which was a bargain from my local garden centre and gave a lovely crunchy beach sound!  The added bonus was that our garden path would be getting the left overs! The gravel was put in little plastic bags to keep it all together at the bottom of the doorstop and then the rest of the door stop was filled with polyester stuffing.

Another great tip is to use cushion inners/pads  for the polyester stuffing.  It’s much cheaper than buying specific stuffing.  I always stock up on these when I have to go to Ikea…  as well as calico which they sell at about £2 per metre.  It makes a very stressful experience feel a bit more worth while!!

IMG_3466 IMG_3489

SEW CLUB – Level 2

My level 2 Sew Club students have produced some impressive work over the past few months. I feeling very proud to be their teacher!


Sian's beautiful bear was made out of old baby grows just in time for her daughters 1st birthday. It was a real challenge for Sian but definitely worth the effort. We've all loved watching it come together at Sew Club!

IMG_1131

Sian’s beautiful bear was made out of her daughters old baby grows.  It was finished just in time for her daughters 1st birthday. It was a challenging project but definitely worth the effort. We’ve all loved watching it come together at Sew Club!

IMG_1089  Sew Club London

Above Left – Bindi did a fantastic job at copying a favourite pair of trousers.  She made her own pattern, and perfected the technique of shirring with elastic on the bobbin.  I love the fabric she choose which was thin but weighty so it hung down rather than puffed out! It’s so important to choose the right fabric when you’re copying a garment. It must feel and drape the same way as the original or else however perfect your pattern is, your copied pair won’t look the same.

Above Right – Maxine is making a fashionable shift dress in a gorgeous Liberty print.  Liberty print is a beautiful quality fabric… it’s light and floaty but not see through! It is a bit pricey, especially if you need a lot but I think it’s definitely worth the cost for a special occasion.


IMG_1074  IMG_1145


Above Left – Kate has made a sweet summer dress for her daughter based on an old favourite.  You don’t need much fabric for this style of dress so it’s a great way to use up any odd lengths that are too small to do much with.

Above Right – Sarah wanted to make a pair of pyjama bottoms similar to some Boden ones she had worn to threads!  She found a really lovely cotton print from John Lewis and a simple pattern with clear instructions.  In Sew Club we have found some pattern instructions to be too wordy and confusing so if you’re relatively new to dress making it’s worth looking around for one with less information rather than too much!


SEW CLUB – Summer 2015

PEG BAGS
IMG_1140IMG_1142

In May my monthly Sew Club students made some striking peg bags. They were all edged with bias binding, which is very affordable by the roll from Ebay. The small wooden hangers are from the children’s department in Ikea.

The more projects we do with bias binding the better and more confident my students get at it! We always sew our bias binding on in two stages to get a better finish. Remember… the first stitch line that attaches the bias binding to the edge marks where to fold the bias over to on the other side. Sewing slowly and accurately is the key!


FABRIC STORAGE ROLLS

IMG_1092           IMG_1090 IMG_1079     IMG_1097

In June my Sew Club students made a pretty and useful fabric storage roll to practice inserting a zip. Based on a jewellery roll, these cotton versions can be used to store all sorts of things, not just jewellery. I use mine to hold an ‘out and about’ first aid kit!

They were so popular that all the spare ones I had cut out were bought! I always hand out a printed instruction sheet with details on what to buy, measurements to cut out and reminder steps on how to sew it all together so my students can make another one at home if they want to.