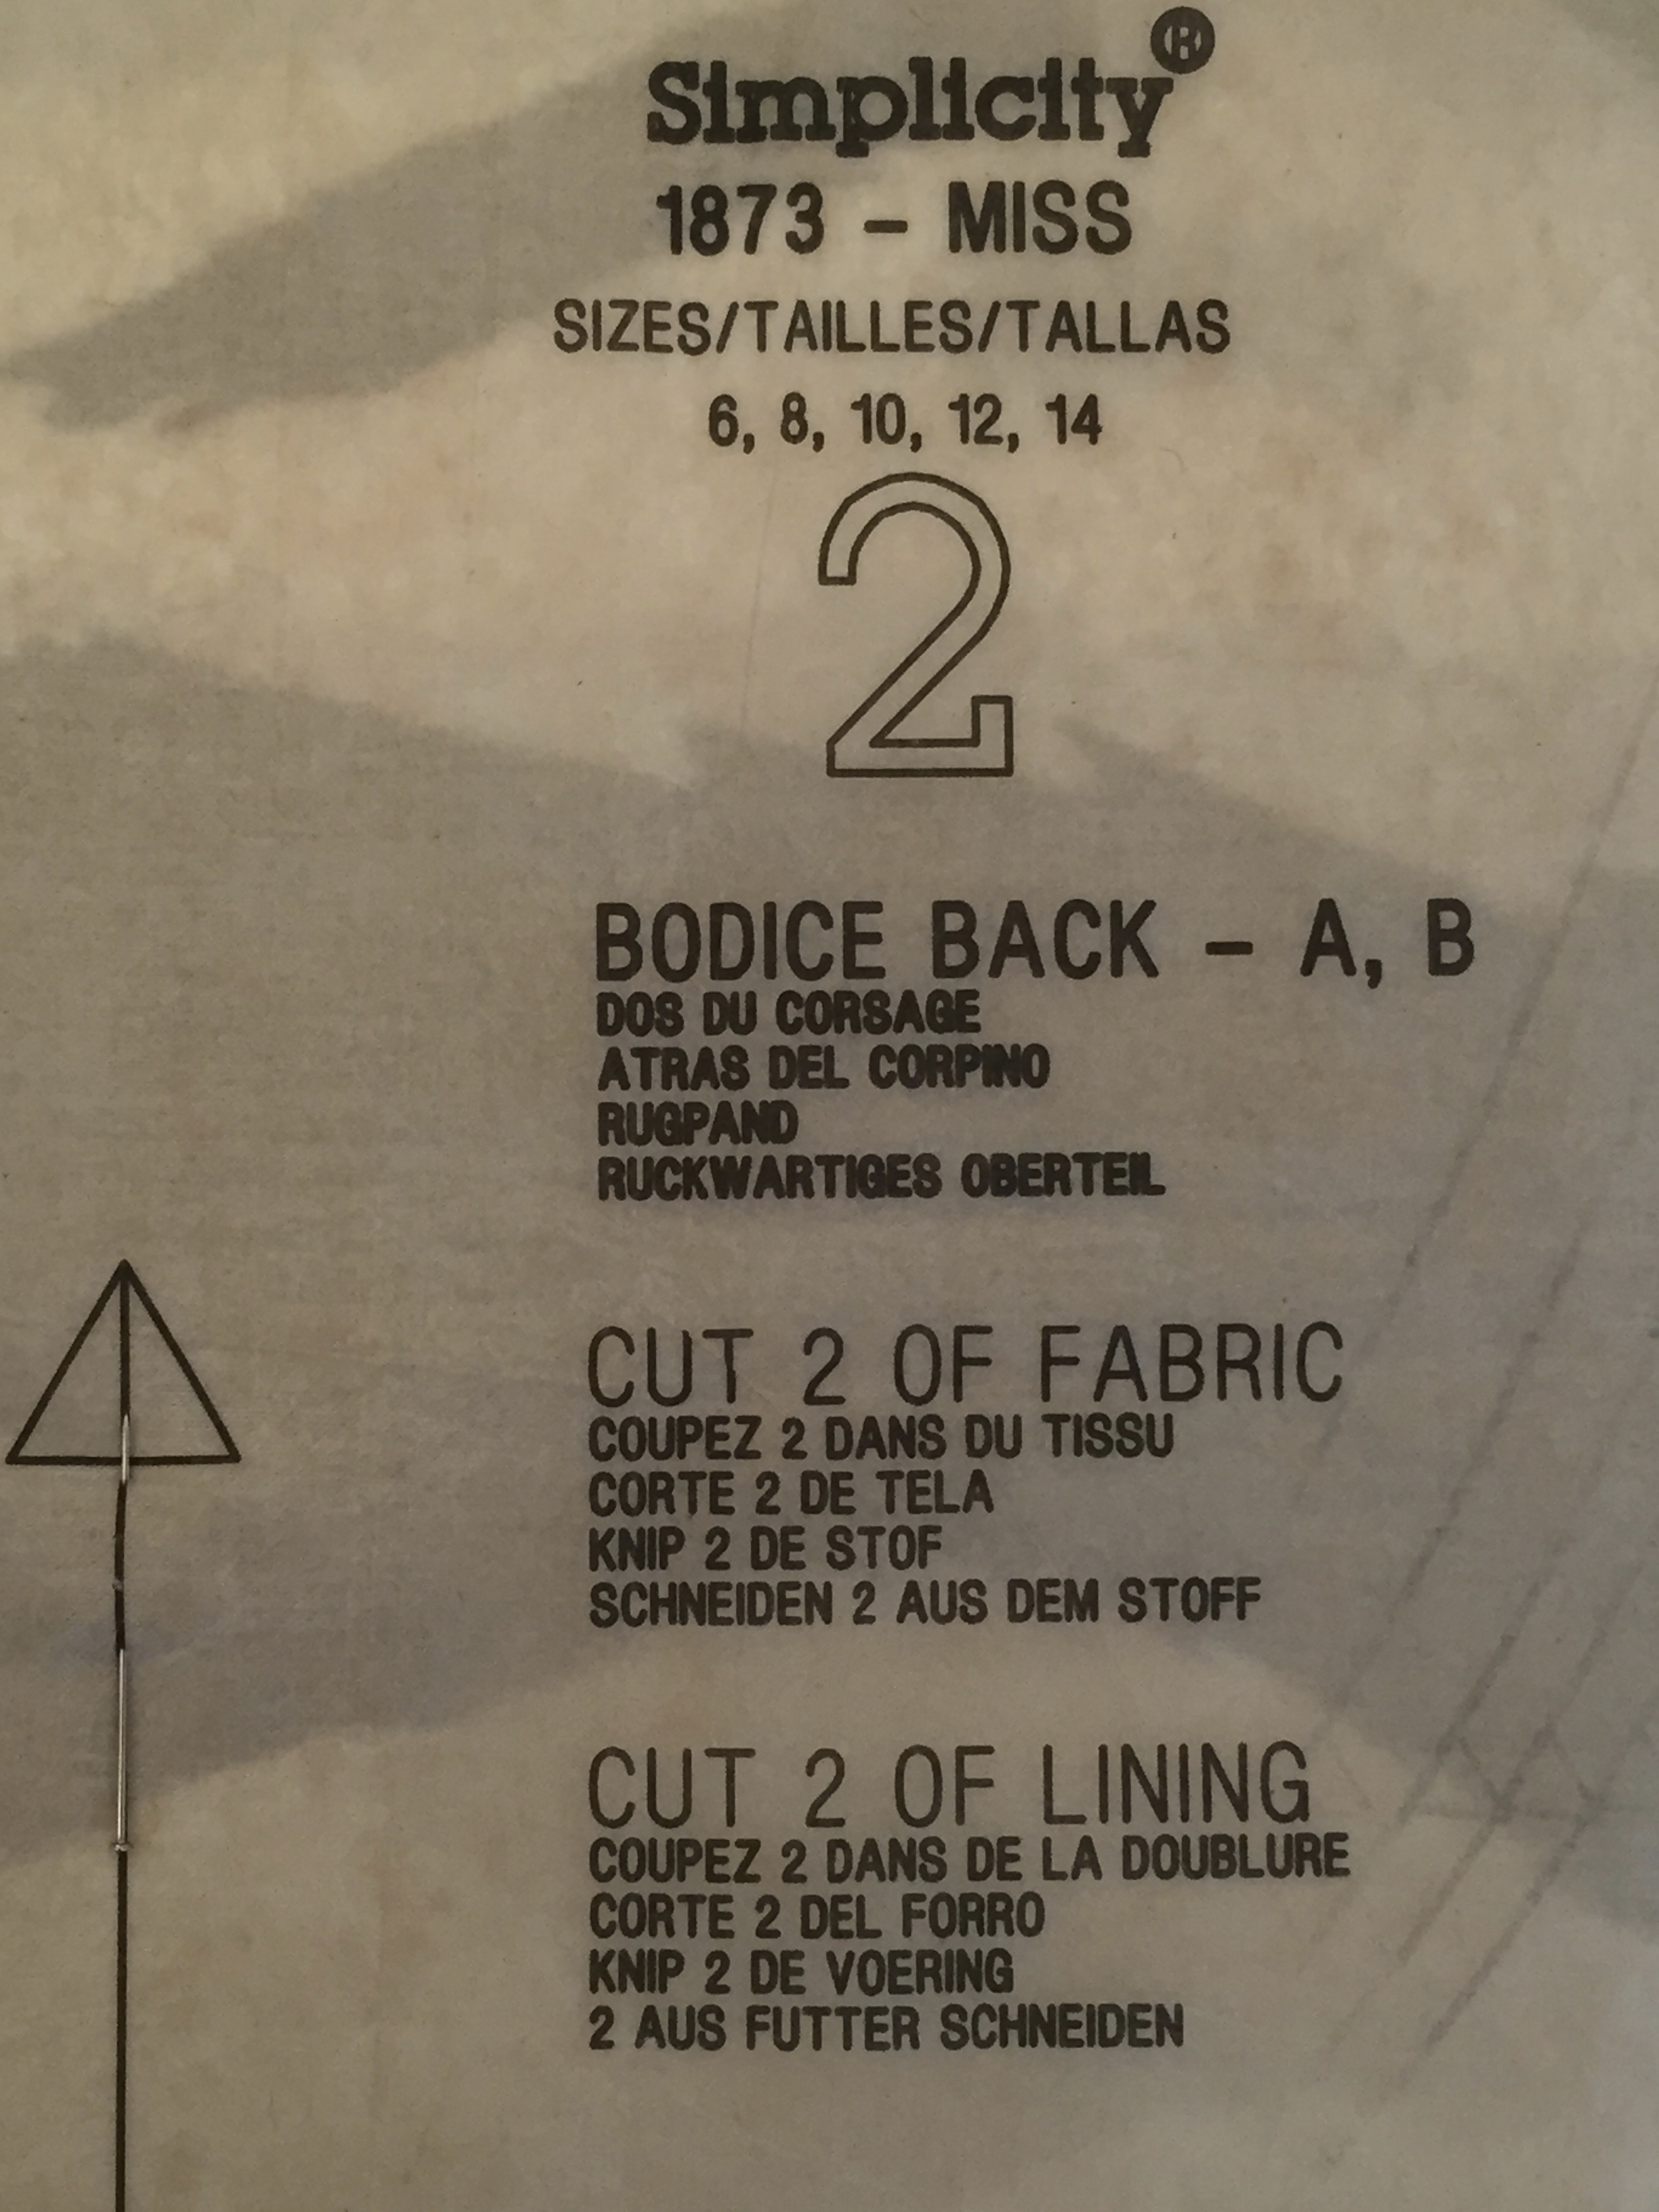
INTERFACING is an extra layer that is attached to the back of your main fabric to give more body, to stiffen it and/or to stabilise it. Once it’s ‘backed’ onto the main fabric, it is then treated as one.
There are many different options and weights of interfacing, so to decide which one to use, think about what it needs to do…
You may want to stiffen something a little bit or even a lot, such as a collar and cuffs on a blouse compared to a mans formal shirt. You may want to give something structure so it can hold it’s shape and not collapse, such as a bag or maybe a sculptural piece of clothing. You may want to stop something stretching, such as a neckline or curved waistline. You may want to stabilise something but still keep the stretch, such as the neck line on a stretch garment.
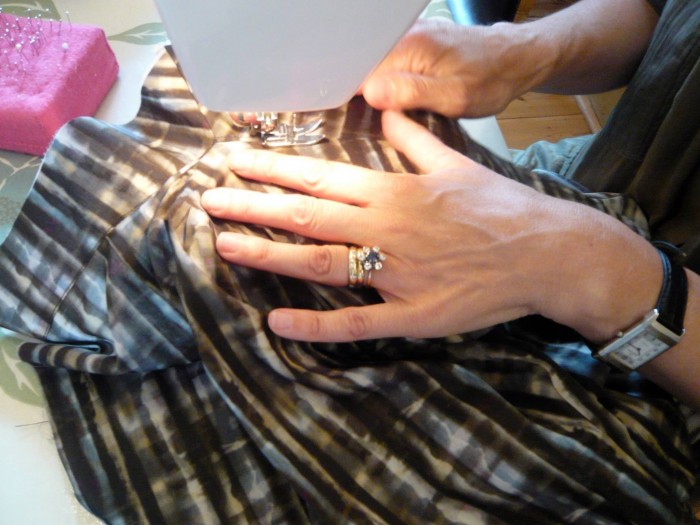
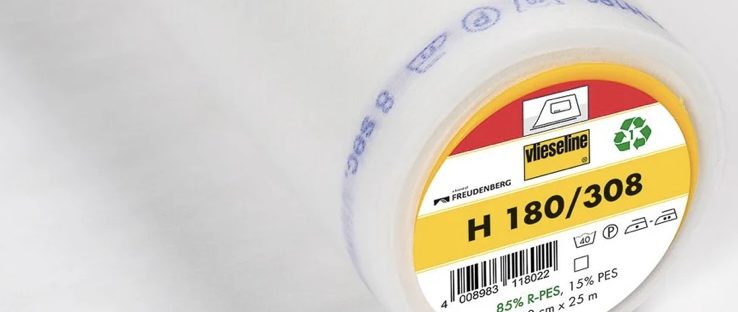
It’s always a good idea to test some options on a piece of scrap first. If you have a small stock of various interfacings to experiment with, you can choose the best one for the effect you want. With clothing I prefer to start with less and build up, rather than using anything too heavy and rigid. The one I use the most when dress making in my classes is Vilene H180 fusible. It’s nice and soft so the fabric still behaves like fabric.
When using fusible interfacing, be careful not to melt it… you need the iron hot enough to melt the glue so it can fuse to the back of your fabric but its a fine line! To be safe you can use a pressing cloth but you can also press from the right side of your fabric if it can take a high heat.
I have taken the following information from William Gee, a family run haberdashery in London. I buy all my interfacings online from here and I have never been disappointed. https://www.williamgee.co.uk
It’s what’s on the inside that counts…
It’s an old adage that it is what is on the inside that counts, and when it comes to constructing a professional garment, it makes a huge difference to collars, cuffs, waistbands and more…
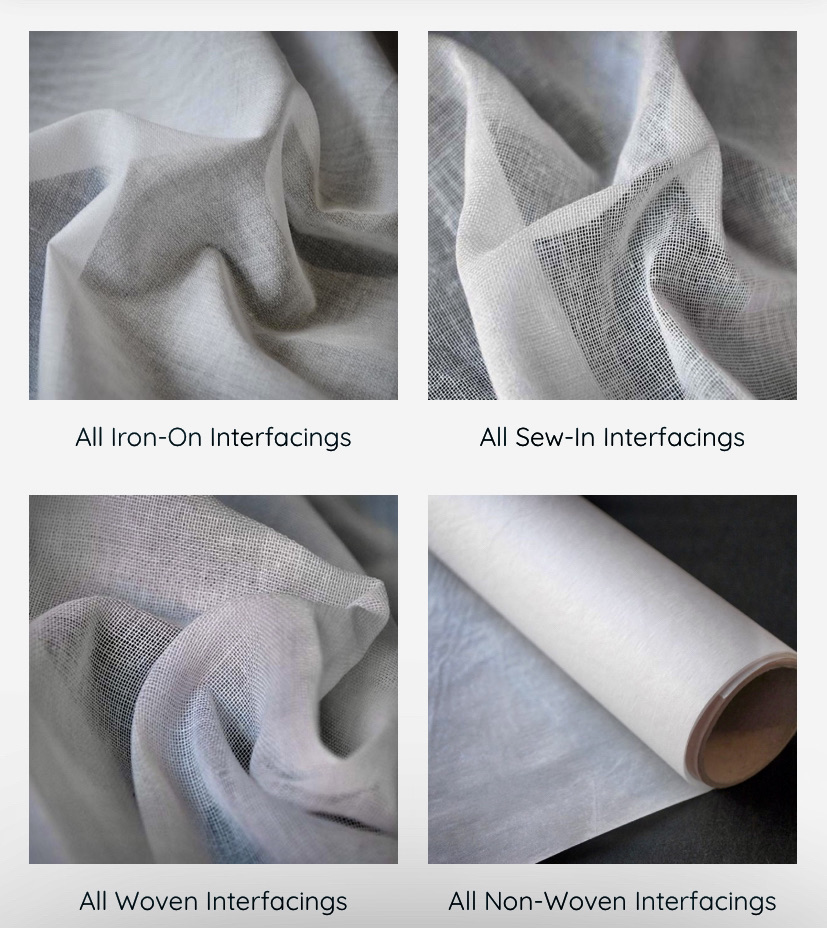
There are three main types of interfacing:
- Non – woven: made from fibres all pressed together it creates a fabric like felt or paper. It has no grain, so avoid wastage by cutting any which way. It offers a firm support and no flexibility. It also tends to be the cheapest option.
- Woven: have a grain and should be treated like other woven fabrics. They are more flexible and tend to be softer.
- Knit: are the most flexible of interfacing, they have two-way stretch and are used to add support without compromising the stretch of a fabric.
You can buy these as fusible (with glue you can iron-on) or sew-in; they come in various weights. Vilene is the biggest company that produces these fabrics and they tend to be the best quality.
With fusible interfacing make sure that you place the shiny side down on the wrong side of your fabric and iron. Try not to get glue on your iron as it ends up a big sticky mess that will transfer to everything you try to iron afterwards. Keep it clean with an iron cleaner stick. Or if you’re lucky and have a lot of space have a spare ironing board cover and iron just for these sticky jobs.
To take your garment to the next level, why not try some more traditional, high-end interfacings?
Silk organza: Used on lightweight fabrics to add body or “puff” so try it in sleeves for extra puff or as petticoats for full skirts (not as scratchy as net or tulle!) but it can also be used in collars and cuffs for lightweight support – think blouse not dinner shirt.
Top tip! Save your silk organza scraps and use them as ironing cloths. You can see through them and it will help reduce shine or burns caused by your iron on delicate fabrics.
Power net/tricot: A soft knit fabric that can offer some support to the wearer as well as the garment. Embrace your inner couturier and try inserting a corselette into a wiggle dress to smooth those lumps and bumps! If you are making a vintage dress why not try cotton bobbinette like the Dior “New Look” dresses
Horsehair: Not actually horsehair anymore, otherwise known as canvas (sometimes mixed with goats hair). This is usually used in tailoring for jackets and waistbands. Not ready for Saville Row yet? Try pad stitching a waistband on a skirt or trousers and notice the difference! Pad stitching is a form of stitching that attaches the interfacing to the main fabric. Through a series of long stitches you can help mould and shape the fabric. Time consuming but gives beautiful results.
Taffeta: Beautiful for silks or medium cottons. The stiffness of this fabric makes it great for interfacing.
Petersham ribbon: Do not confuse this with grosgrain. Petersham ribbon is stiff and ridged like grosgrain but the edge of the ribbon is bumpy and it can bend a bit like bias binding (whereas grosgrain can’t). This is excellent to use as waistbanding but also for waist-stays and supporting a neckline on a strapless dress.