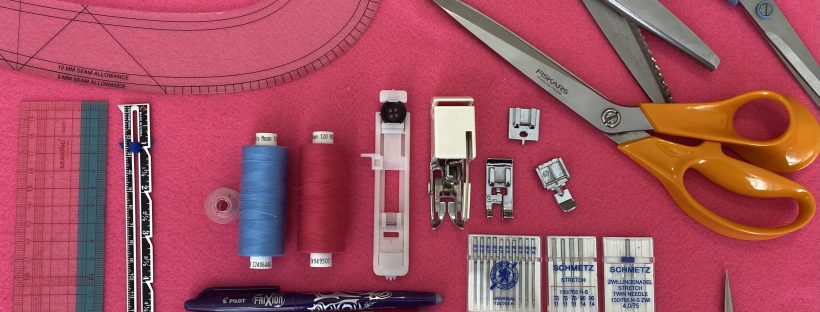
This is what I use and can recommend…
SEWING MACHINE
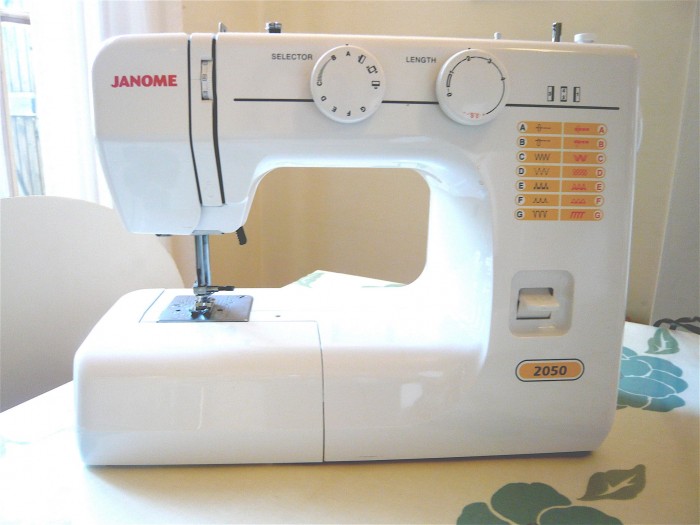
The sewing machine I use in my classes is a basic Janome machine. It’s not available from Janome anymore, but you can get exactly the same machine from John Lewis. The JL110 is made by Janome for John Lewis, and so, I believe, are all of the John Lewis branded sewing machines. This model comes in a variety of colours and, at the time of writing this, costs only £130. It’s a great first machine because it’s not too expensive and it’s very easy to find your way around. Although it’s a pretty basic machine, it offers more than enough for dressmaking, light-weight bags and cushions etc. Many years ago, I made my wedding dress on a machine the same as this, so that says it all! This sewing machine would struggle on very heavy weight fabrics or multiple layers of heavy weight fabric but then most domestic machines would.
Students are welcome to bring their own sewing machine to my classes, as long as it’s in working order! I’m experienced enough to find my way around any machine and explain how to use it. However, if it’s a very complex computerised machine it would be wise to bring the manual!
If you would like more advice on sewing machines please look out for my specific blog coming soon.
SCISSORS
I cut out fabric using dressmaking scissors or tailors shears, not a rotary cutter… it was how I was trained and probably due to my age!
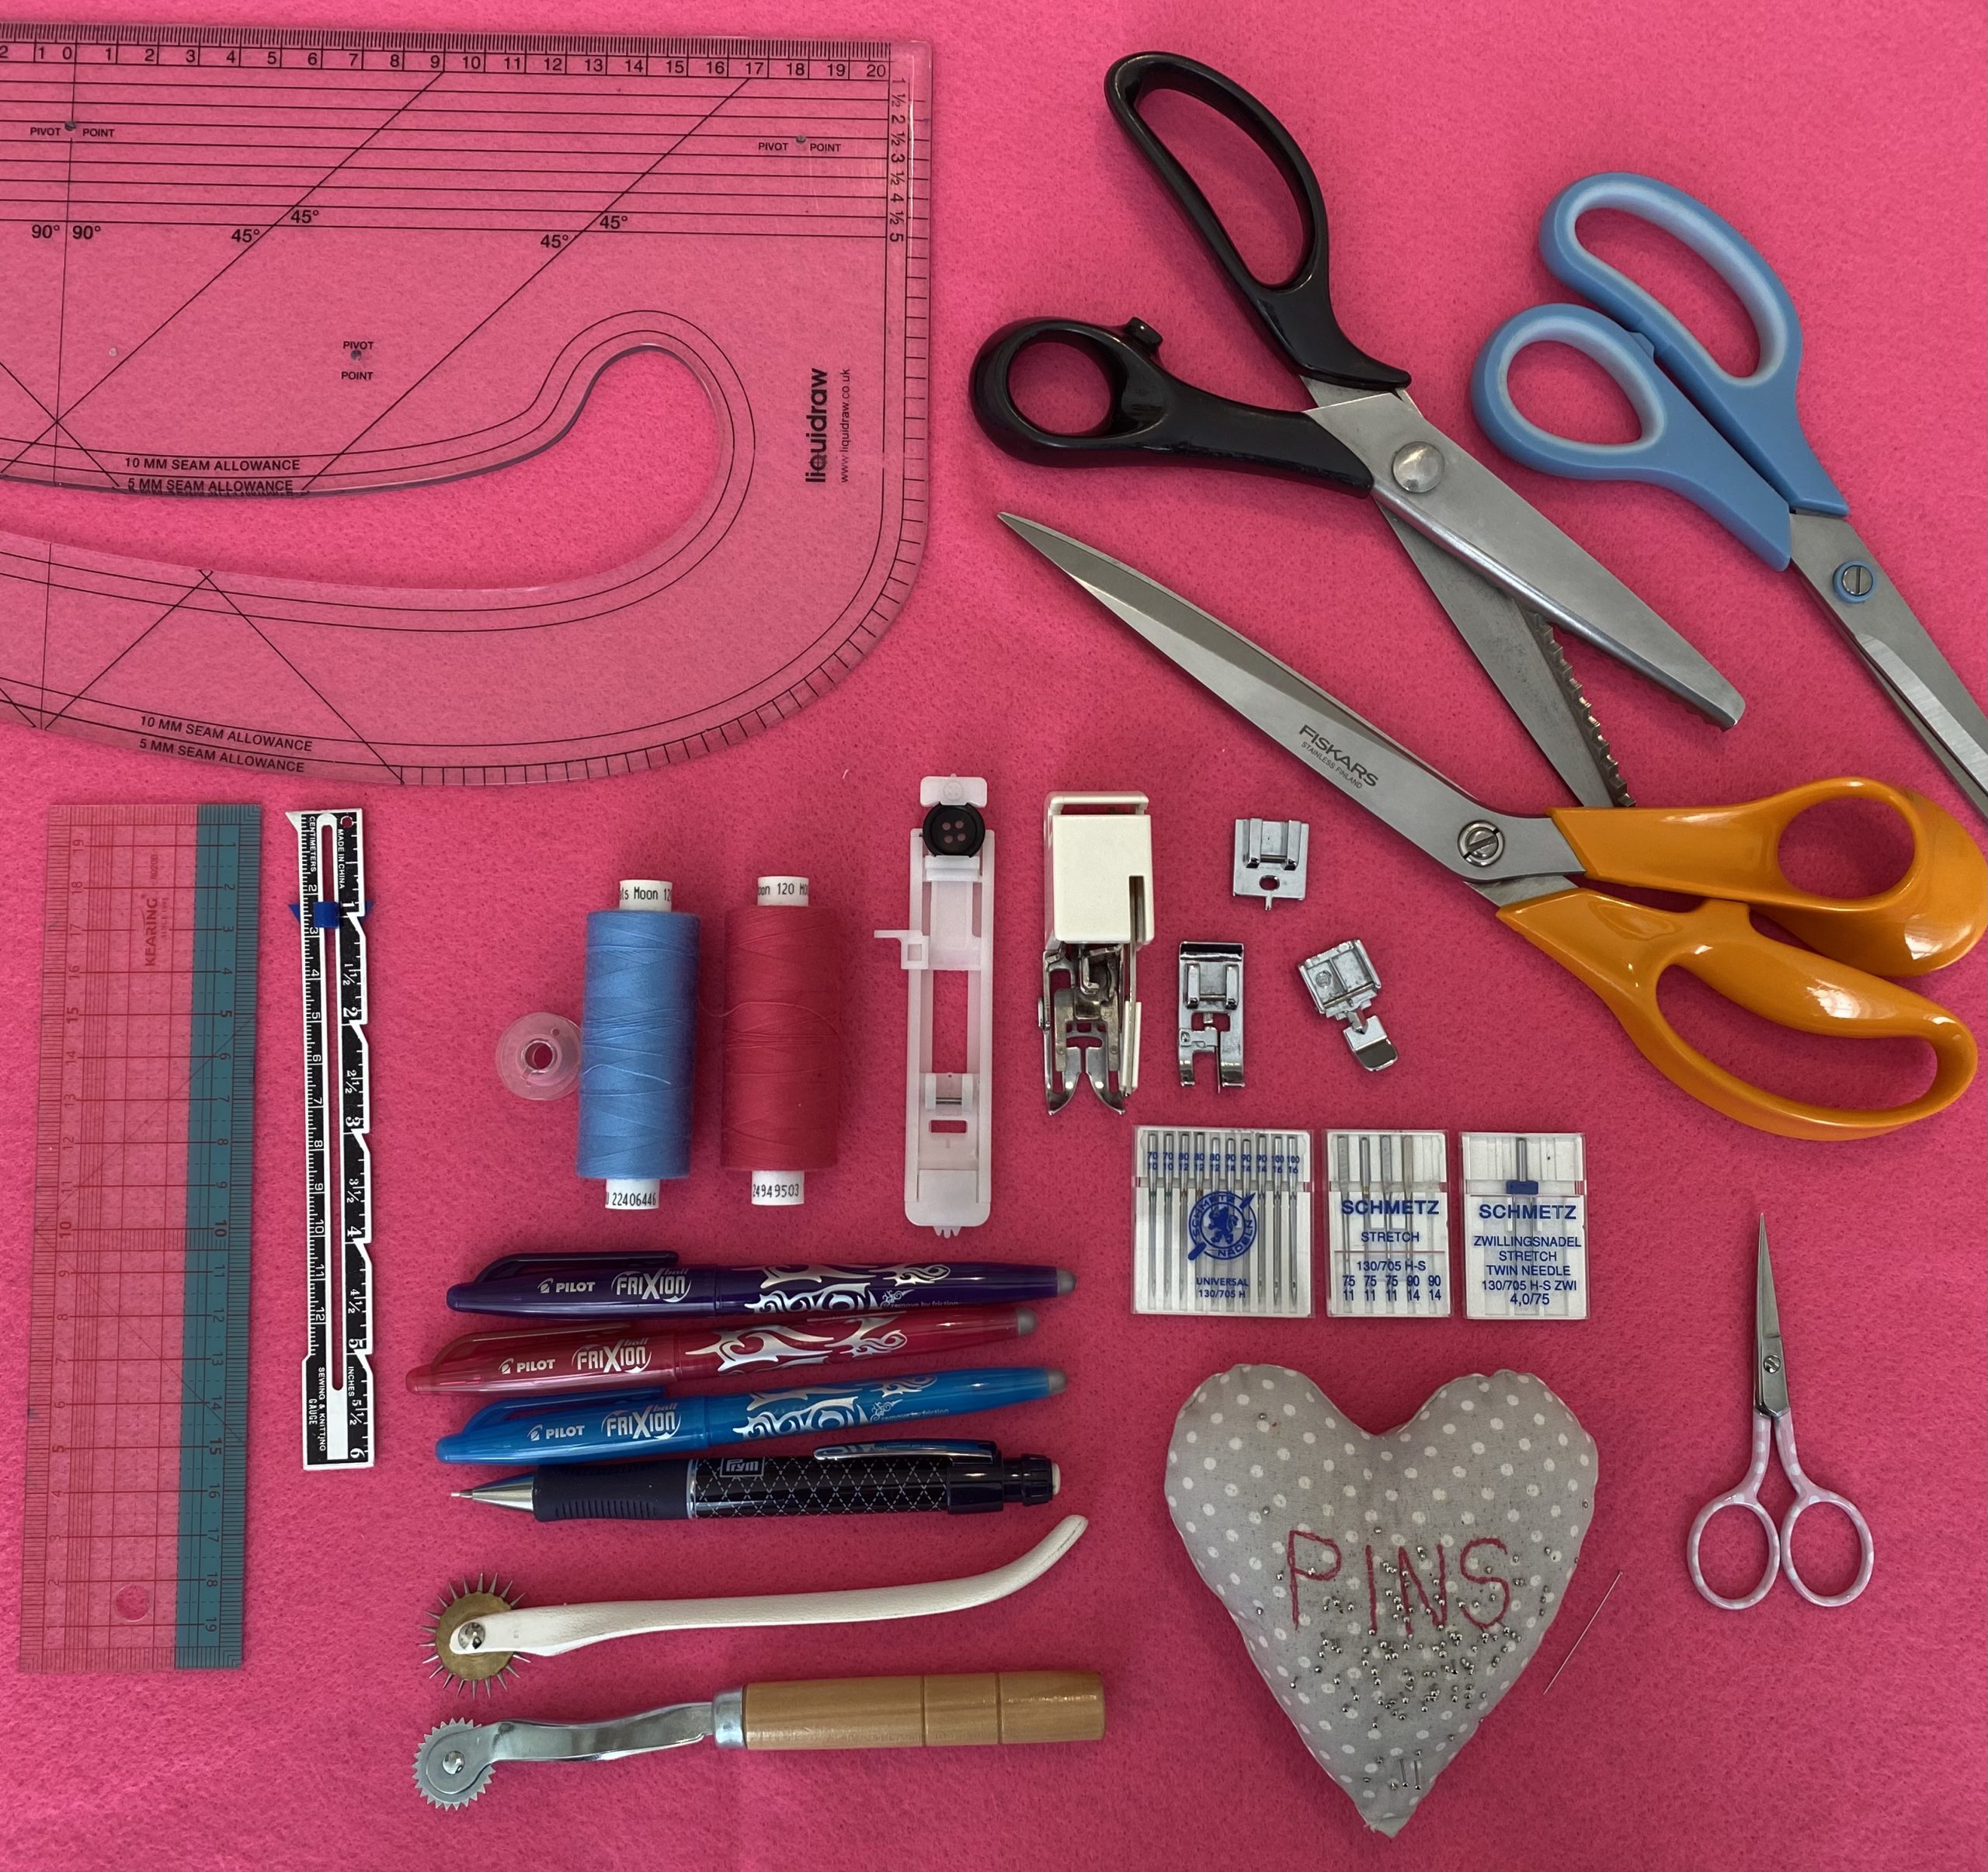
I have a selection of different types of scissors… a few pairs of good quality dressmaking scissors for my classes, a very special and expensive pair of tailors shears for my costume work, some very pointy embroidery scissors, a couple of different sized pinking shears, and some paper scissors for pattern cutting.
Dressmaking Scissors / Tailors Shears. The main difference between scissors and shears is the length of the blades. Shears are longer, heavier and generally for professional use.
Fiskars is a great middle of the range brand; not overly expensive but good quality. I have several pairs of the classic orange handled Fiskars dressmaking scissors, 20-25cm long. I’ve had them for many years and they still work well.
My very special pair of tailors shears are a Japanese brand called Kai. They feel like you’re cutting through butter, whatever the thickness…. I love them! I have a pair of their slim light tailors shears 25cm because I have small hands and don’t like anything too heavy. I’m afraid my students aren’t allowed to use these!
Embroidery Scissors. These are used for snipping and unpicking. I rarely use a seam ripper.
Again Fiskars are great, but my favourite are the very simple polka dot metal ones by Hemline.
Pinking Shears. These are often used on linings to reduce fraying. They are also used to soften the edges of fabrics that don’t fray too much. They’re not as effective at stopping frayed edges as an overlocker / serger but they give a softer finish.
I have a variety of these… small and large scalloped blades and a zigzag blade. They do loose their sharpness and I’m not sure they can be sharpened so its worth getting a quality brand such as Fiskars, Janome or Kai.
Paper Scissors. I’m sure you know that fabric scissors should never be used to cut paper or anything else! Cutting fabric with blunted blades is a total nightmare. Get yourself a simple pair of general purpose scissors for all those other bits and bobs.
Rotary Cutters. Nowadays some sewers prefer to cut out their fabric using a rotary cutter and mat. I can’t give advice on these as I don’t really use them. However, I do know that at the film studios where I’m currently working as a costume maker, Ofla is a popular make. Rotary cutters are good for tricky fabrics that move when you cut. Instead of pinning the pattern to the fabric you can use weights.
https://www.williamgee.co.uk/product-category/design-aids-and-equipment/cutting/scissors-and-shears/
THREAD
It is very important to use decent thread… your machine will hate bad quality thread. Avoid anything rough, bumpy and easy to break. ‘Hand me down’ thread should be used for hand sewing only! For most projects you can use a good quality 120 polyester thread. You can also get cotton and silk thread for specialist makes.
Thread comes in various thicknesses / weight. The higher the number, the thinner it is. Thinner thread is used on light to medium weight fabric and thick thread is used on heavy weight fabric. The main weights I use are 120, 70, and 30
120 is a lightweight thread and can be used on most things. Because it’s thinner it’s also the ideal choice for an overlocker / serger.
70 is a middleweight stronger thread. It’s probably the thickest a domestic machine can handle. It can be used for visible top stitching, and seaming thicker fabrics such as, leather or denim.
30 is a very thick thread, ideal for visible top stitching, buttonholes, hand stitching and other decorative stitching. It could be too thick for most domestic sewing machines.
The thread brands that I use and would recommend are…
Coats Moon 120
Gutermann Top Stitch Thread
Gutermann Mara 120
Gutermann Mara 70
Gutermann Mara 30
NEEDLES
Your choice of needle needs to match your fabric. Delicate fabrics such as organza, chiffon or lawn need thin needles and heavy fabrics such as denim and cotton canvas need thicker needles. In regards to needles, the higher the number, the thicker the needle.
60/8, 70/10 are the thinest needles
80/12, 90/14 are the medium, and most commonly used needles
100/16, 110/18 are the thickest needles
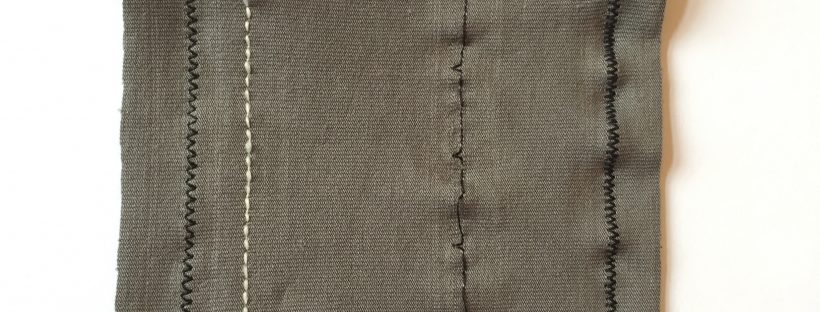
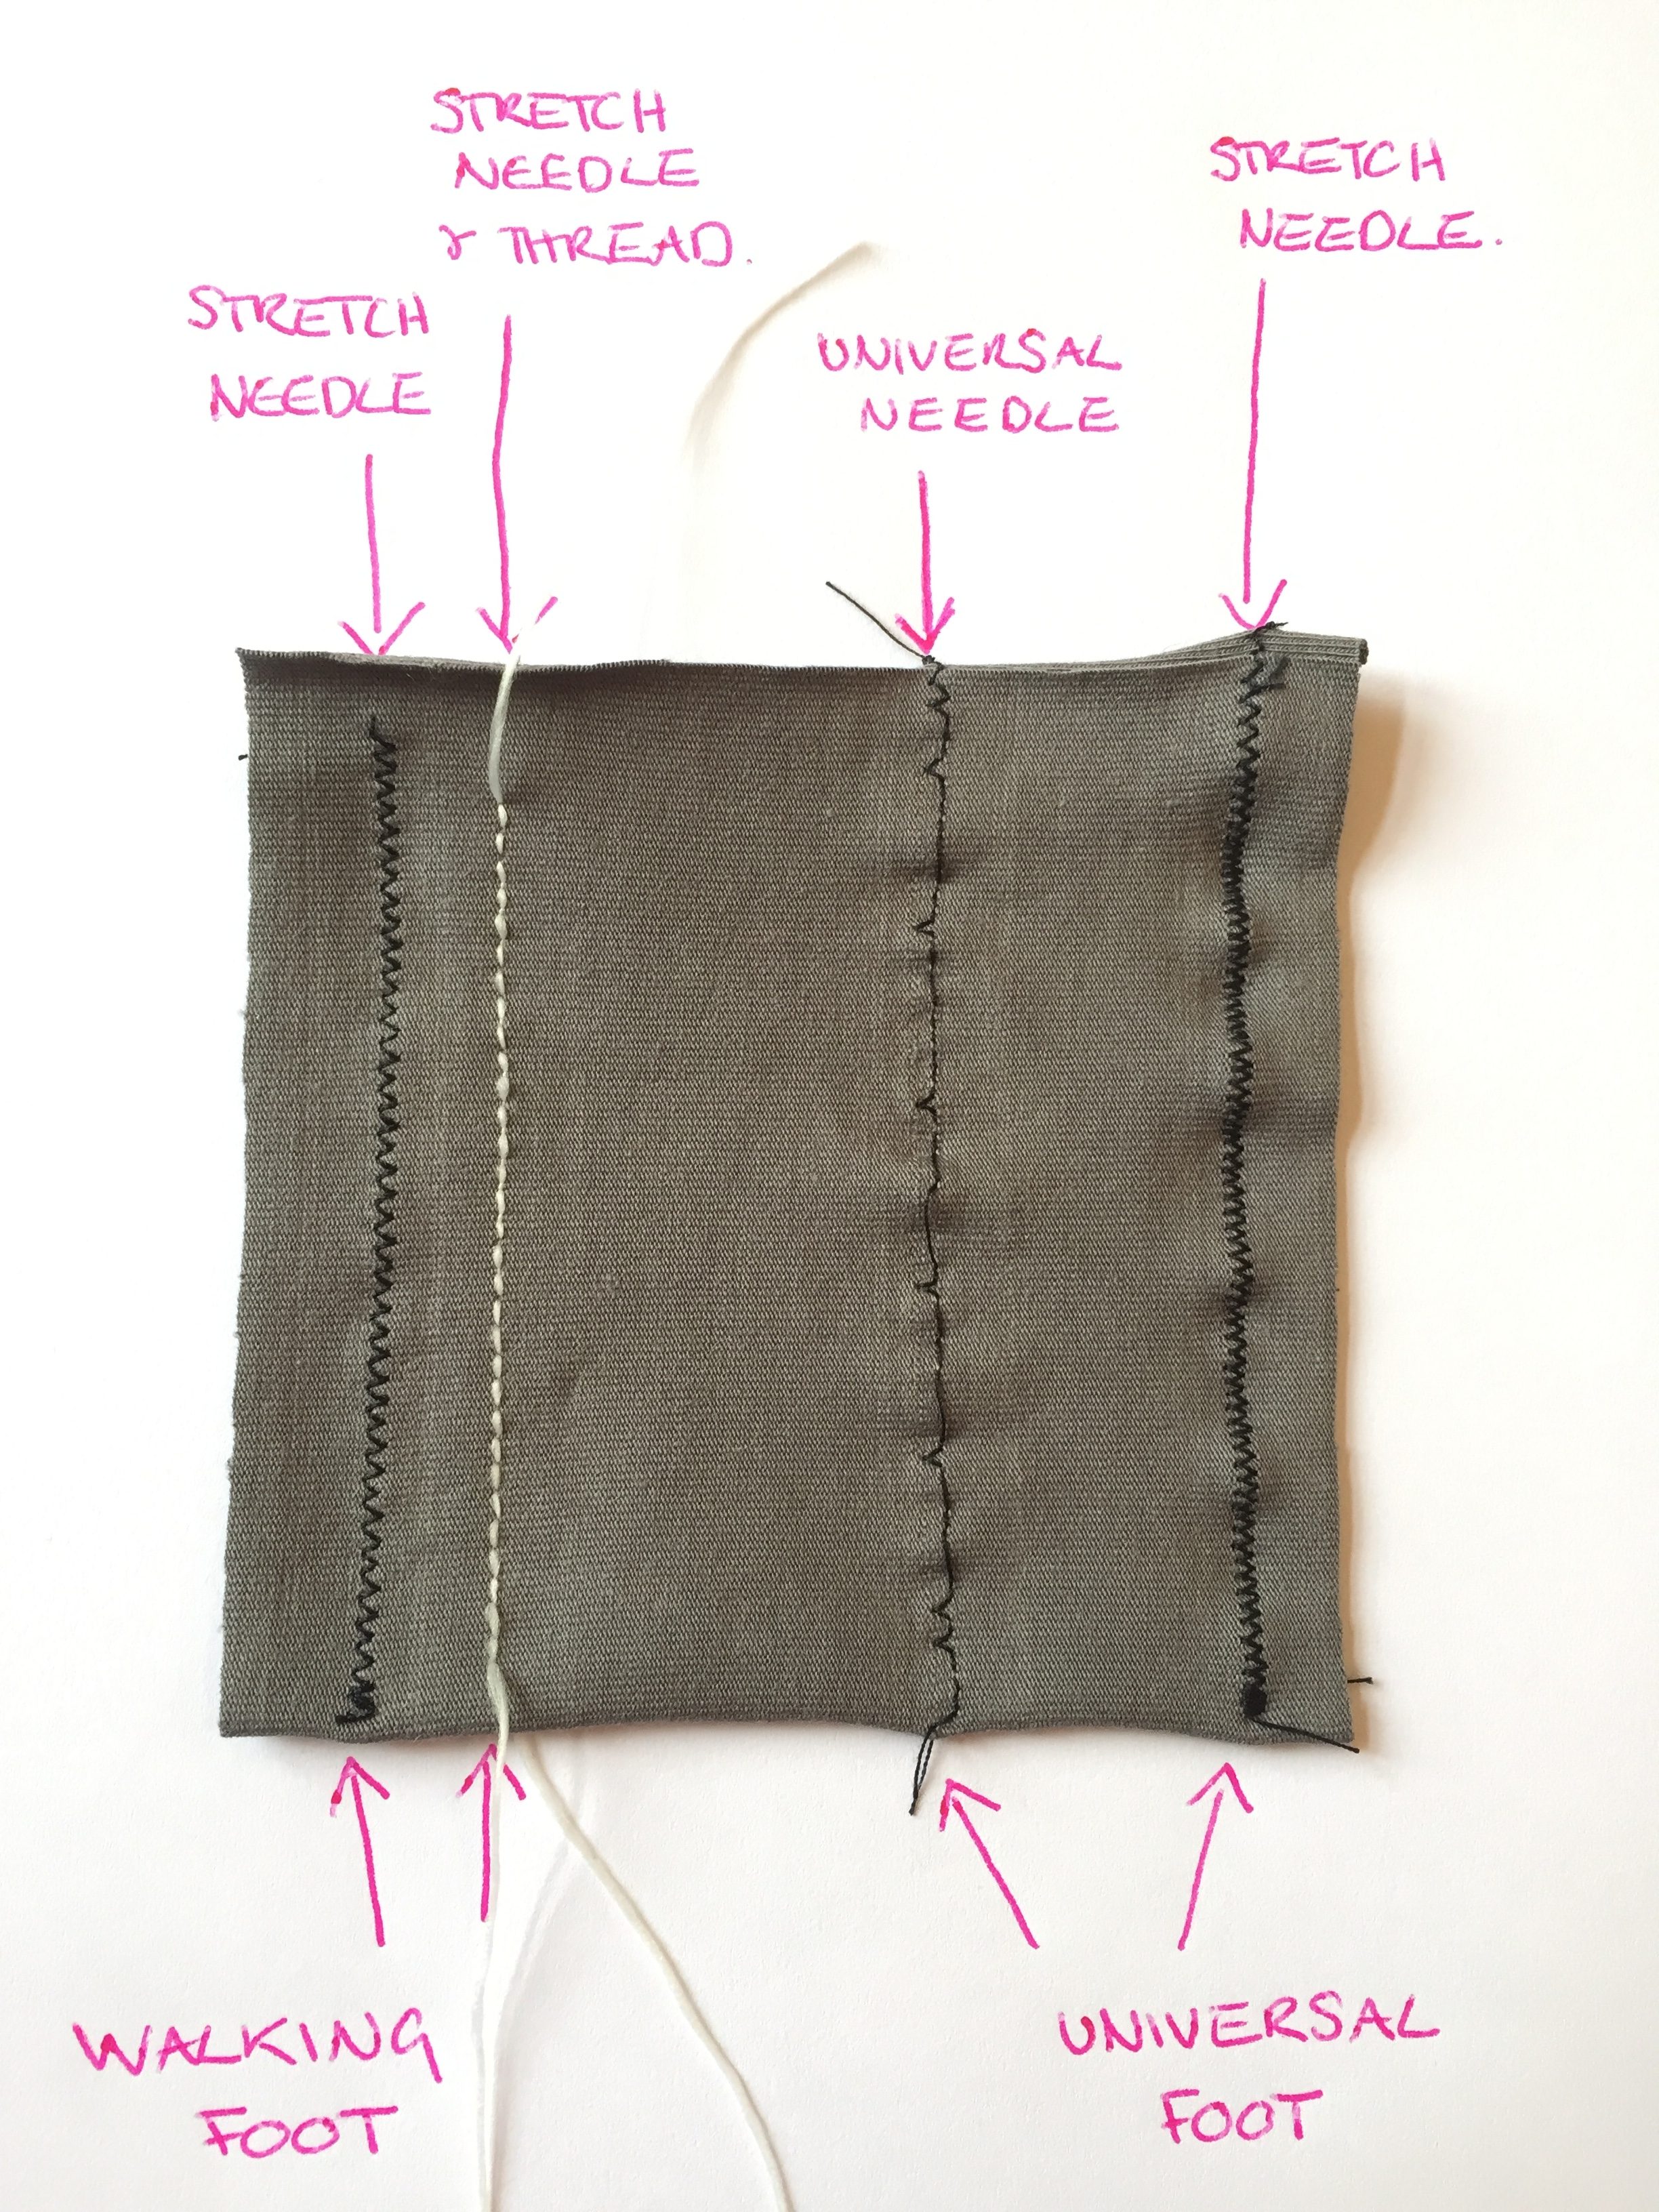
There are universal needles for woven fabrics and specialist needles for very stretchy fabric, knits and leather. You can also get twin needles for double row stitching and stretch hems like the kind you see on T-shirts.
In my classes, I use Schmetz Needles and have a selection available to my students…
Schmetz Universal size 90/14
Schmetz Universal Assorted
Schmetz Stretch
Schmetz Super Stretch
Schmetz Jersey
Schmetz Jeans
Schmetz Stretch Twin
The longer and thinner pins are best. They are easier to handle and less likely to mark the fabric. I like the simple dressmakers steel pins 34mm x 0.6mm but the ones with glass heads are fine as long as they are no more than 0.6mm wide.
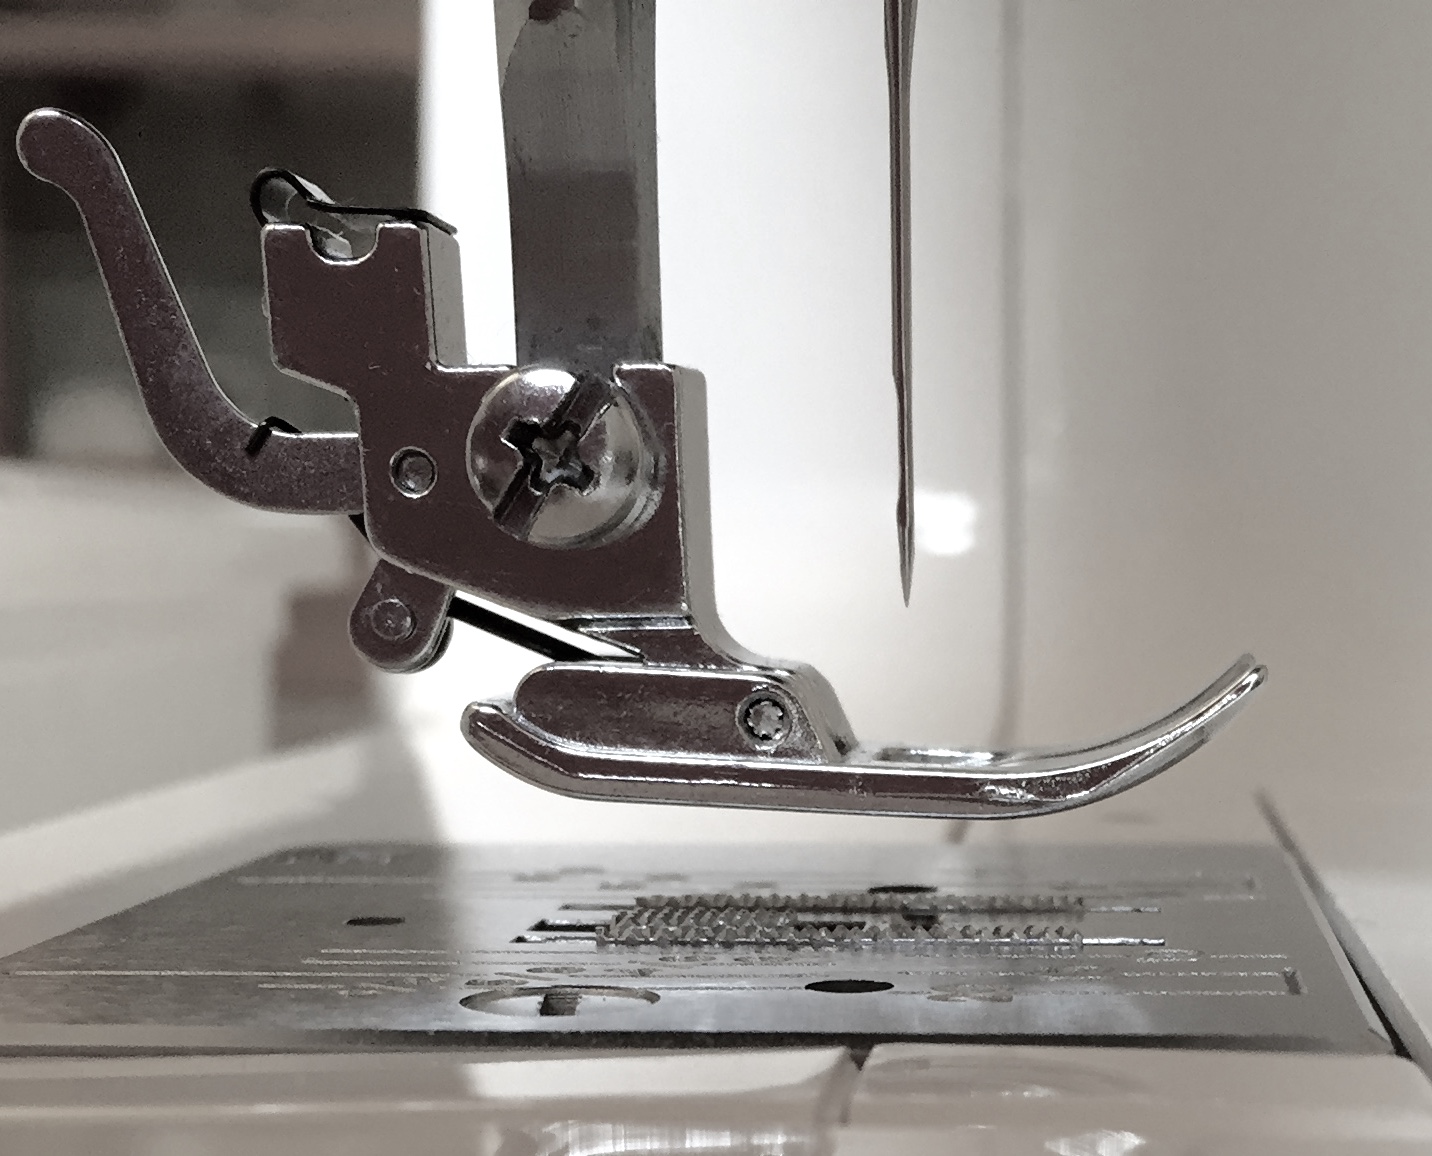
SEWING MACHINE FEET
Most domestic sewing machines have a low shank. Some presser feet fasten directly onto the shank, with a screw, and some are “snapped” onto the foot adaptor. Snap-on feet are universal and generally work with any domestic machine but screw on feet are specific to your machine type. Domestic sewing machines come with a few basic snap on feet but there are some extra feet that we often use in my classes and are really useful.
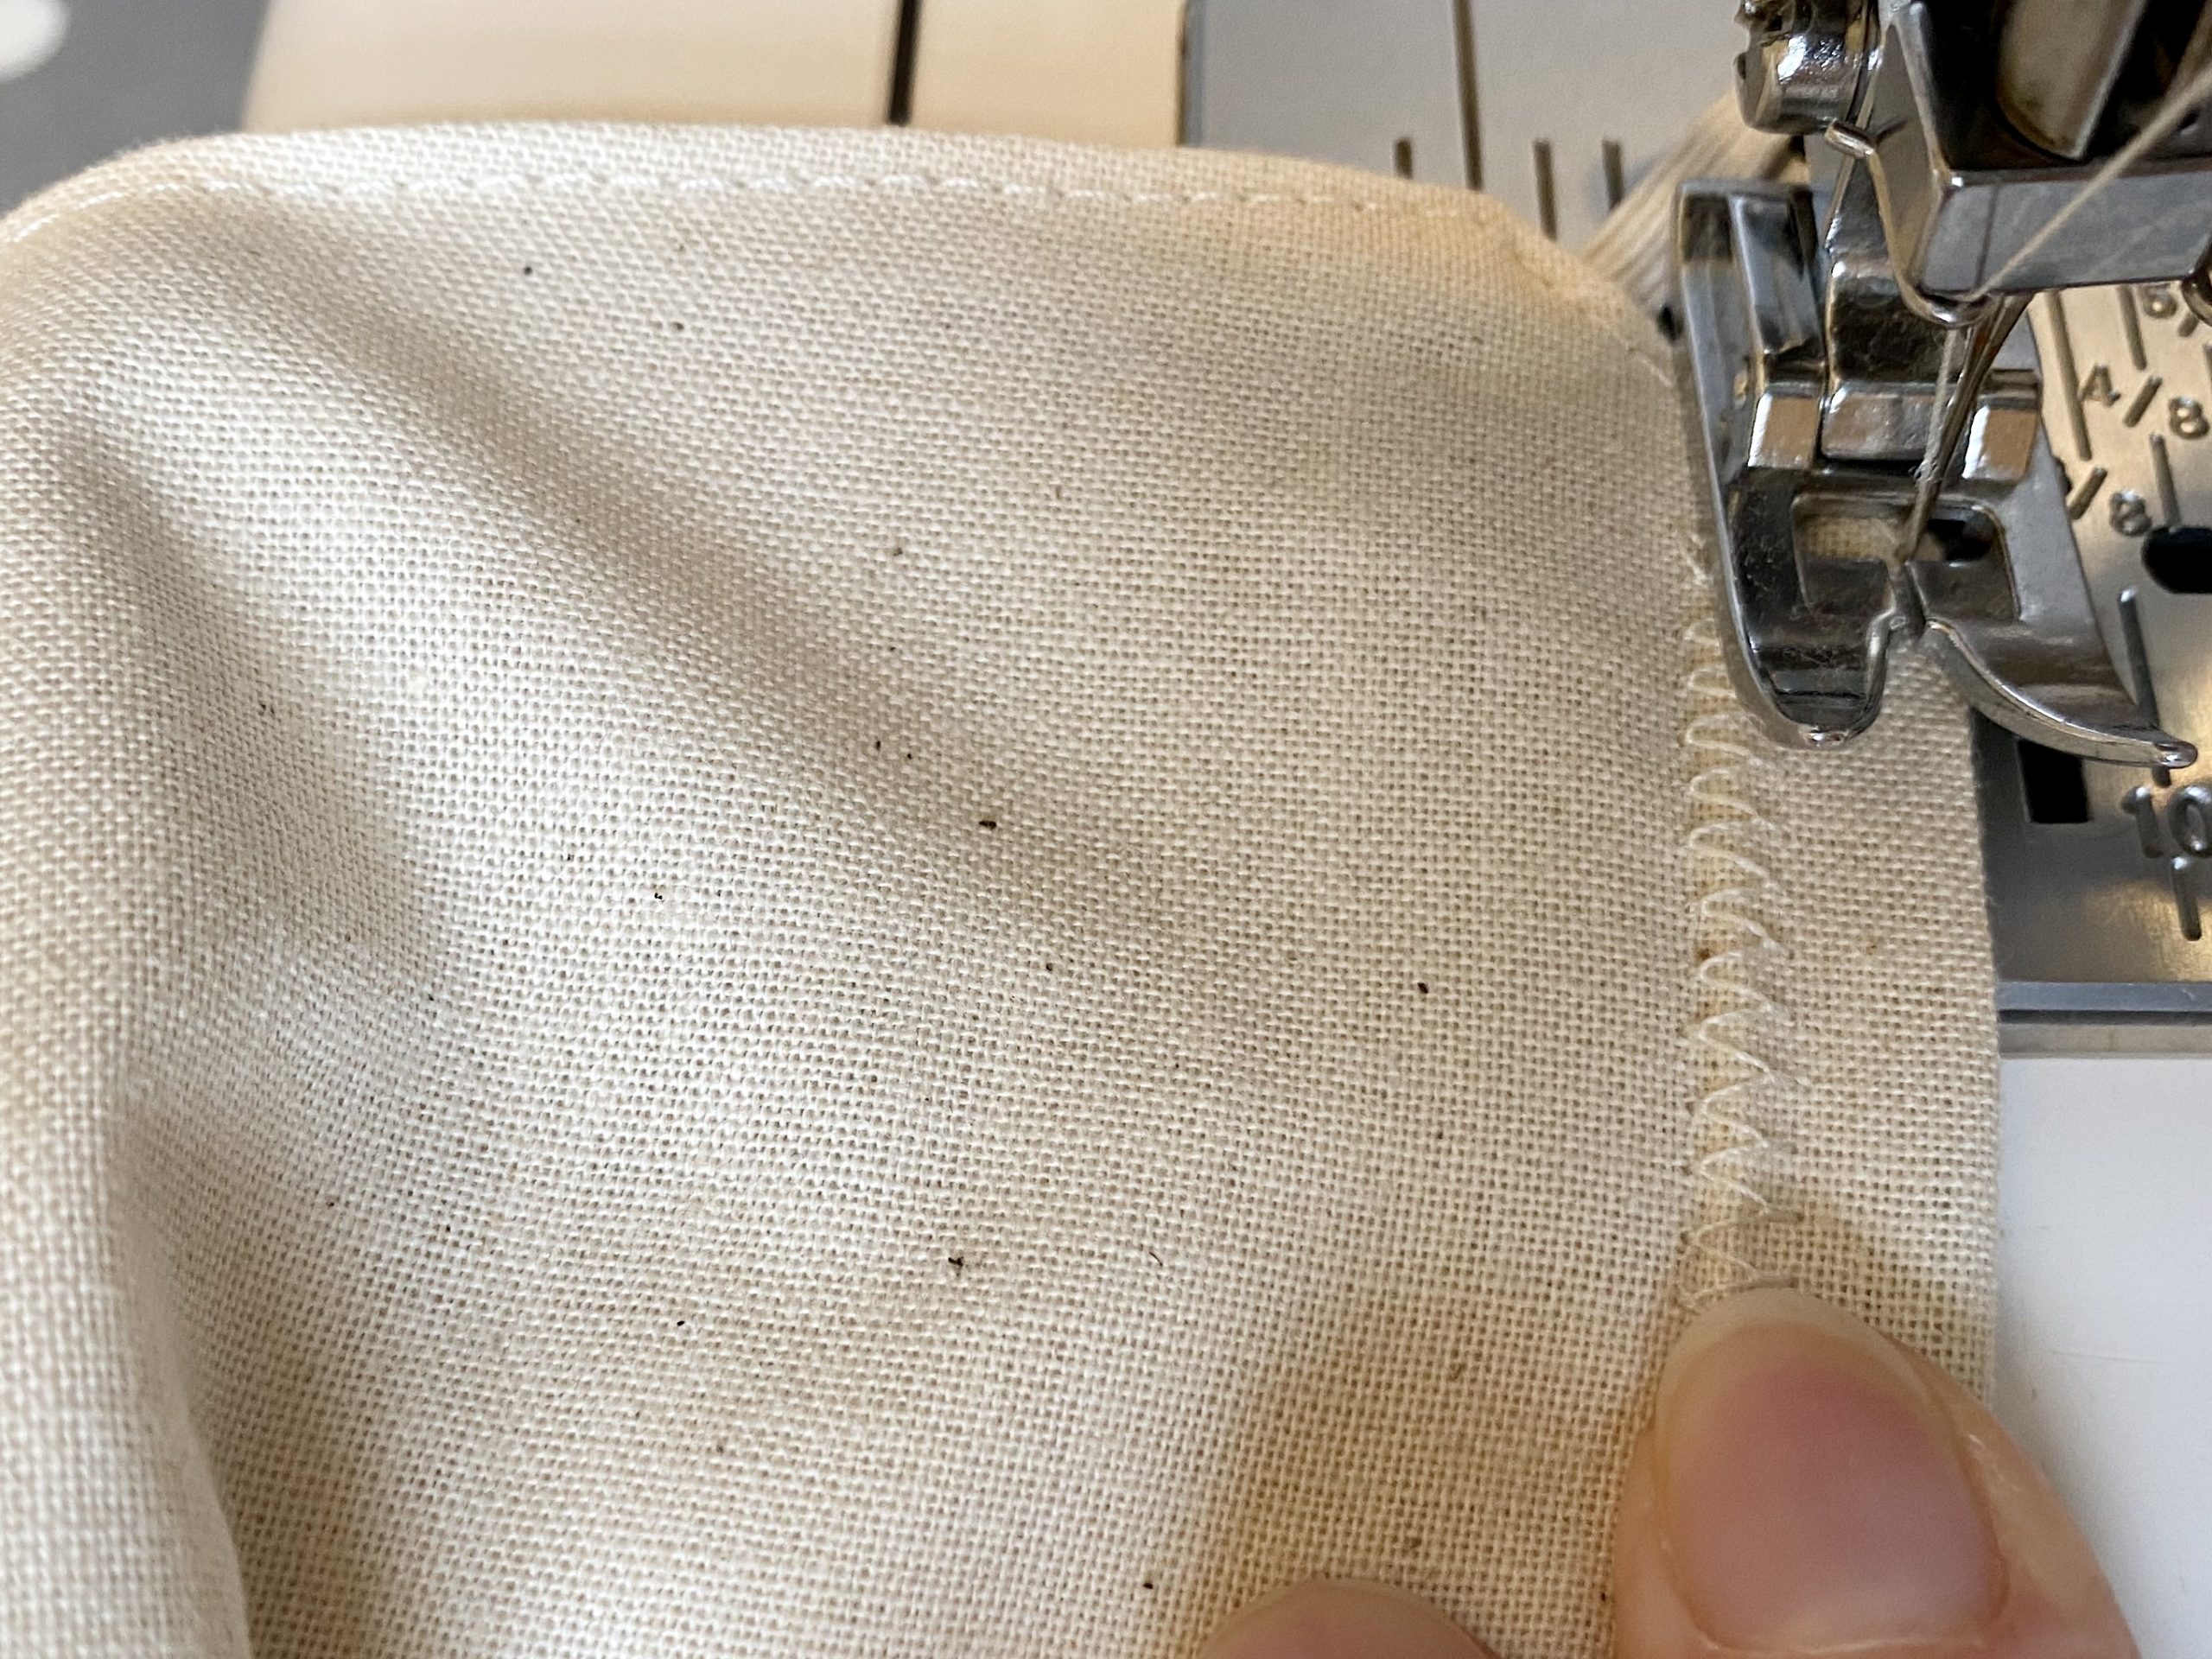
Over Edge foot – a snap on foot that really helps finish off edges of fabric neatly
Double sided zipper foot – a snap on foot that allows you to sew in the same direction down both sides of a zip. This give a more even finish.
Concealed Zipper Foot – a snap on foot that helps sew in a concealed zip perfectly.
Walking foot/ Even Feed foot – a screw on foot that helps sew tricky fabrics. It’s also great for stretch fabrics as it prevents it stretching while you sew. If you really get into sewing, this one is worth investing in.
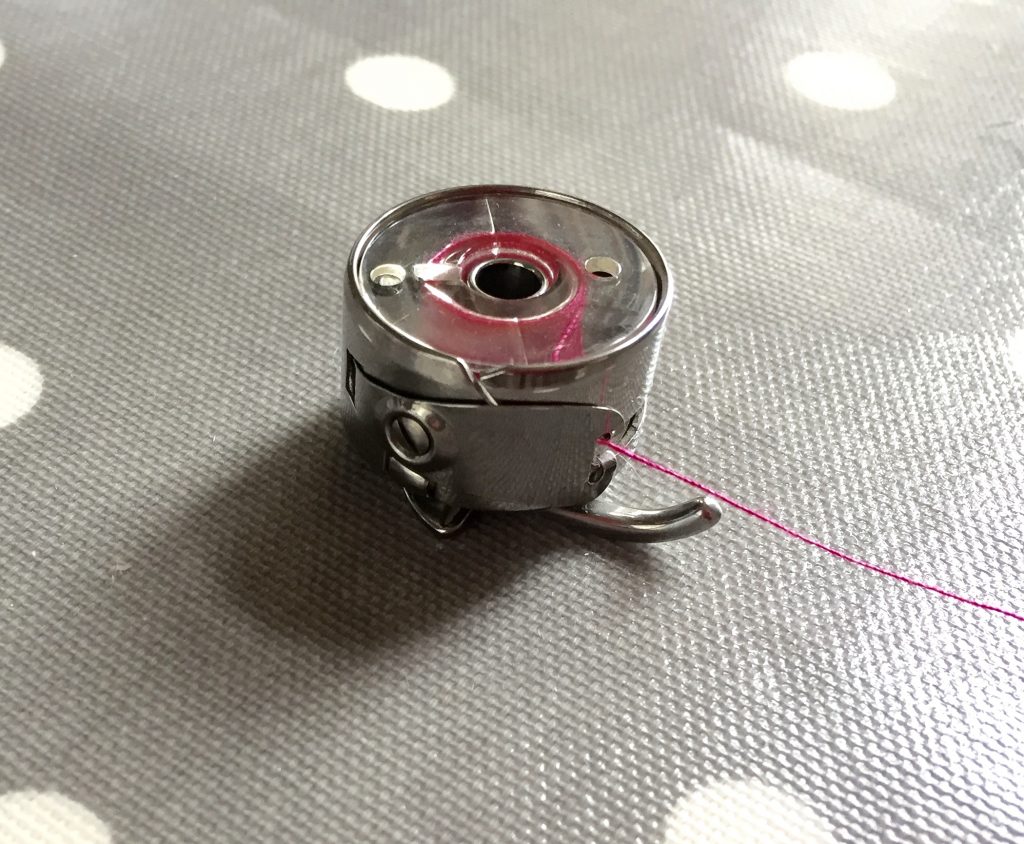
BOBBINS
You must buy the correct brand for your machine. Cheap ones from Amazon may fit but any tiny difference could cause the bobbin to stick and not turn freely during stitching.
MARKER PENS
It’s often necessary to mark your fabric… darts, hemline, pocket position, button holes etc. Sometimes you need to mark on the right side of your fabric so it’s important to have a marker that will come off. I like a marker that gives a thin accurate line so I’m not a fan of the traditional tailors chalk. I have a selection of heat erasable and chalk marker pens.
Pilot Frixion pens are heat erasable and I use them a lot. Be careful not to press these marks off if they are still needed! I like the pink, violet and turquoise pack.
The Prym cartridge pencil with refill cartridges gives a lovely fine chalk line. It comes with a selection of colours and is great for marking dark fabrics. The mark will disappear when rubbed or washed.
Frixion pens…
Prym Cartridge Pencil…
RULERS
Rulers are often needed to mark hems, seam allowance, and pattern alterations.
These are the rulers I use…
Sewing Gauge – Good for marking hems/buttonholes and pleats.
Grading Ruler in cm – Good for marking seam allowance.
Set Square – When you need an accurate right angle… cushions!
Curved ruler – Pattern making and alterations
Pattern Master – Pattern making and alterations
Metre Stick – Long straight lines
PATTERN CUTTING TOOLS
If you’re going to be using shop bought patterns, or want to take a copy to change up, or even make your own patterns, here are some useful tools.
Tracing Wheel and Carbon Paper – These are used to transfer markings from the pattern onto your fabric. Especially useful for darts.
Dot & Cross Pattern Paper – For making your own patterns
Swedish Tracing Paper – For tracing a particular pattern size so you can still use the other sizes.
Amazon
SEWING PATTERNS
There are loads of different pattern brands available nowadays. I usually get my patterns from Minerva.com as they have a great community that post examples of the pattern made up, which is very helpful. Click on a pattern you like and then scroll down to see if anyone has posted anything about it.
The traditional patterns, such as Simplicity, New Look, Vogue, Burda and McCalls, have very big sheets of tissue with the multi sized pattern pieces on. The written instructions and diagrams are quite basic, but very similar with all of these brands so once you know what you’re doing it’s fine.
The ‘indie’ patterns, as they are known, give a more modern approach and are usually easier to follow, with very detailed instructions and photos. Because of this they’re quite expensive.
Some of my students use Sew Over It patterns, and Tilly and the Buttons is also popular.
FABRIC
It’s great if you can feel and see a fabric before you buy it but if you’re short of time there are some really great fabric shops that sell online.
If you’ve got the time, the shops listed below can be found, either reasonably local to me in High Barnet or in London.
Jersey Vogue – 14 Station Road, Edgware, HA8 7AB – 020 8952 7751
Finishing Touches – 353 Ballards Lane, North Finchley – 020 8446 8714
Stitch and Knit – 91 Bradmore Green, Brookmans Park, 01707 518 966
Fashion n Fabrics – 24 Beech Rd, St Albans, AL3 5AS – 01727 865038
Ray Stitch – 66 Essex Road, Islington, London, N1 8LR – 020 7704 1060
Cloth House – 130 Royal College St, London, NW1 OTA – 020 7485 6247
Fabrics Galore – 52-54 Lavender Hill, Battersea, London, SW11 5RH – 020 7738 9589
Various shops – Berwick Street – London W1
Various Shops – Goldhawk Road, Shepherds Bush W12
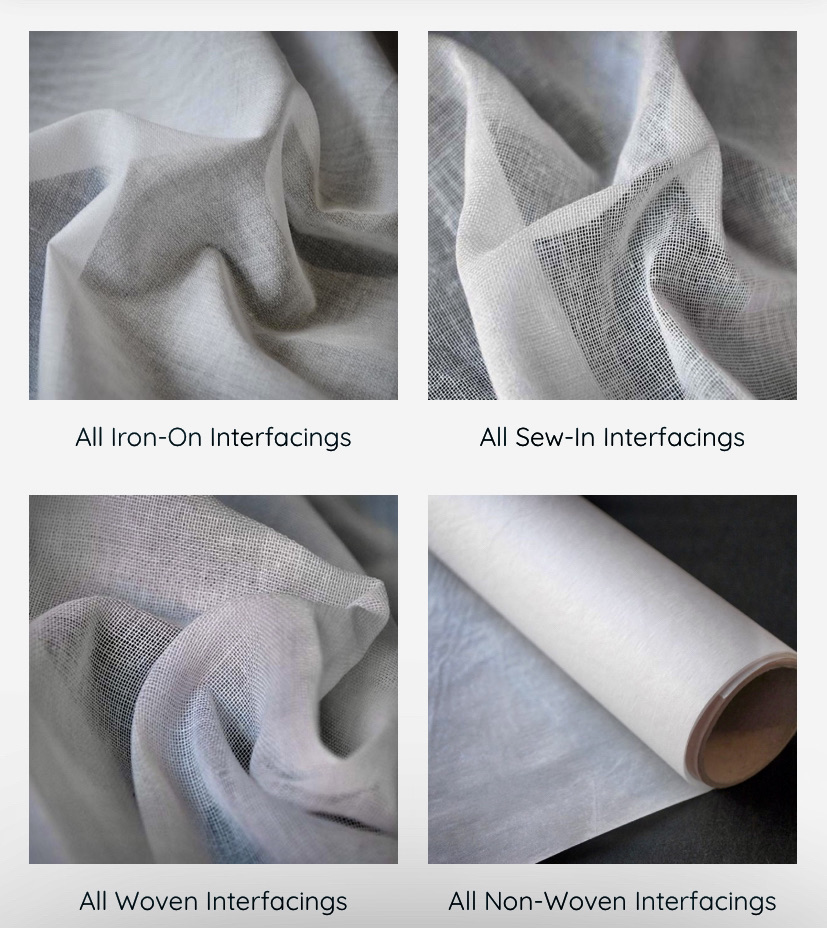
INTERFACING
When you start making projects it’s good to have a stock of interfacing.
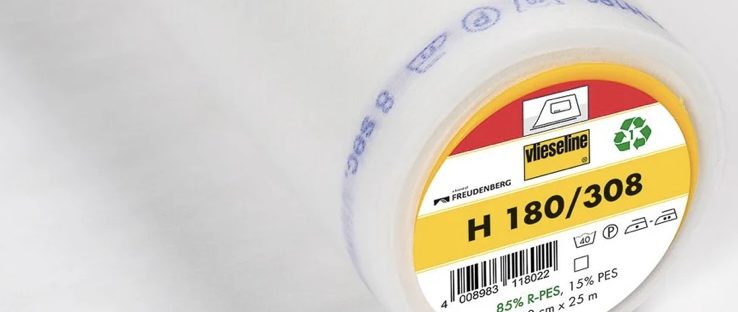
The interfacing I use with my students for dressmaking is the Vilene H180 iron-on. It’s nice and light and great quality. It comes in other weights if you need something heavier for bags etc.
BOOKS
There is so much information and inspiration on the internet now but if you are a book person, these are some of my favourites.
The Sewing Book New Edition: Over 300 Step by Step Techniques
101 Great Ways to Sew a Metre
Tilly and the Buttons: Make It Simple