NHS DRAWSTRING BAG INSTRUCTIONS

Drawstring Bag Shopping List:

  • 3 Metres of 150cm wide cotton fabric will make 4 or 5 bags.
  • Cotton tape for the ties (3 metres per bag)  Or… you could make these out of scrap fabric.
  • Matching cotton thread


Cutting out:

  • Cut two rectangles 75cm x 70cm per drawstring bag.  Or… for the smaller size, cut two rectangles 60cm x 55cm per drawstring bag. The larger bags are preferable.
  • Cut two 1.5 metre lengths of cotton tape per drawstring bag.   Or… cut two lengths of fabric 6cm x 150cm


 Making Up:

  • The seam allowance is 1cm.
  • The sides of the drawstring bag are 75cm / 60cm 
  • The top/bottom of the drawstring bag is 70cm / 55cm 
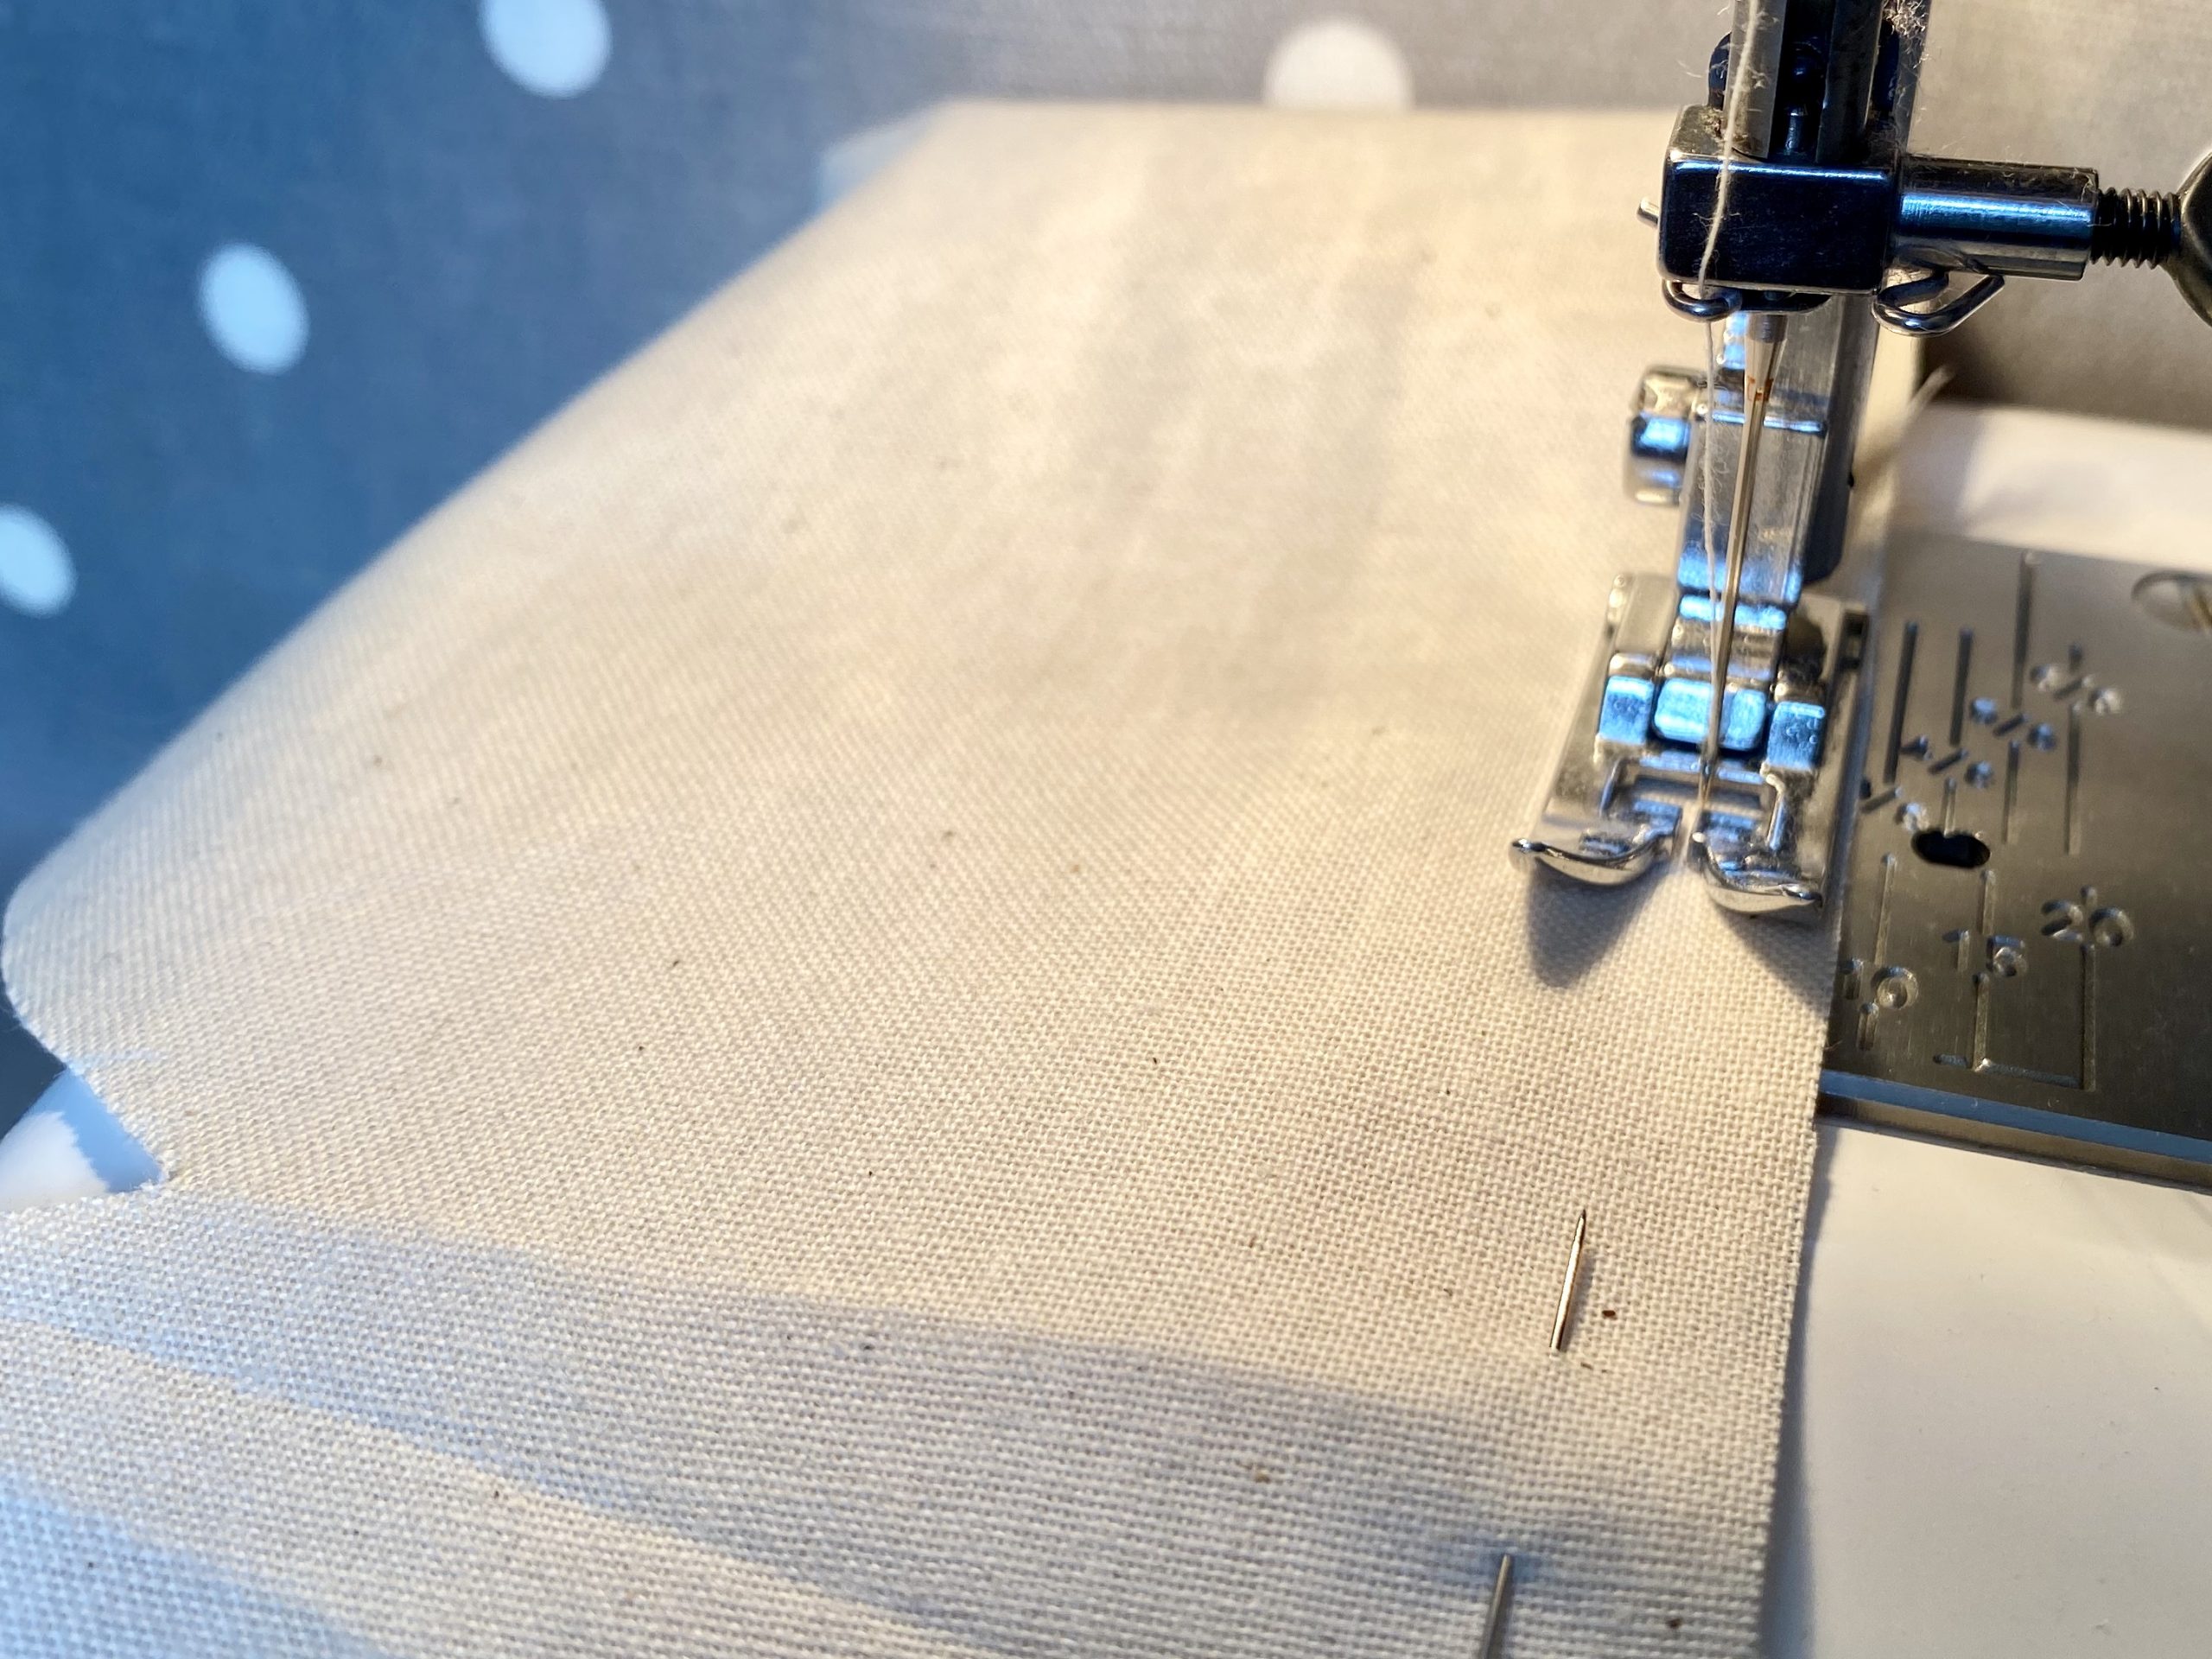
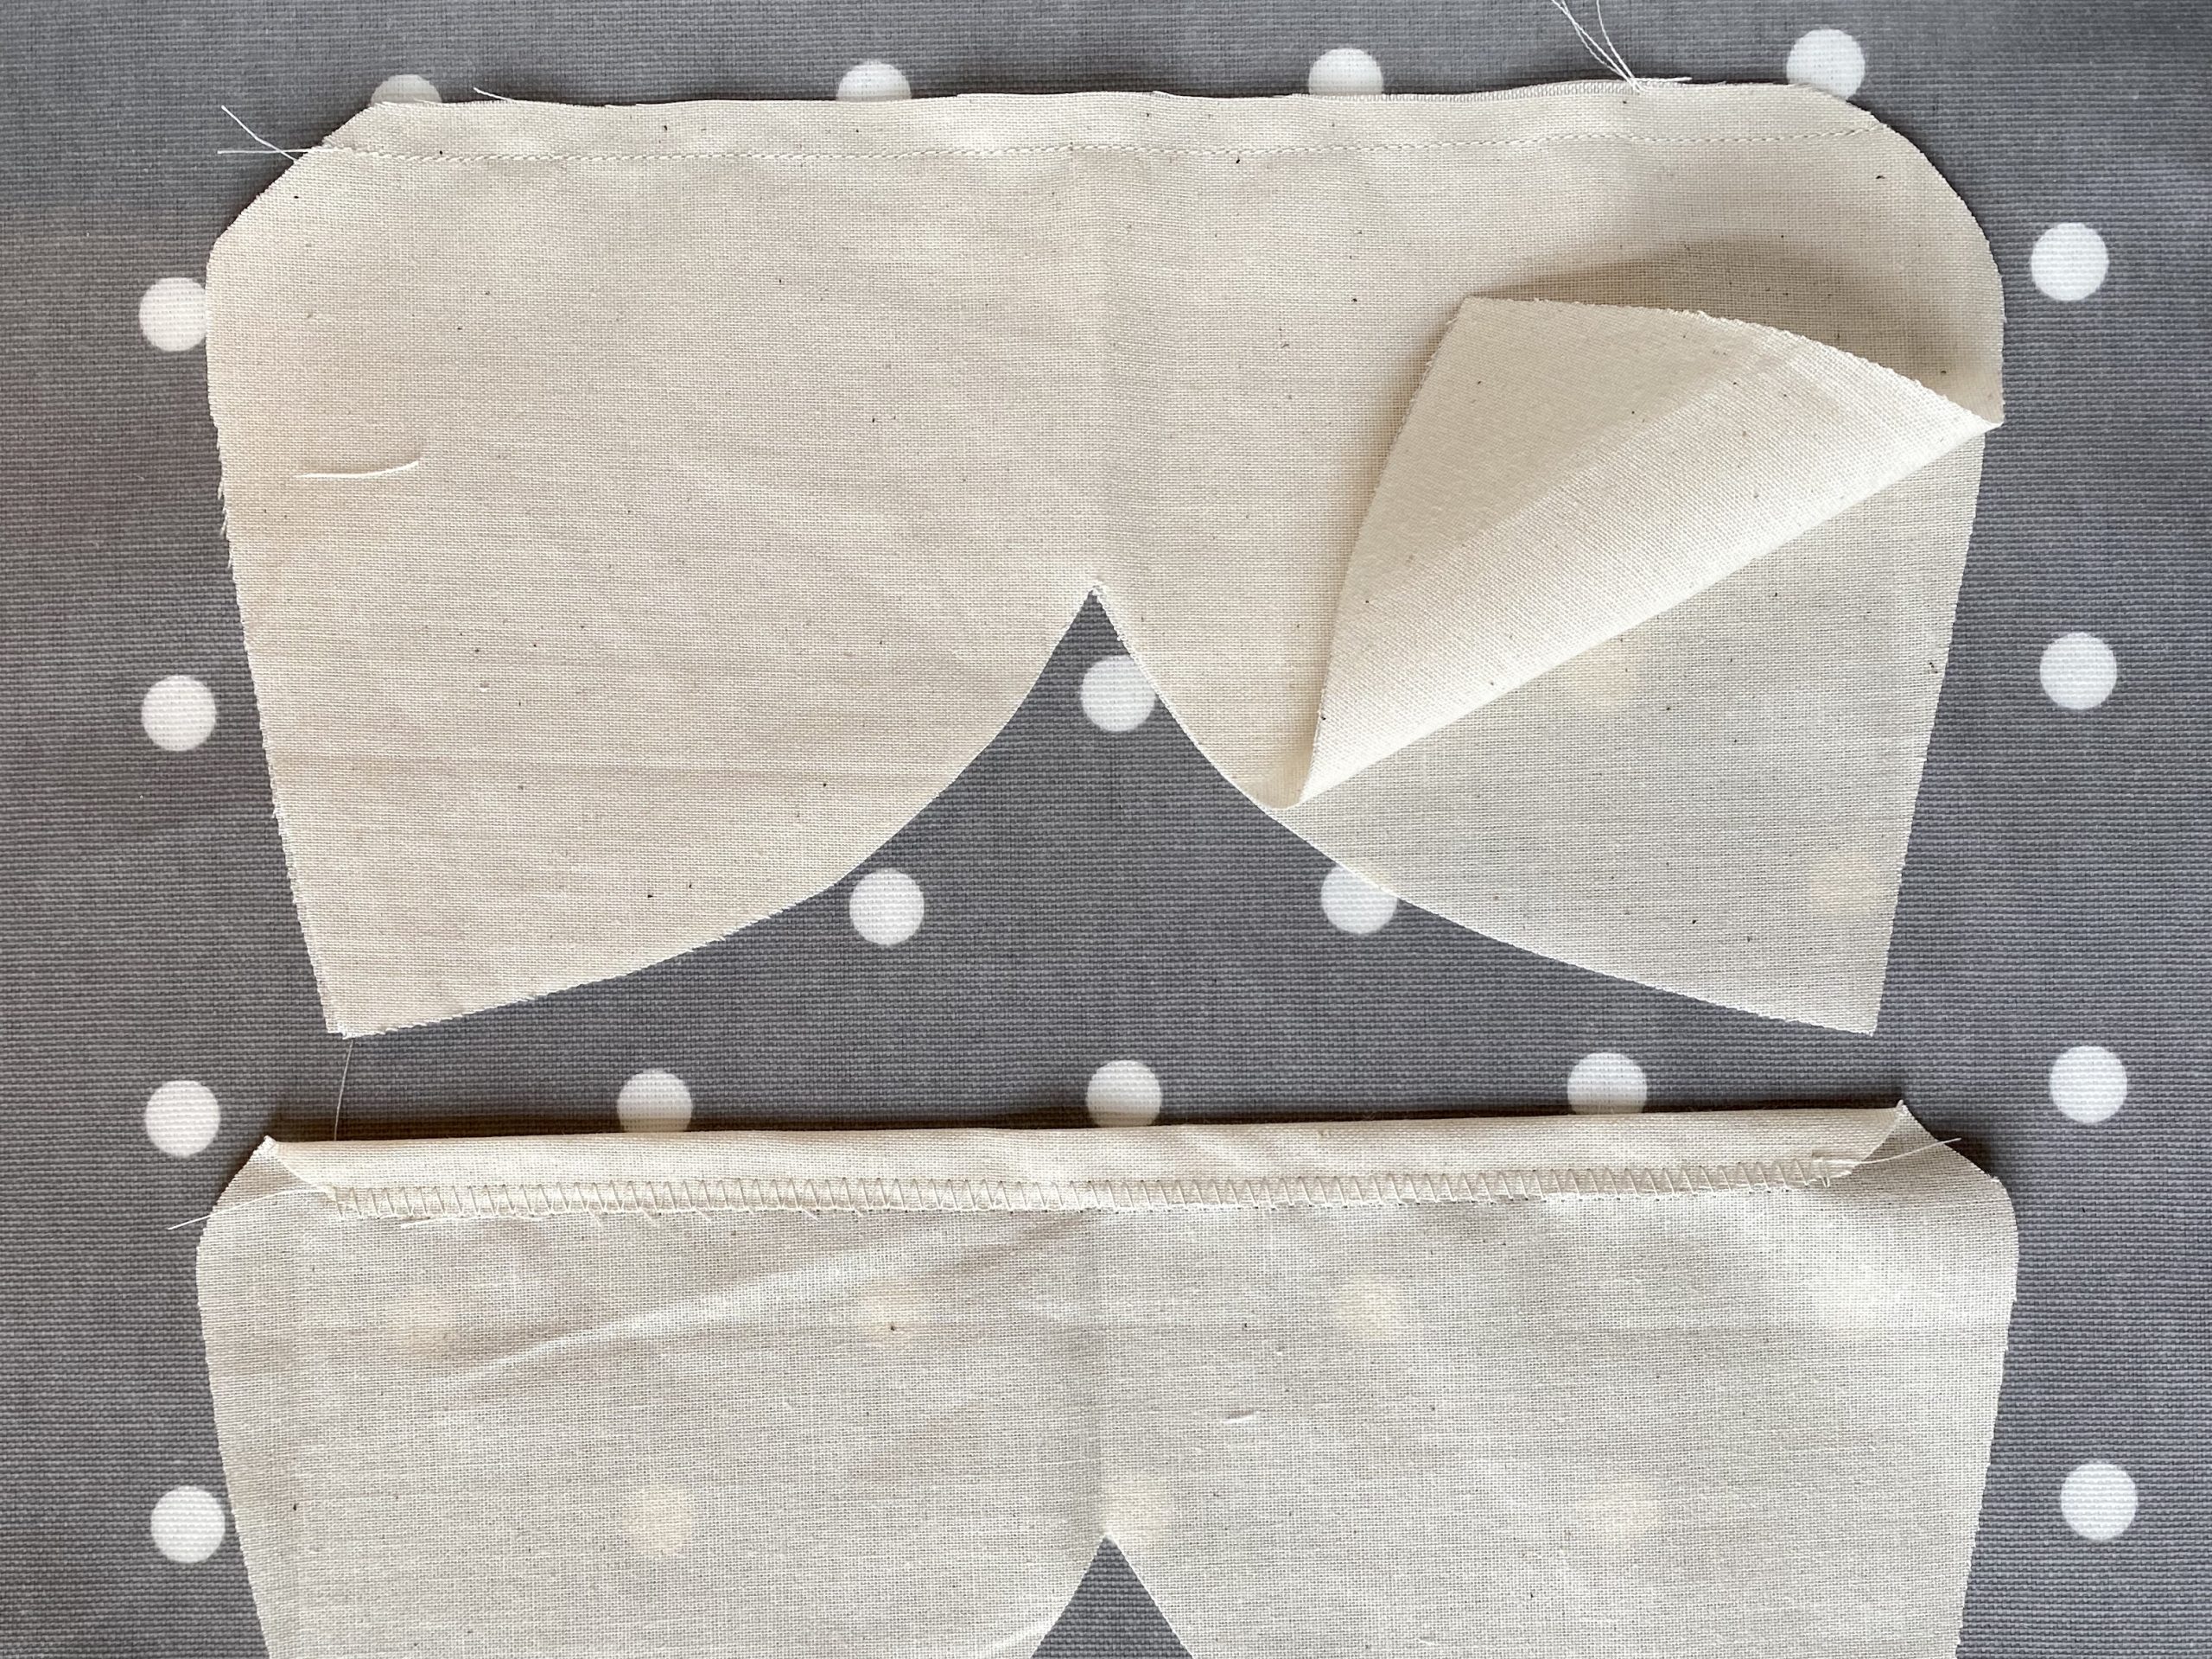
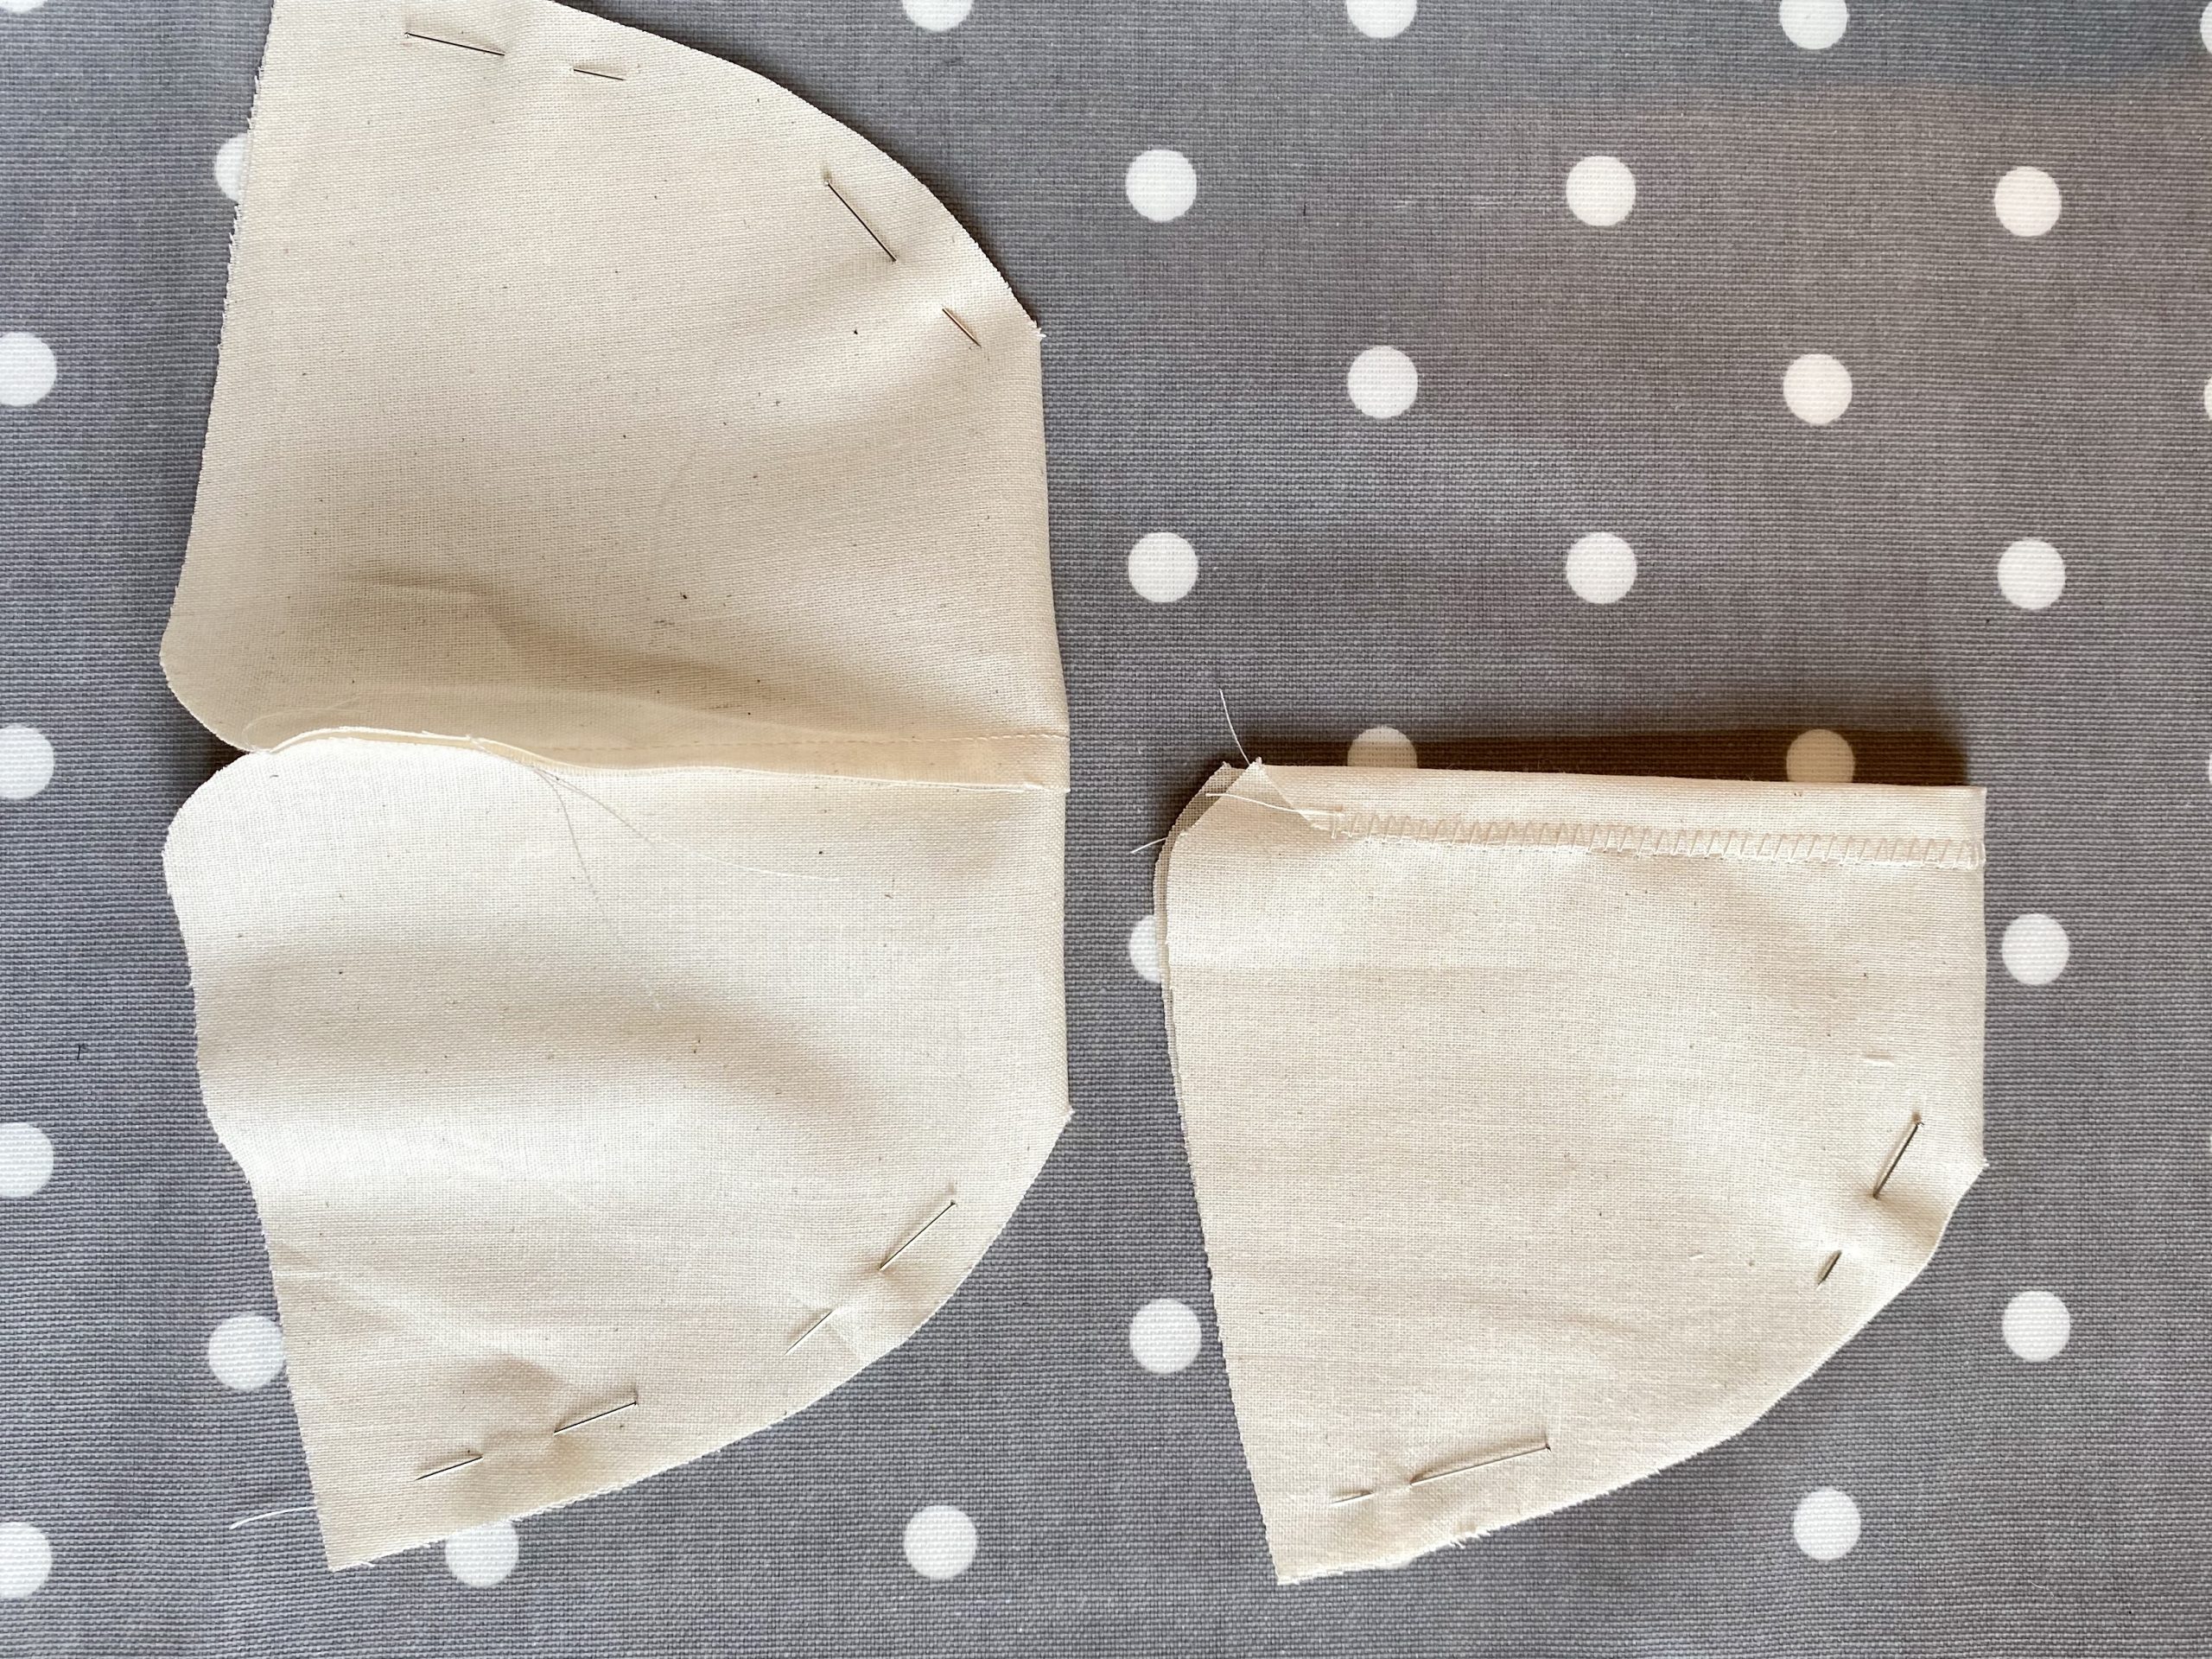
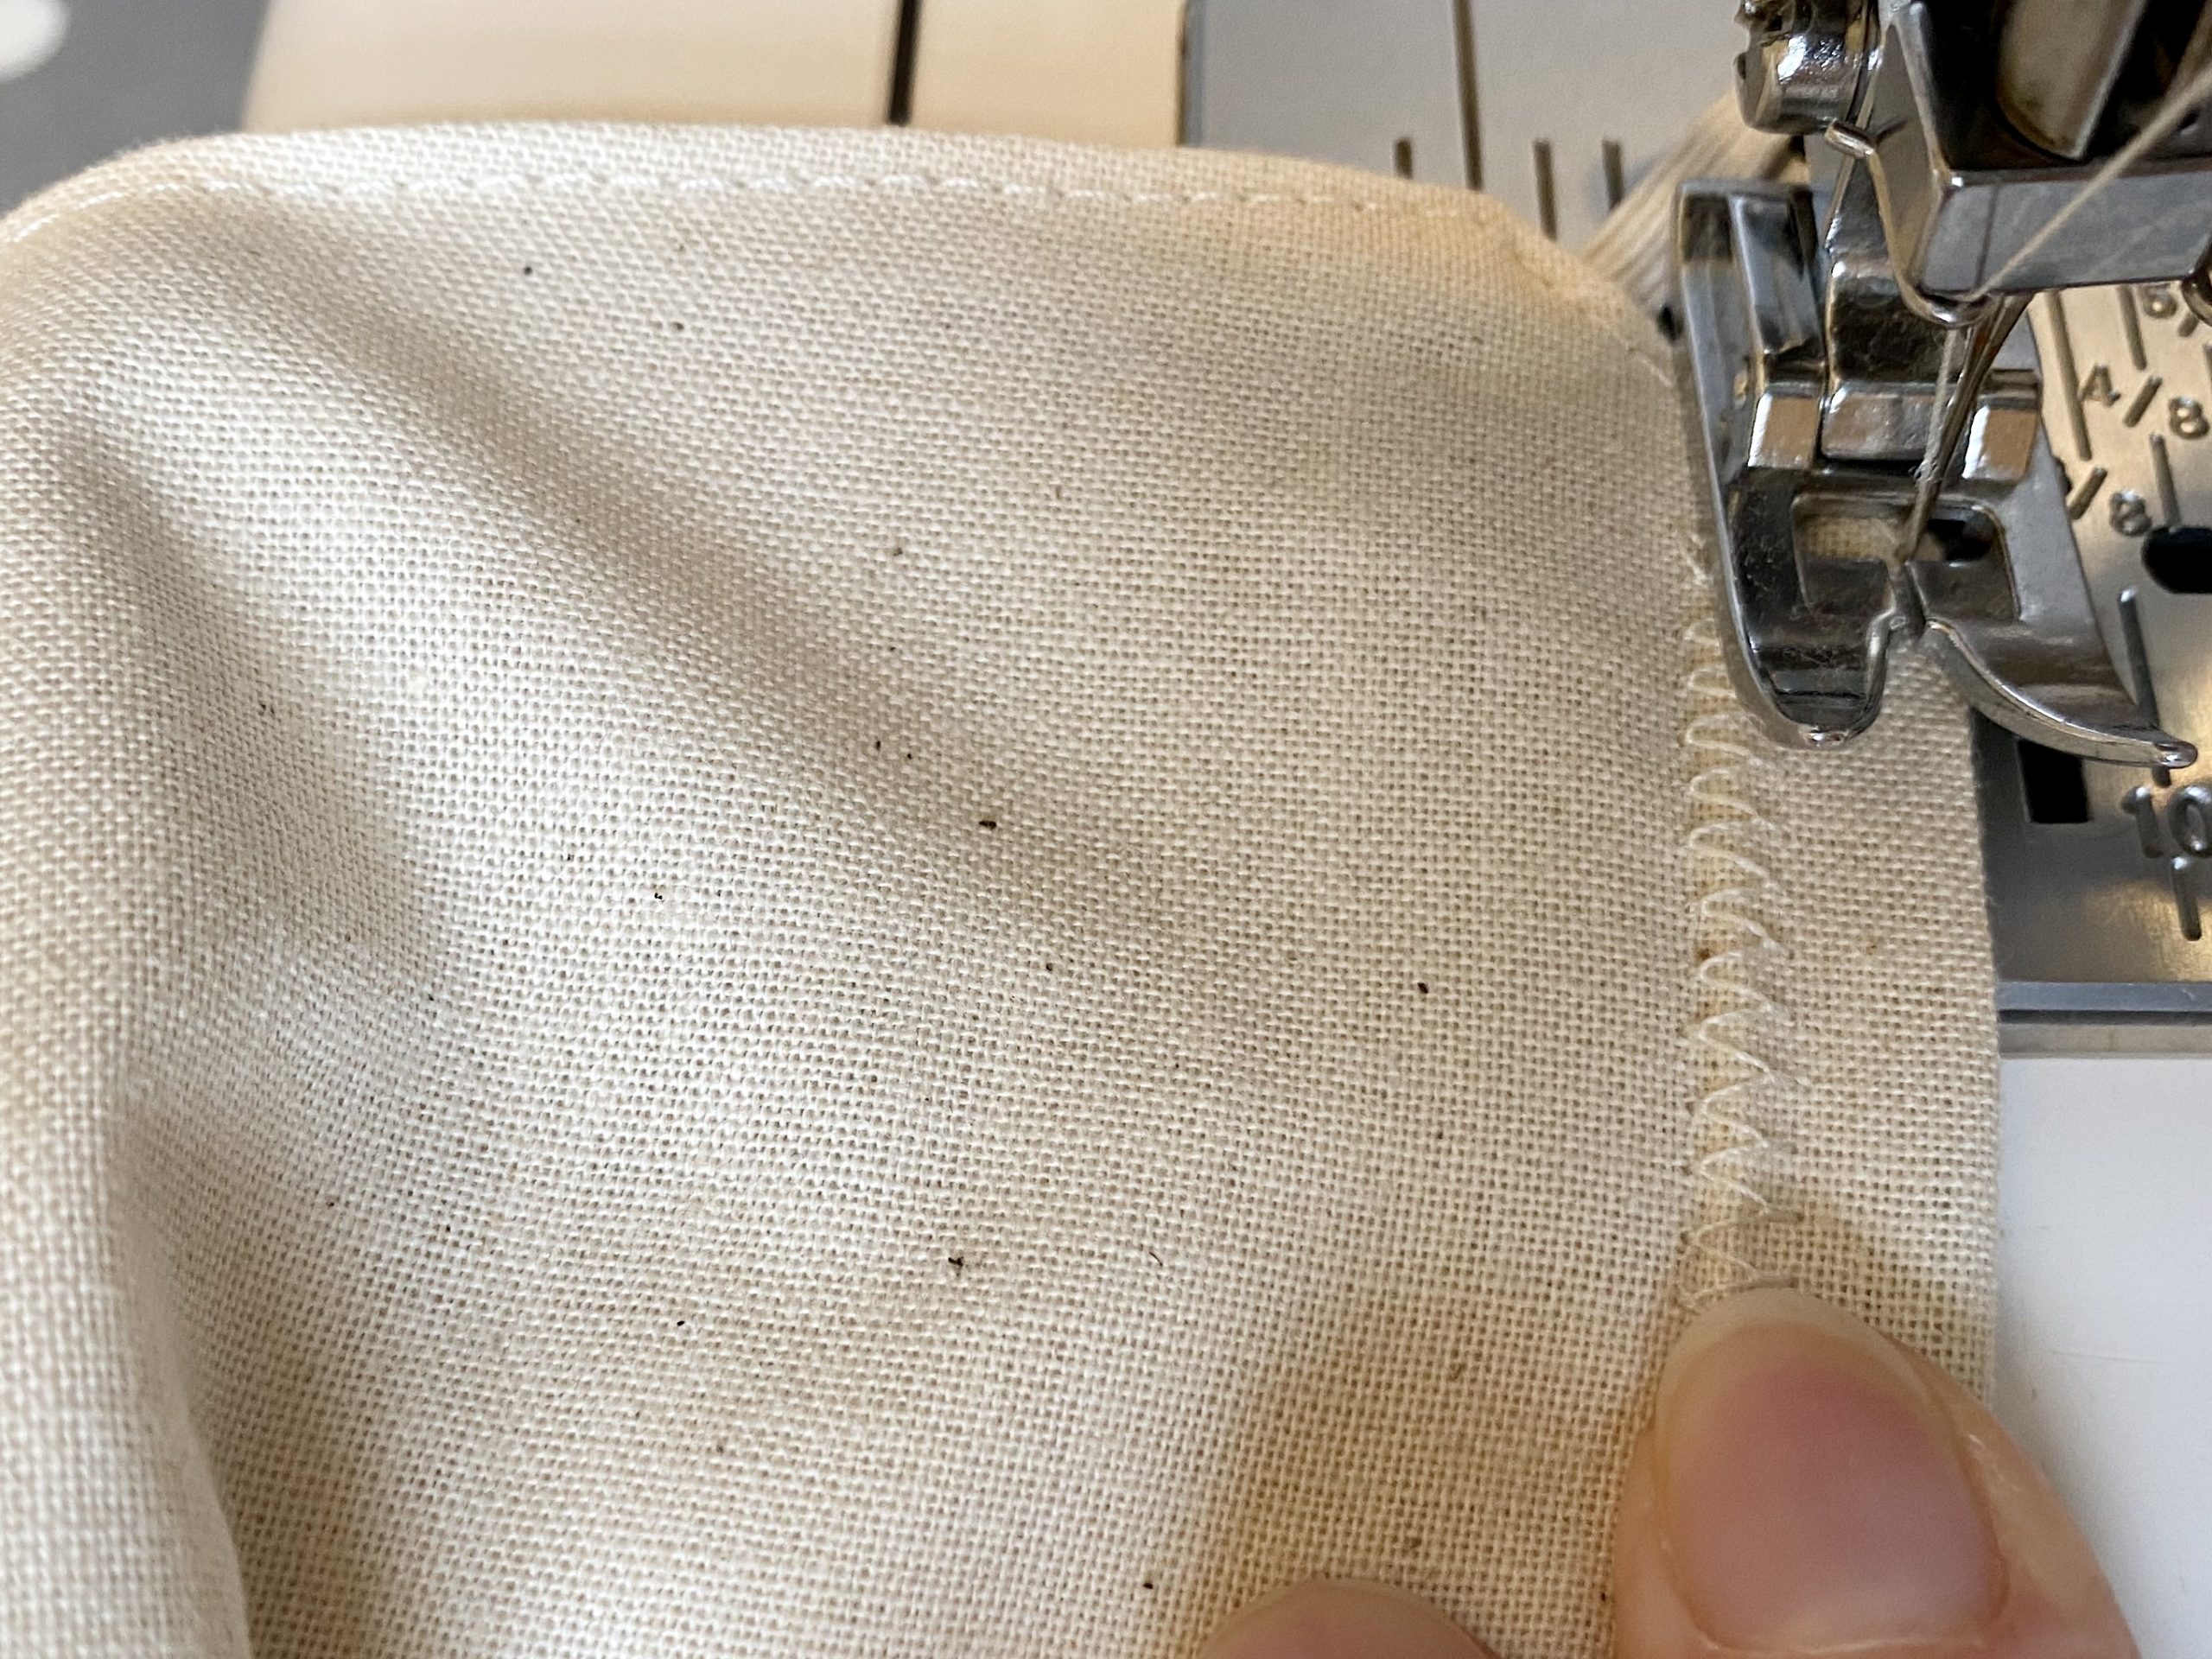
  • Make sure all the unfinished edges are finished with a zigzag stitch or an overlocker, if you have one.
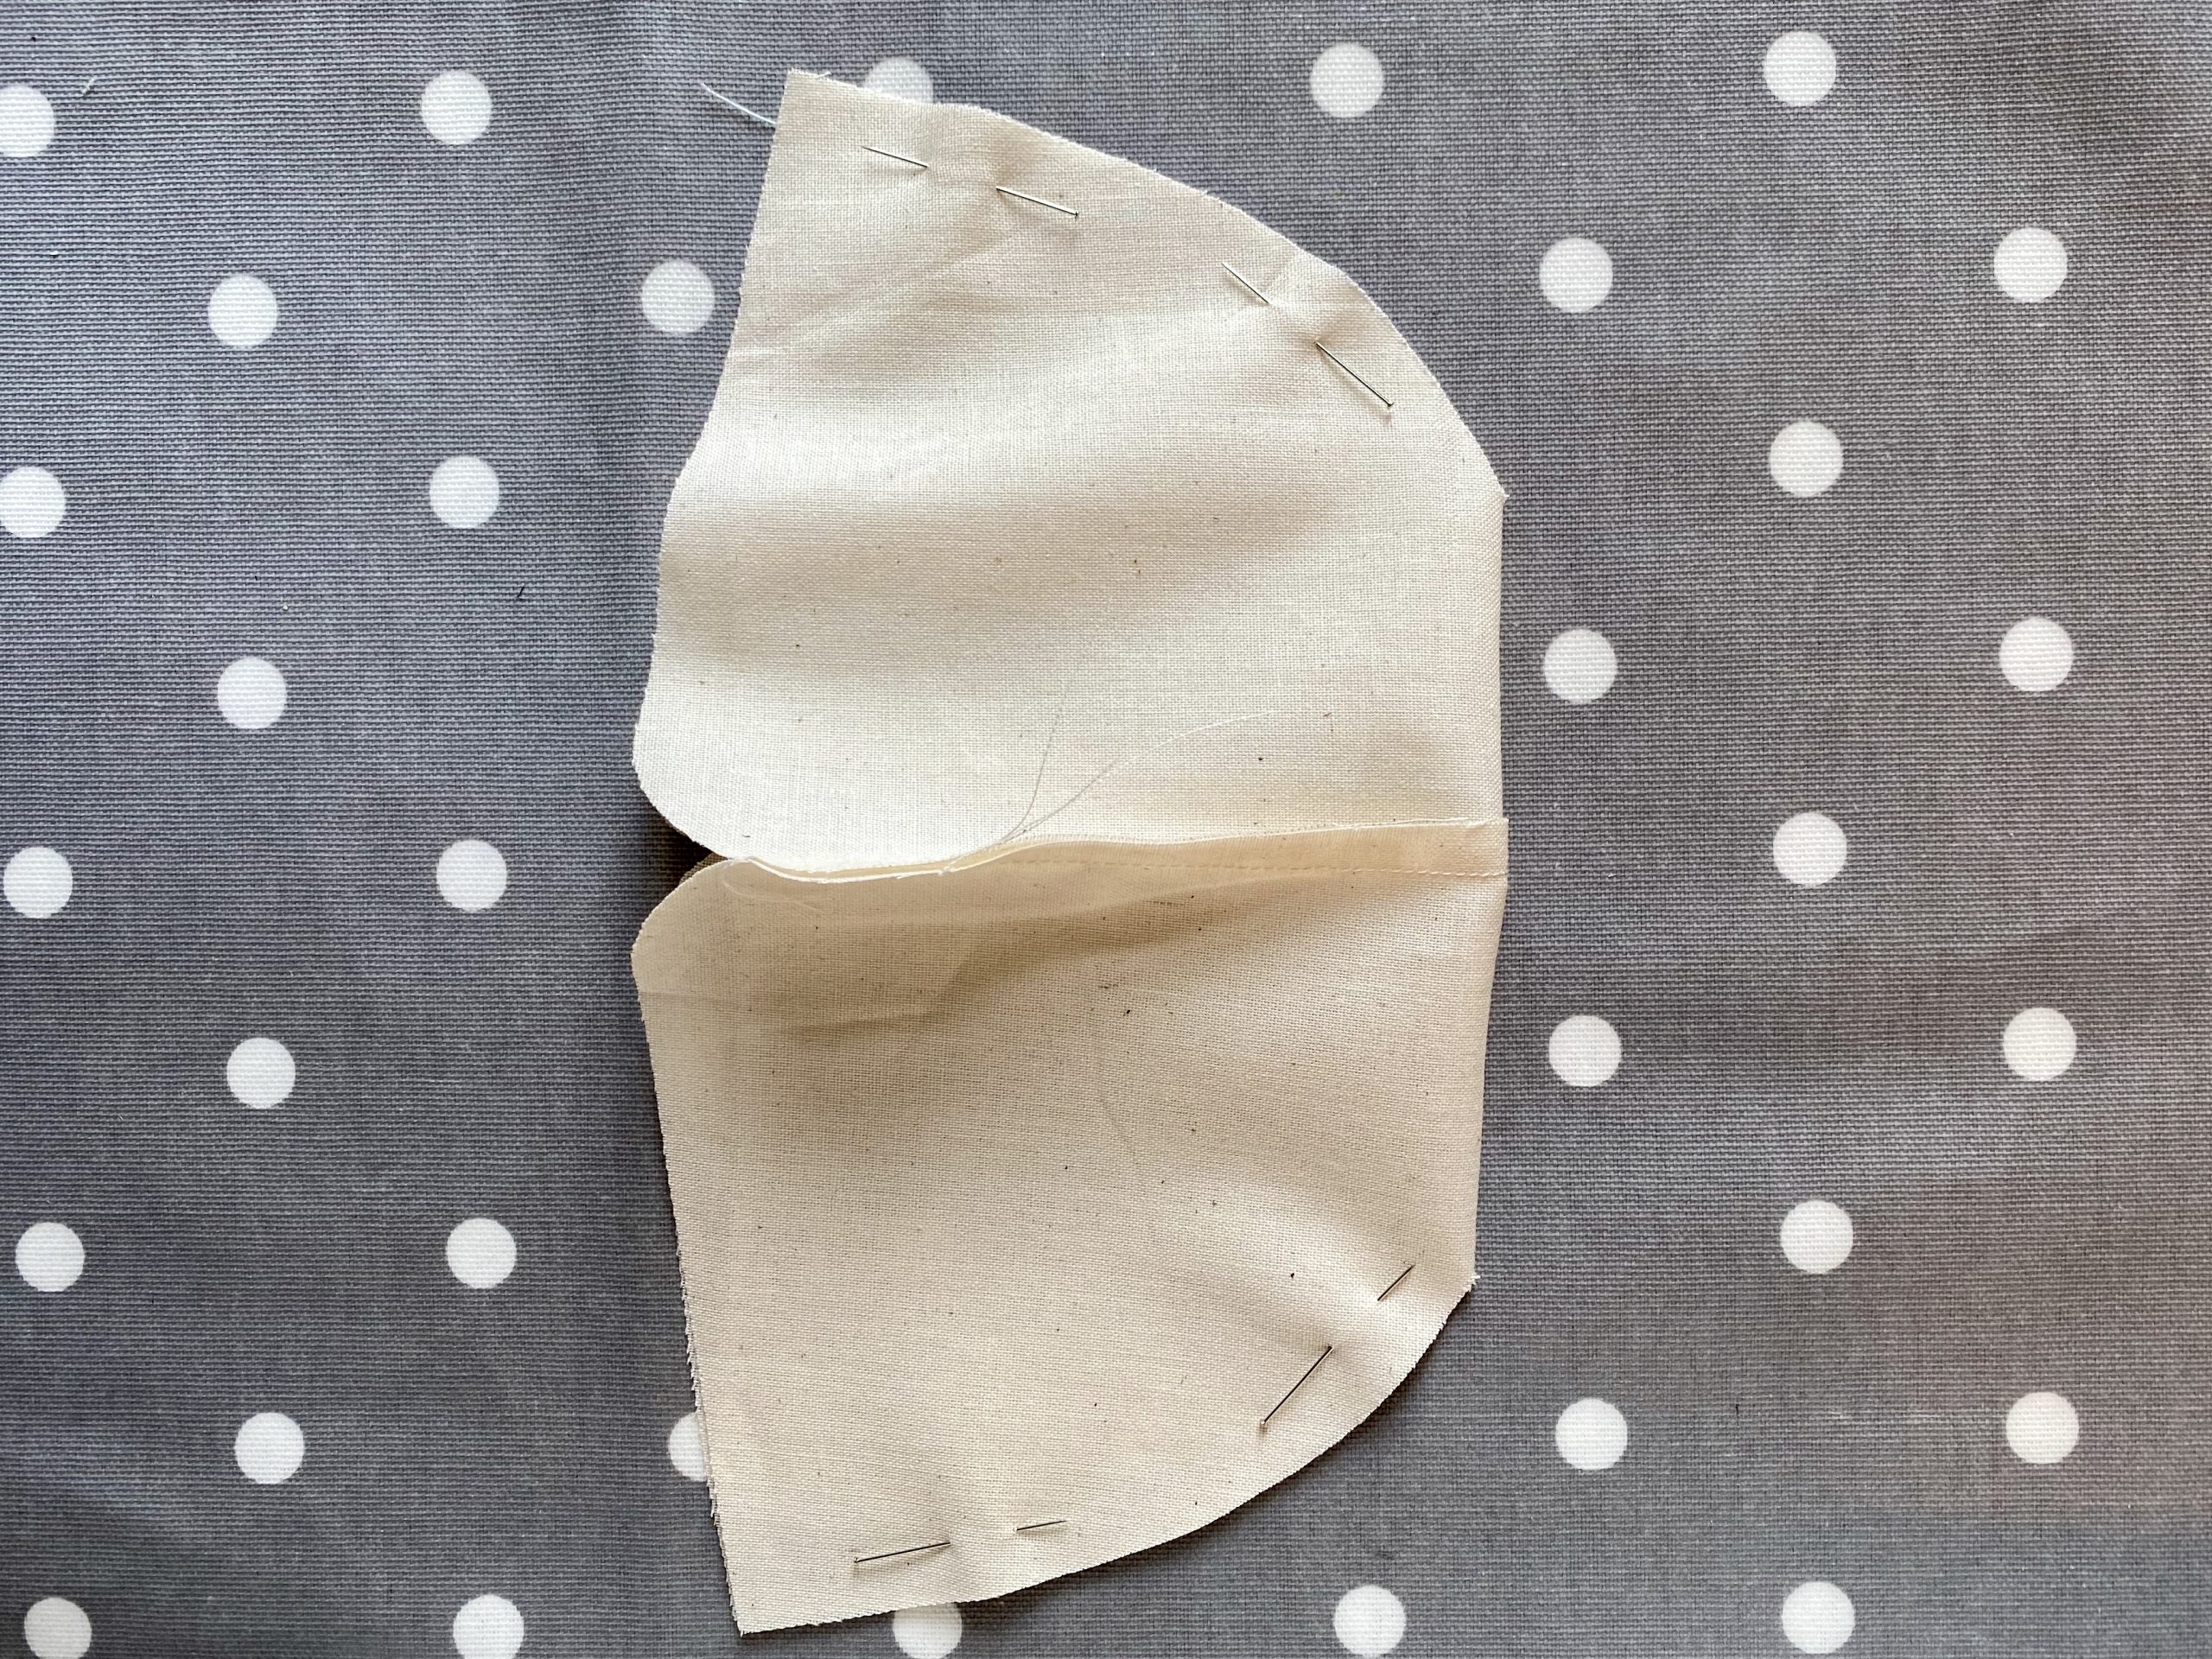
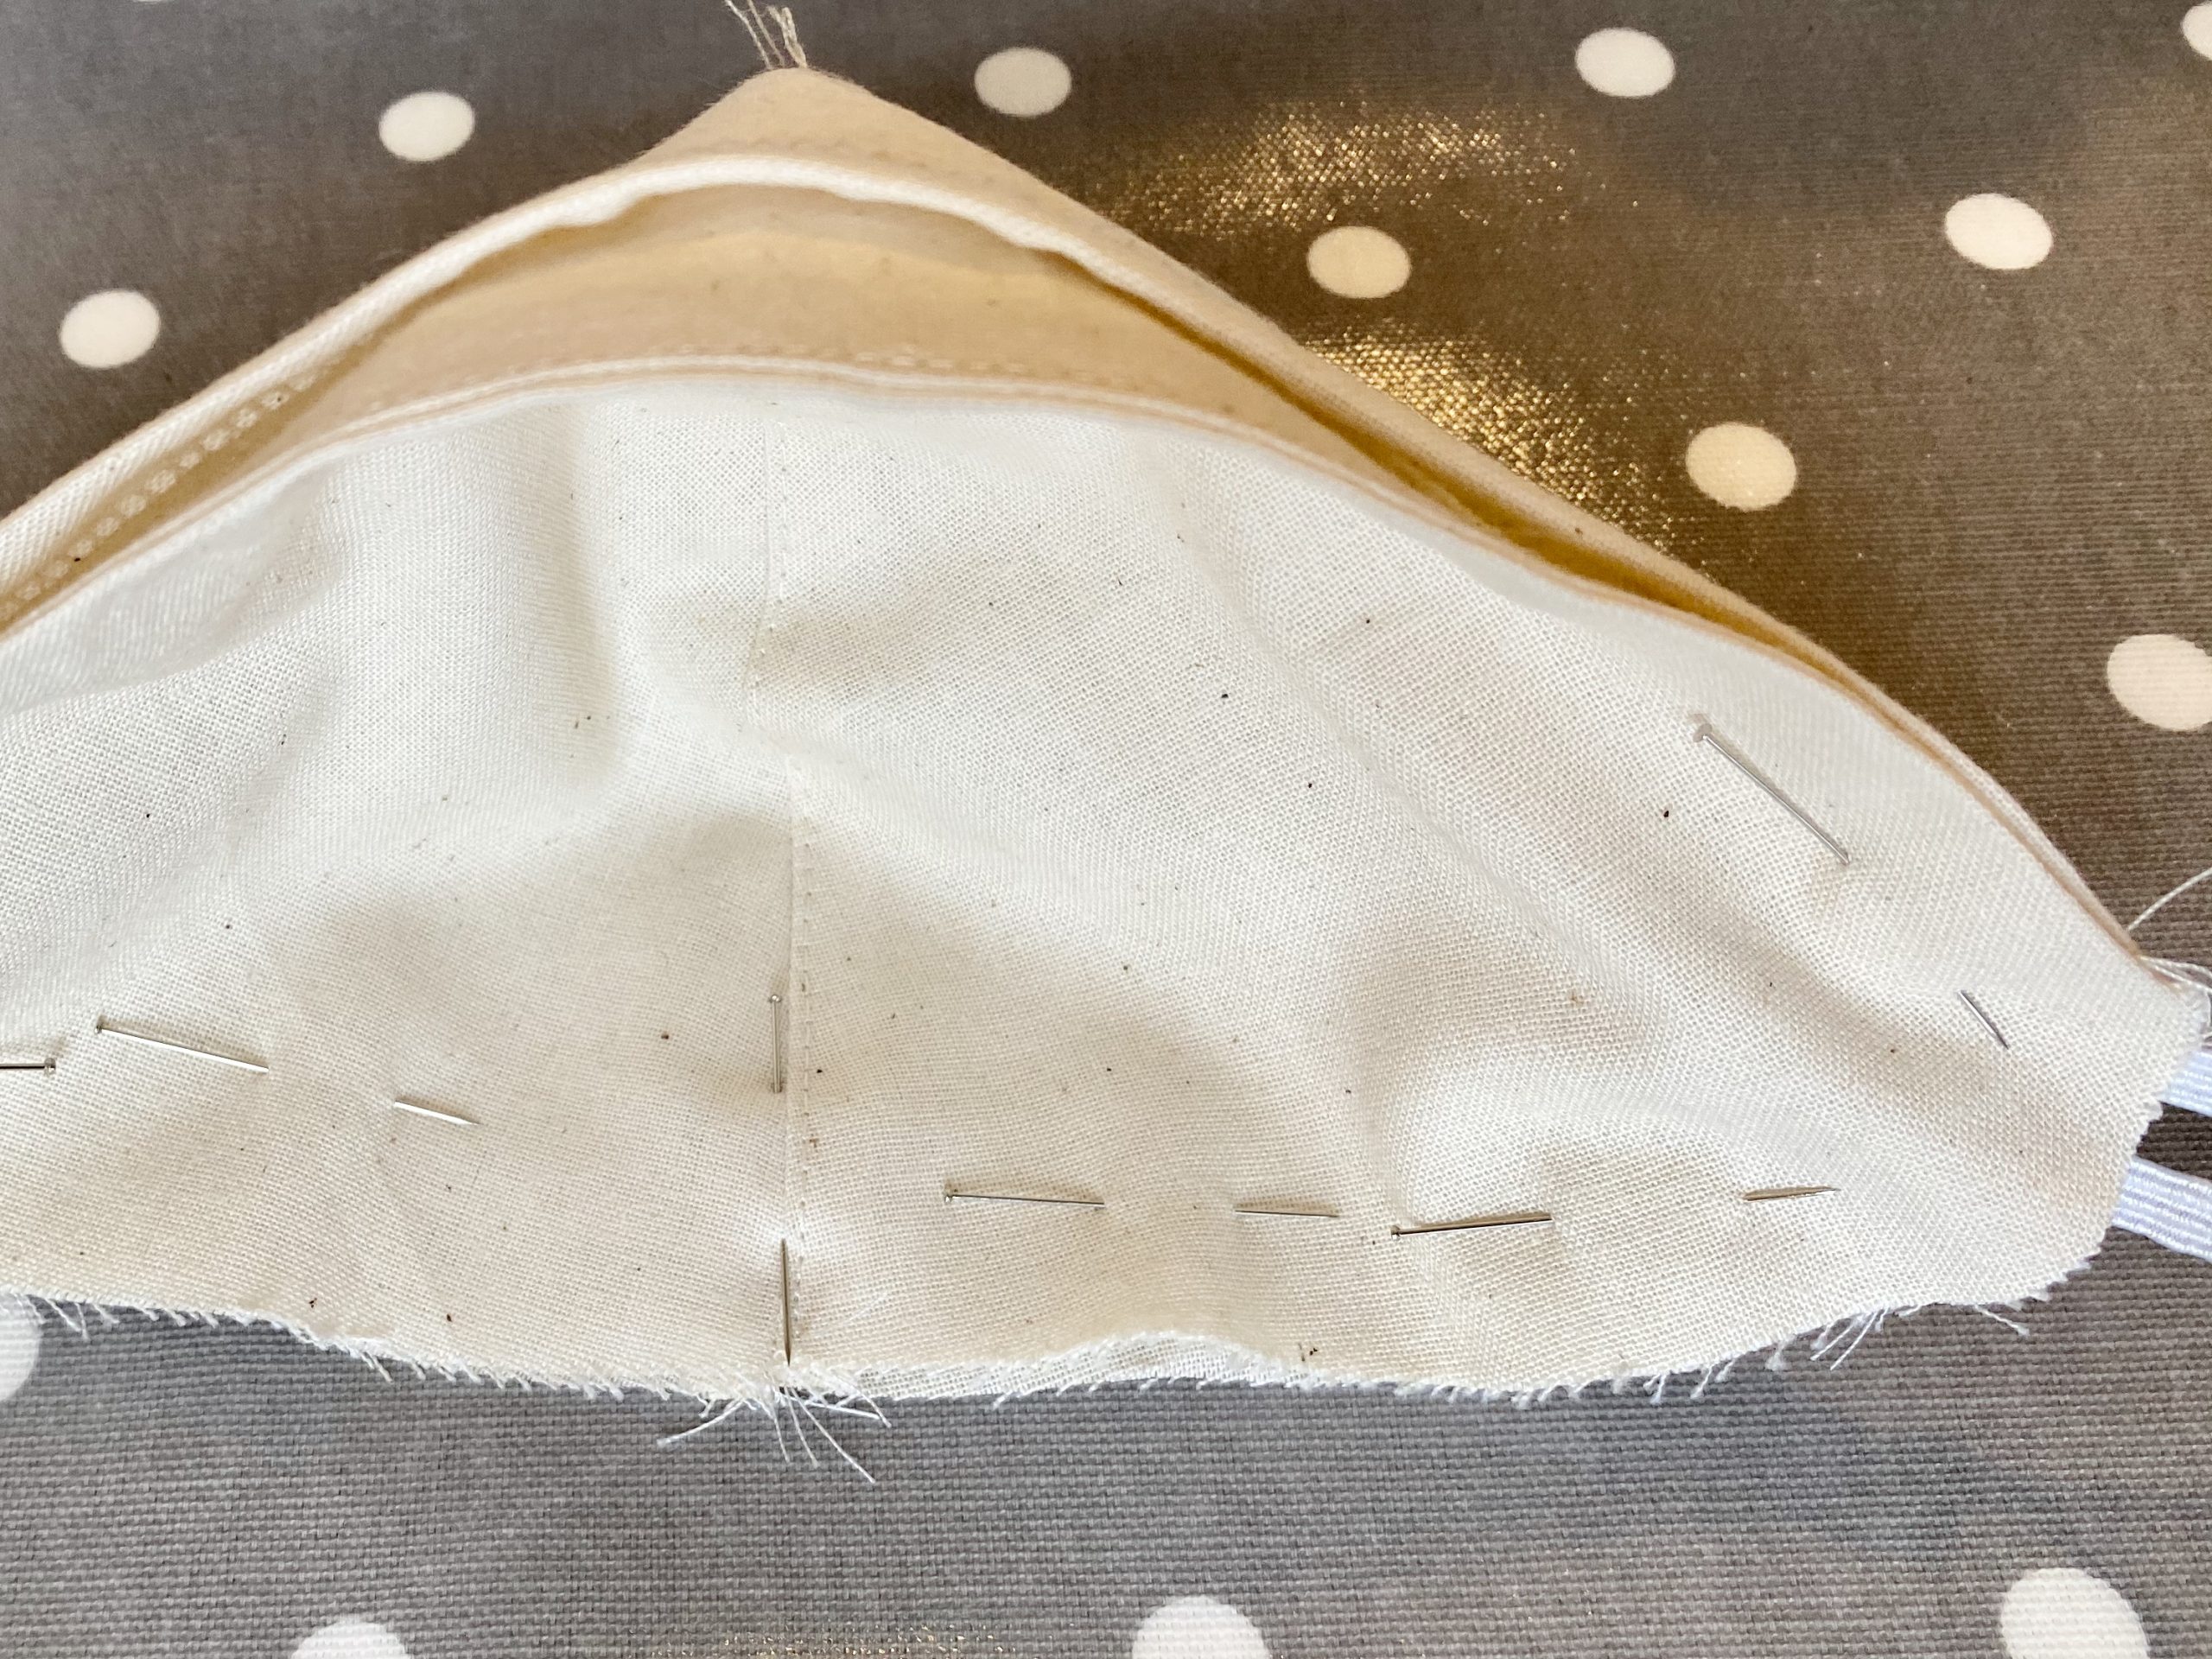
  • Pin the two rectangles right sides together.
  • On one of the rectangles… mark the sides 6cm down from what will be the top of the bag, then mark 2cm down from that. You should end up with two marks each side.
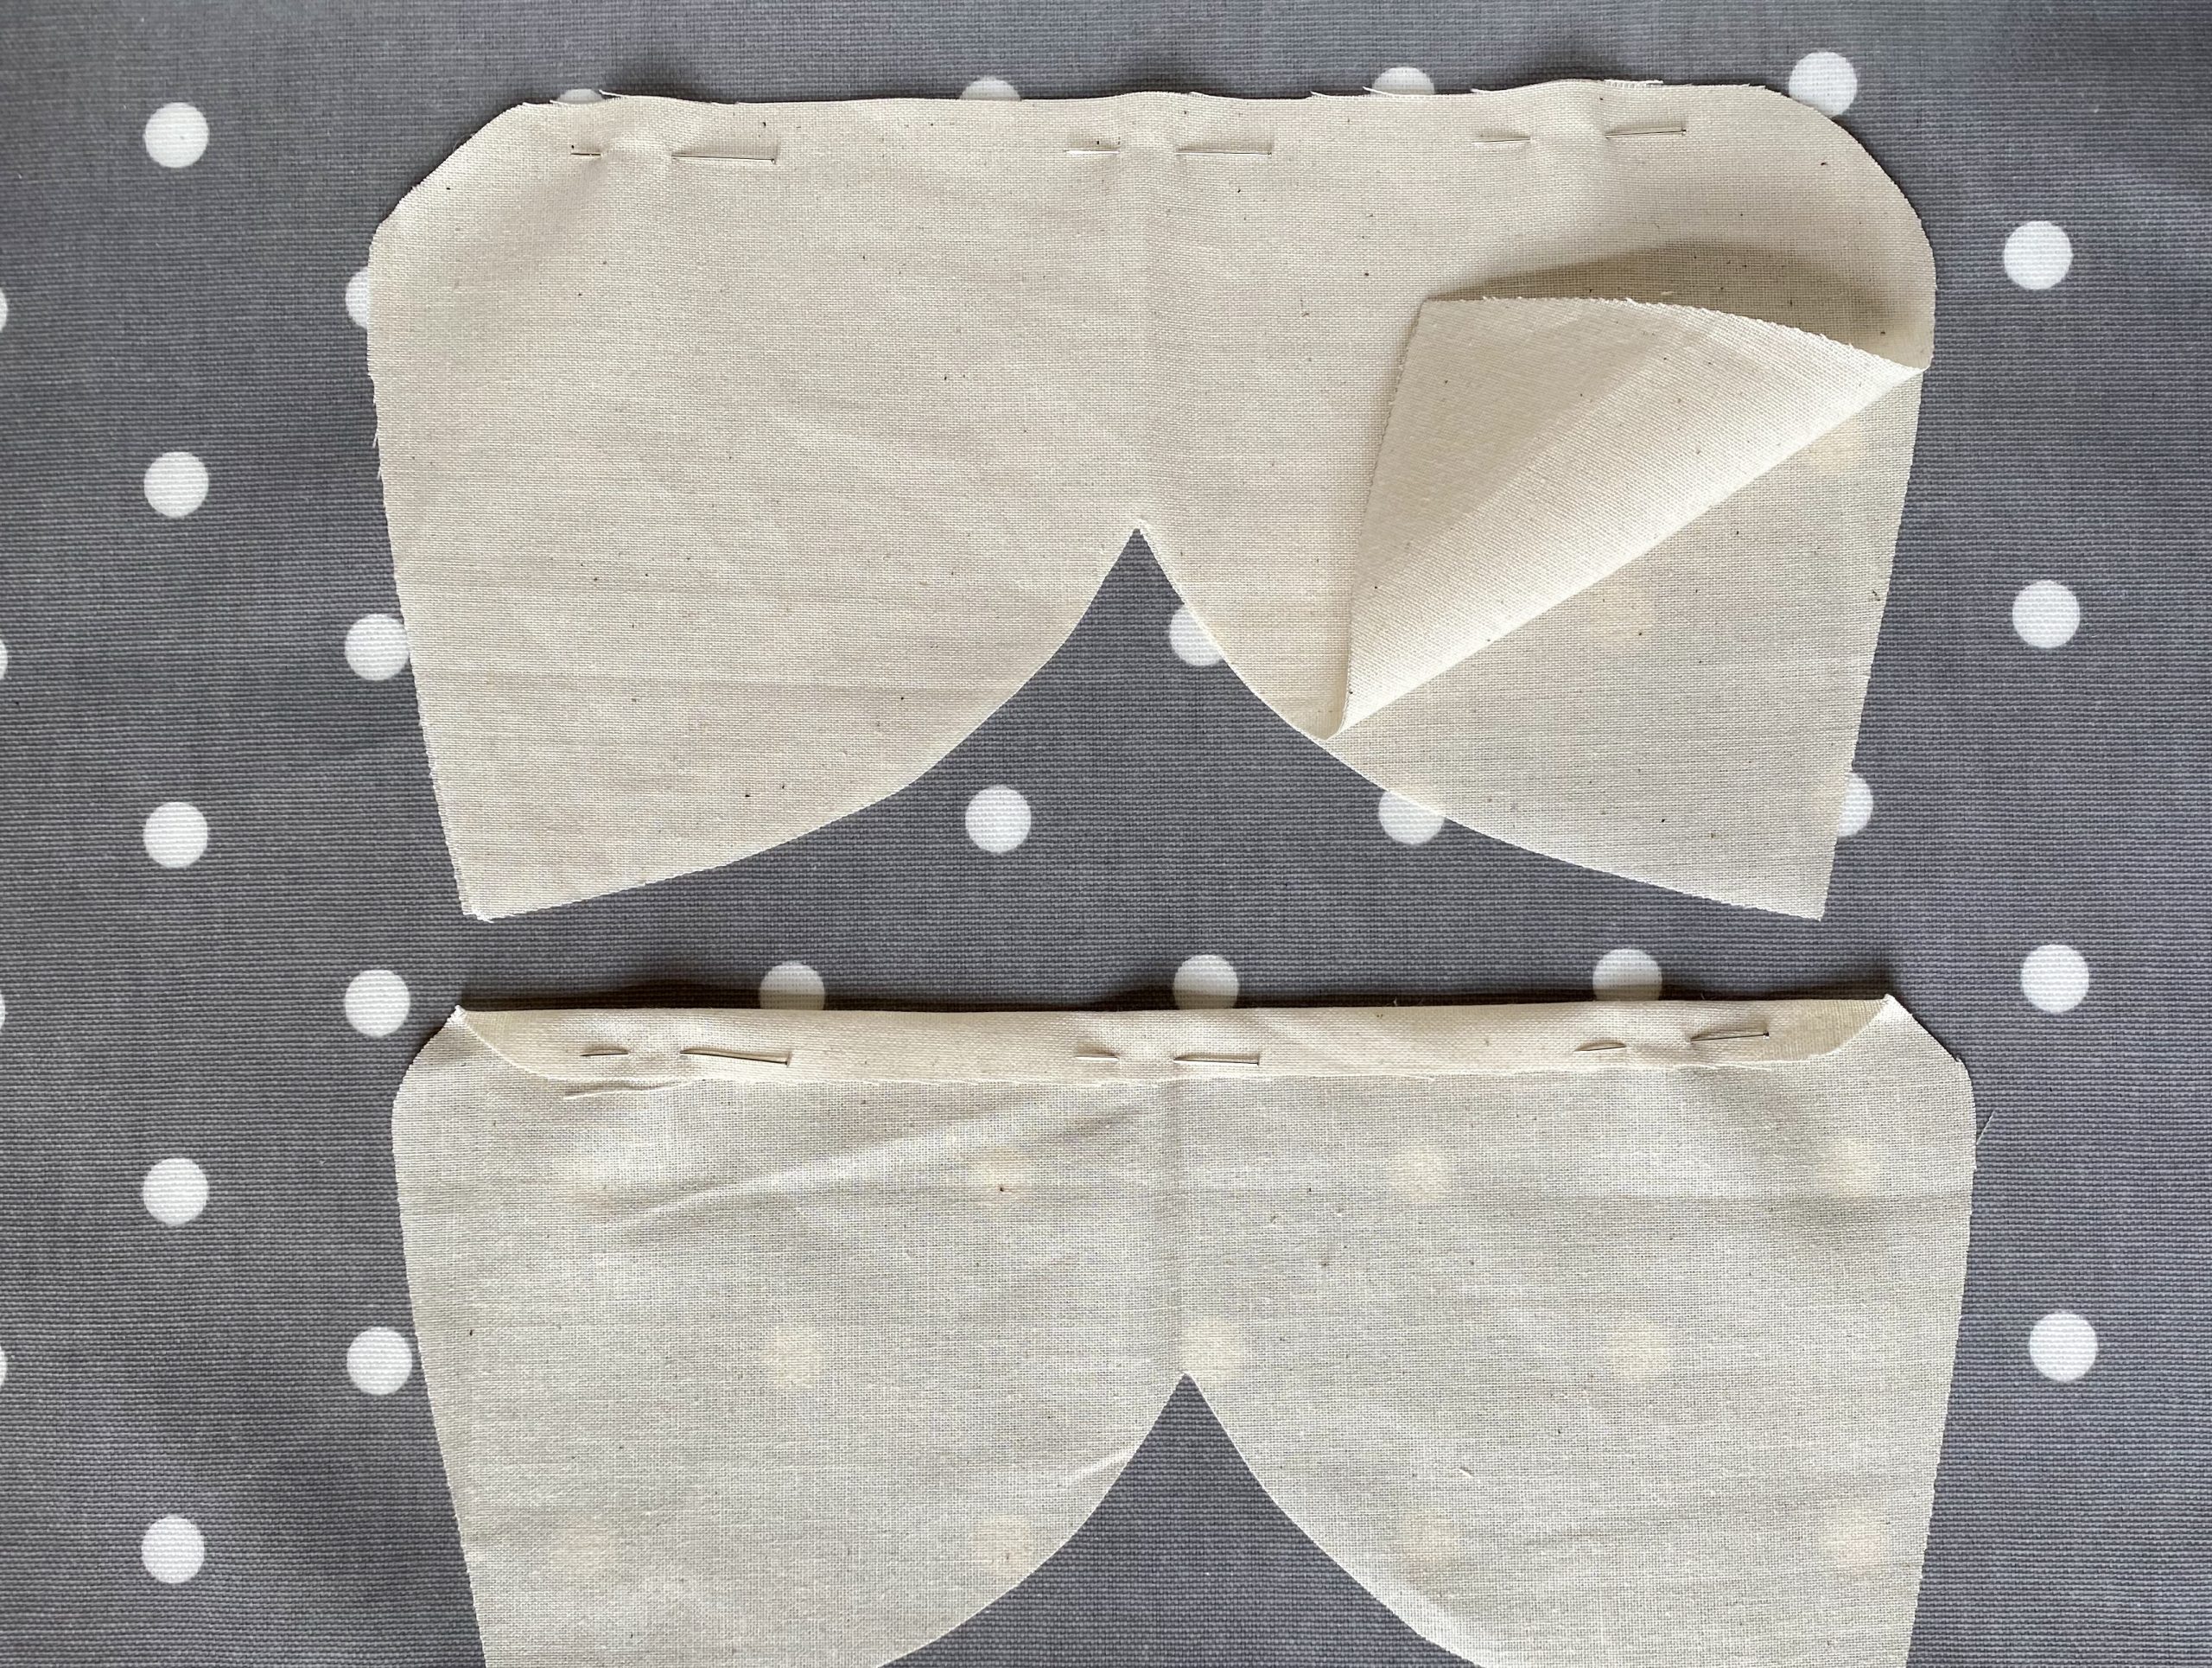
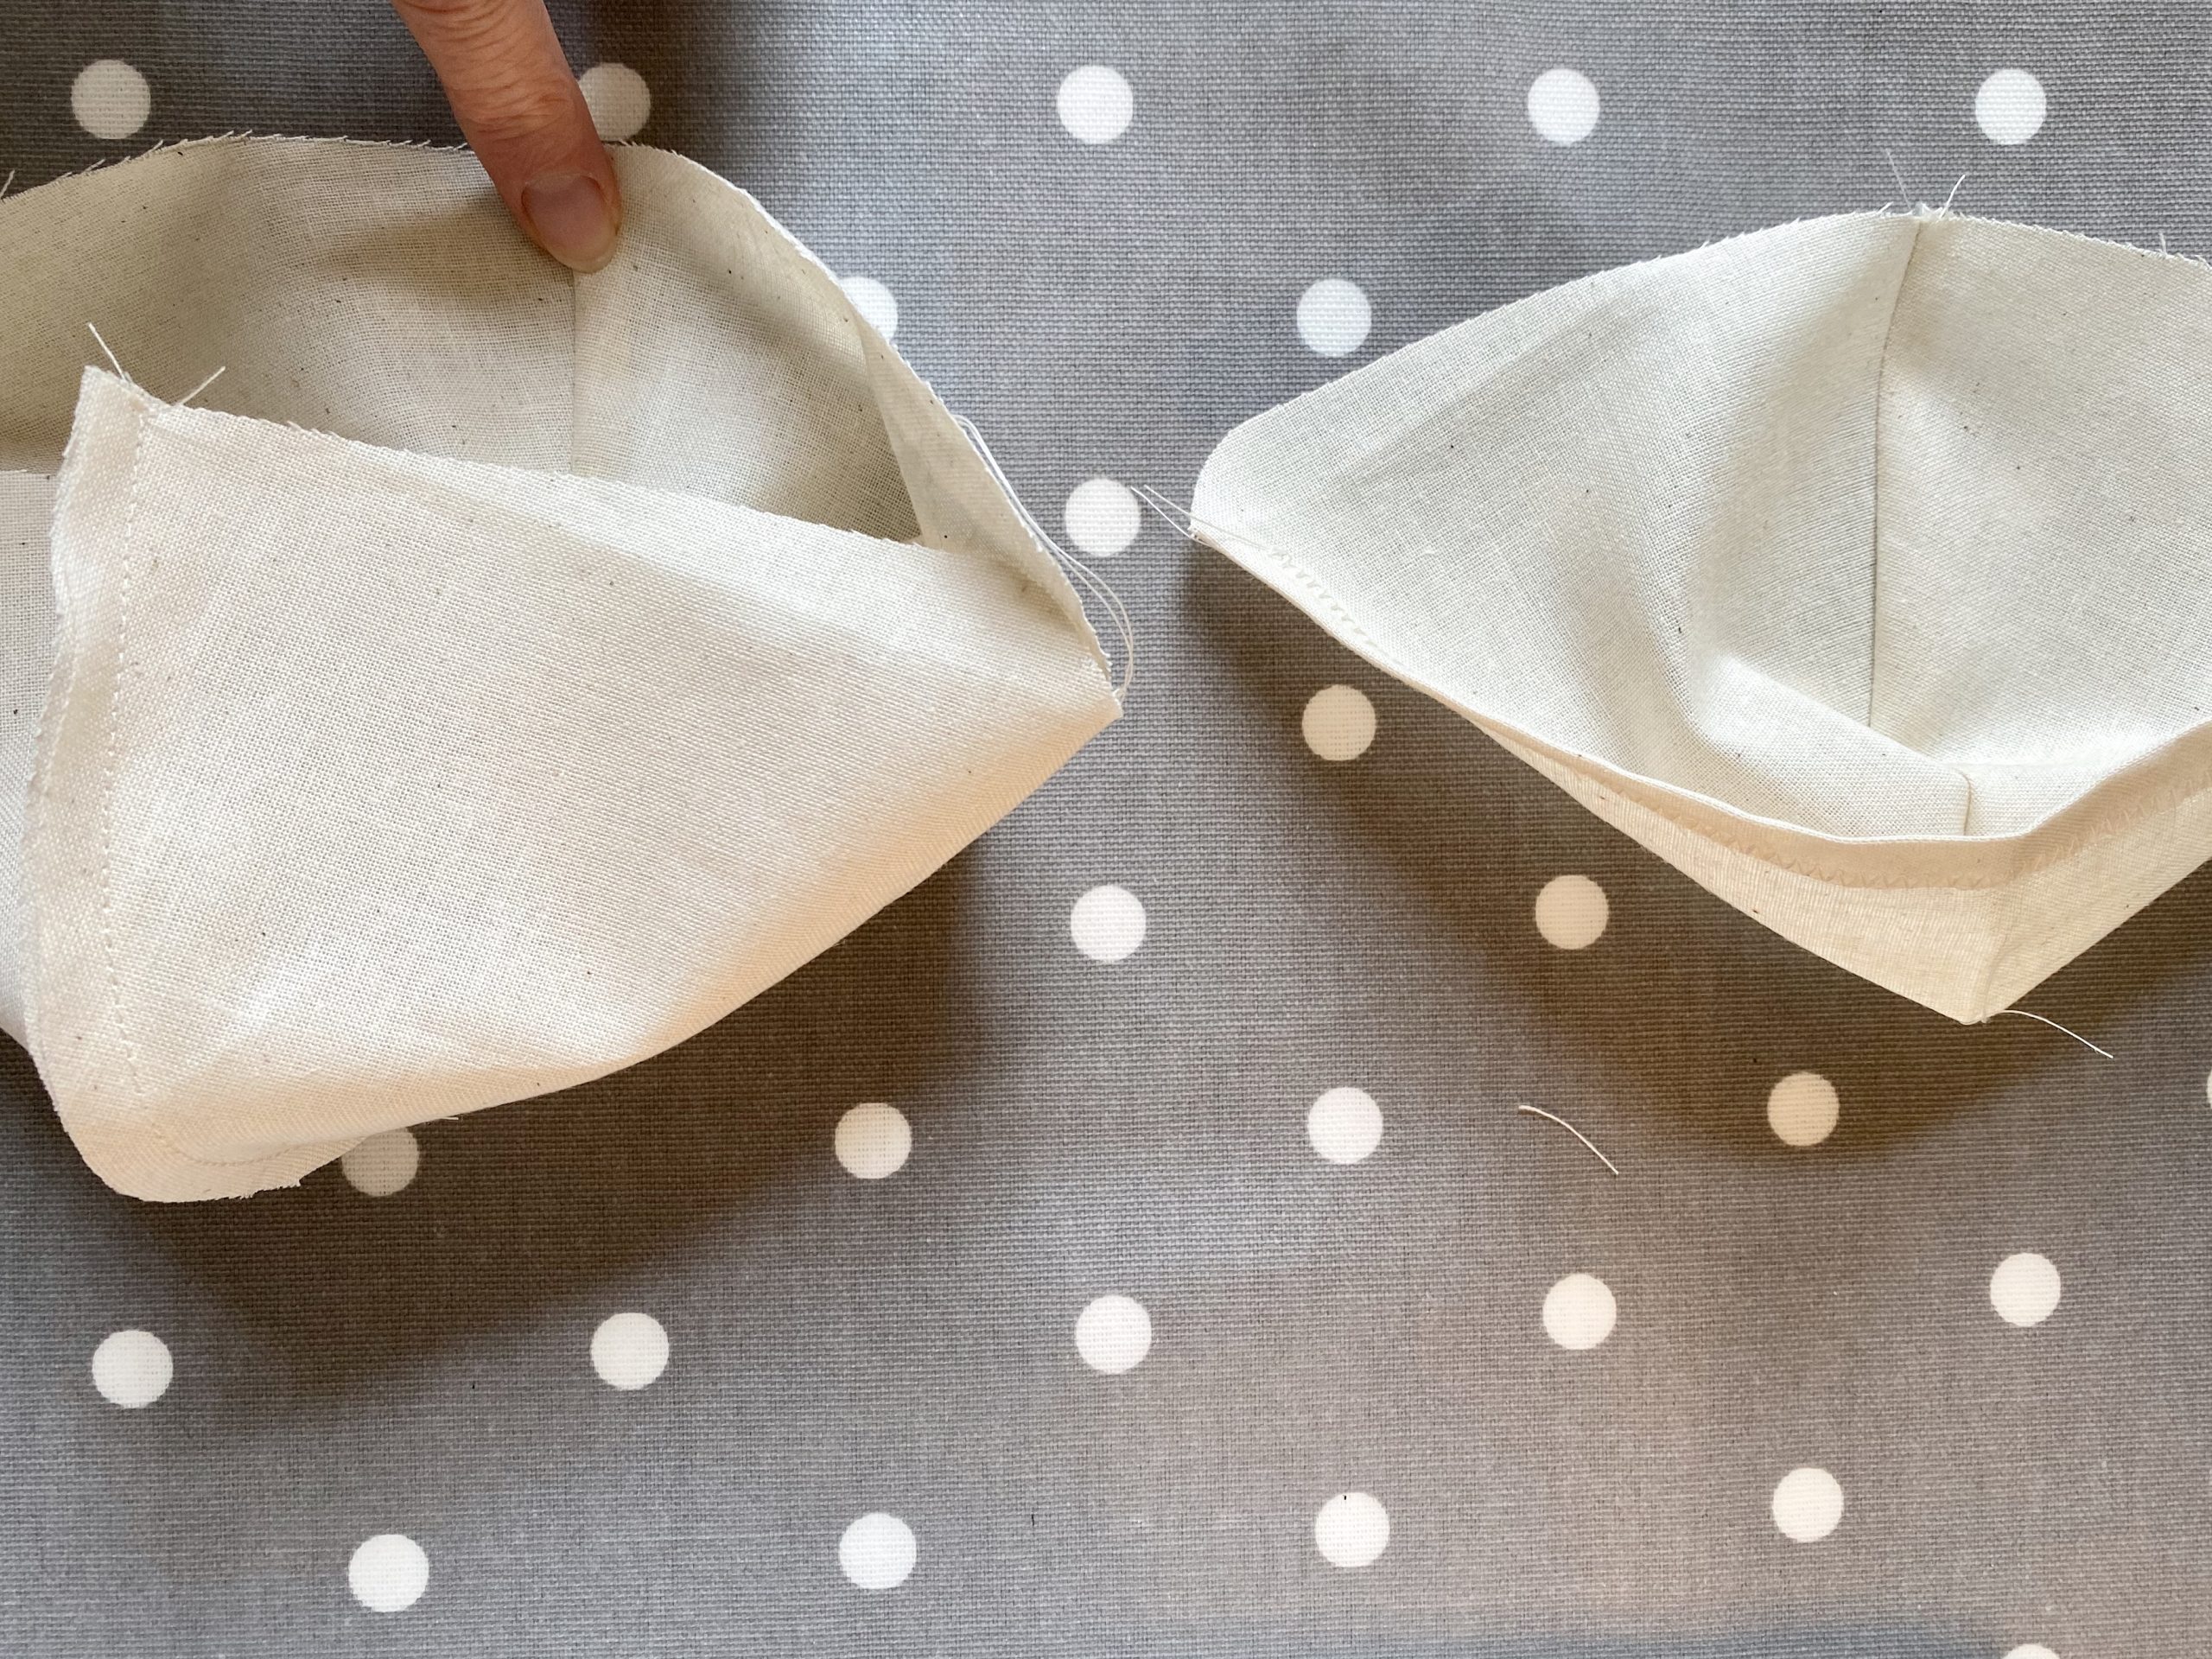
  • Leaving a gap between the two marks, stitch down both sides, seaming the back and front of the bag together.Leave the bottom open for now…
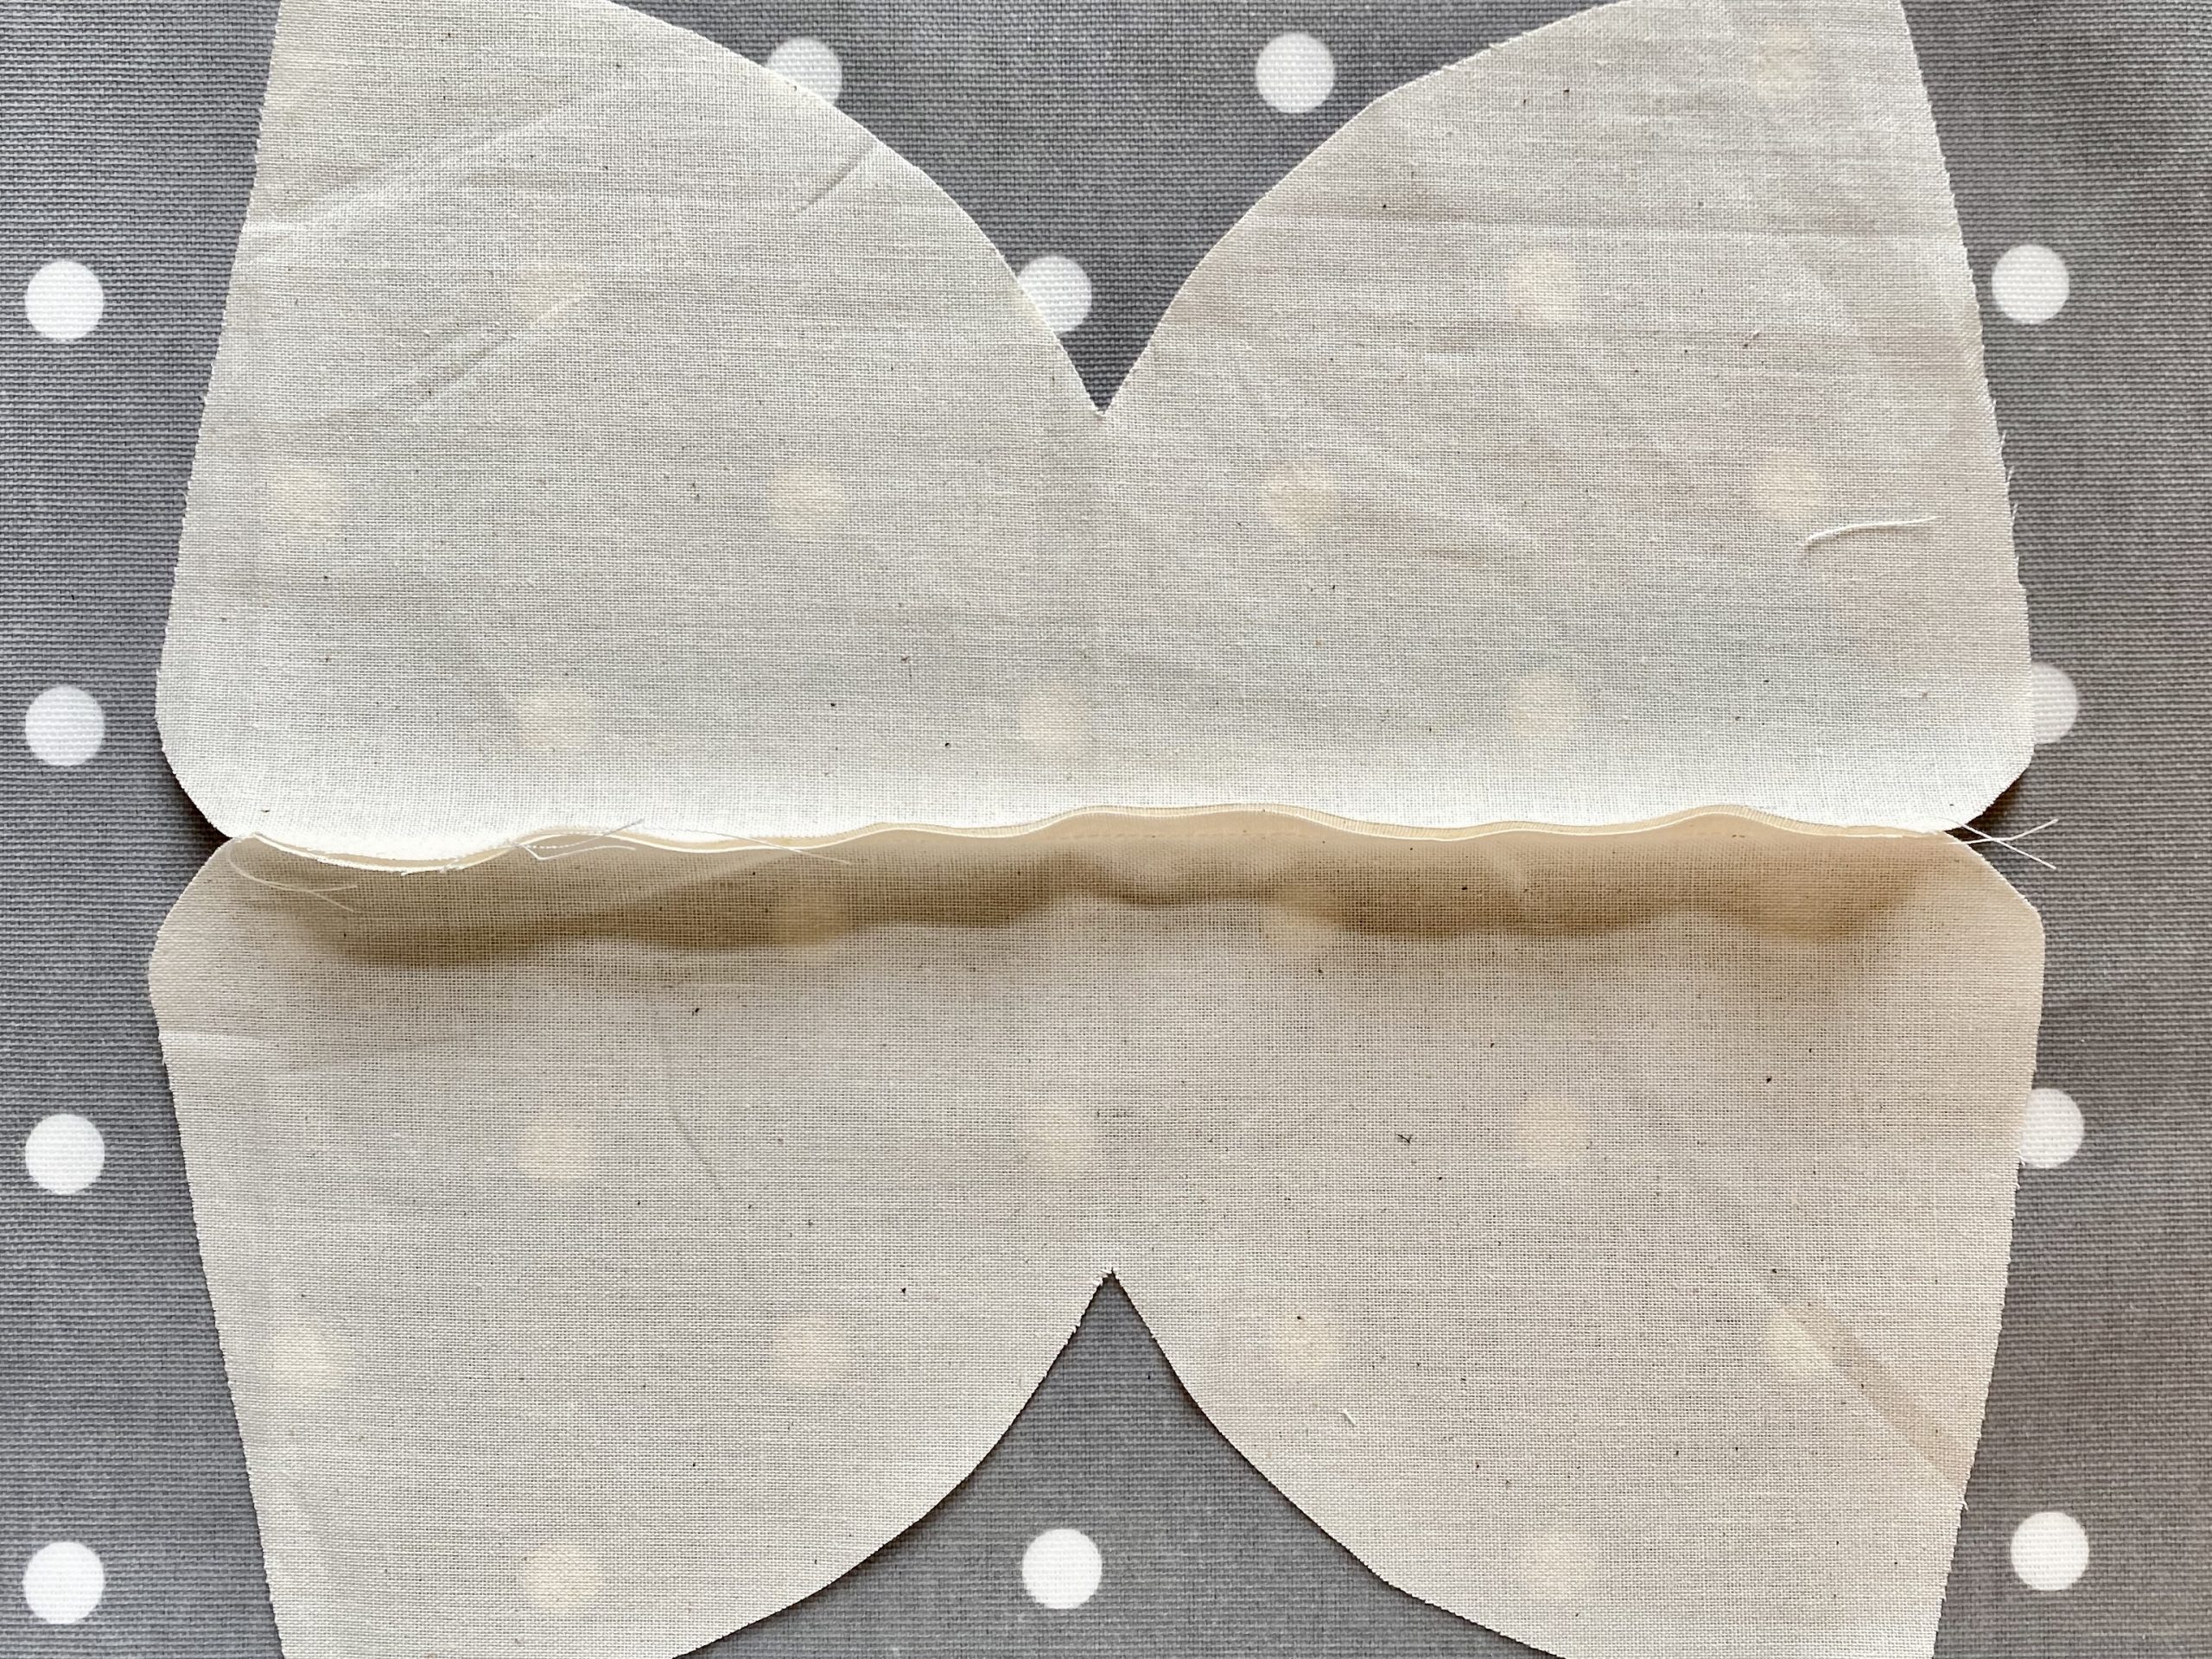
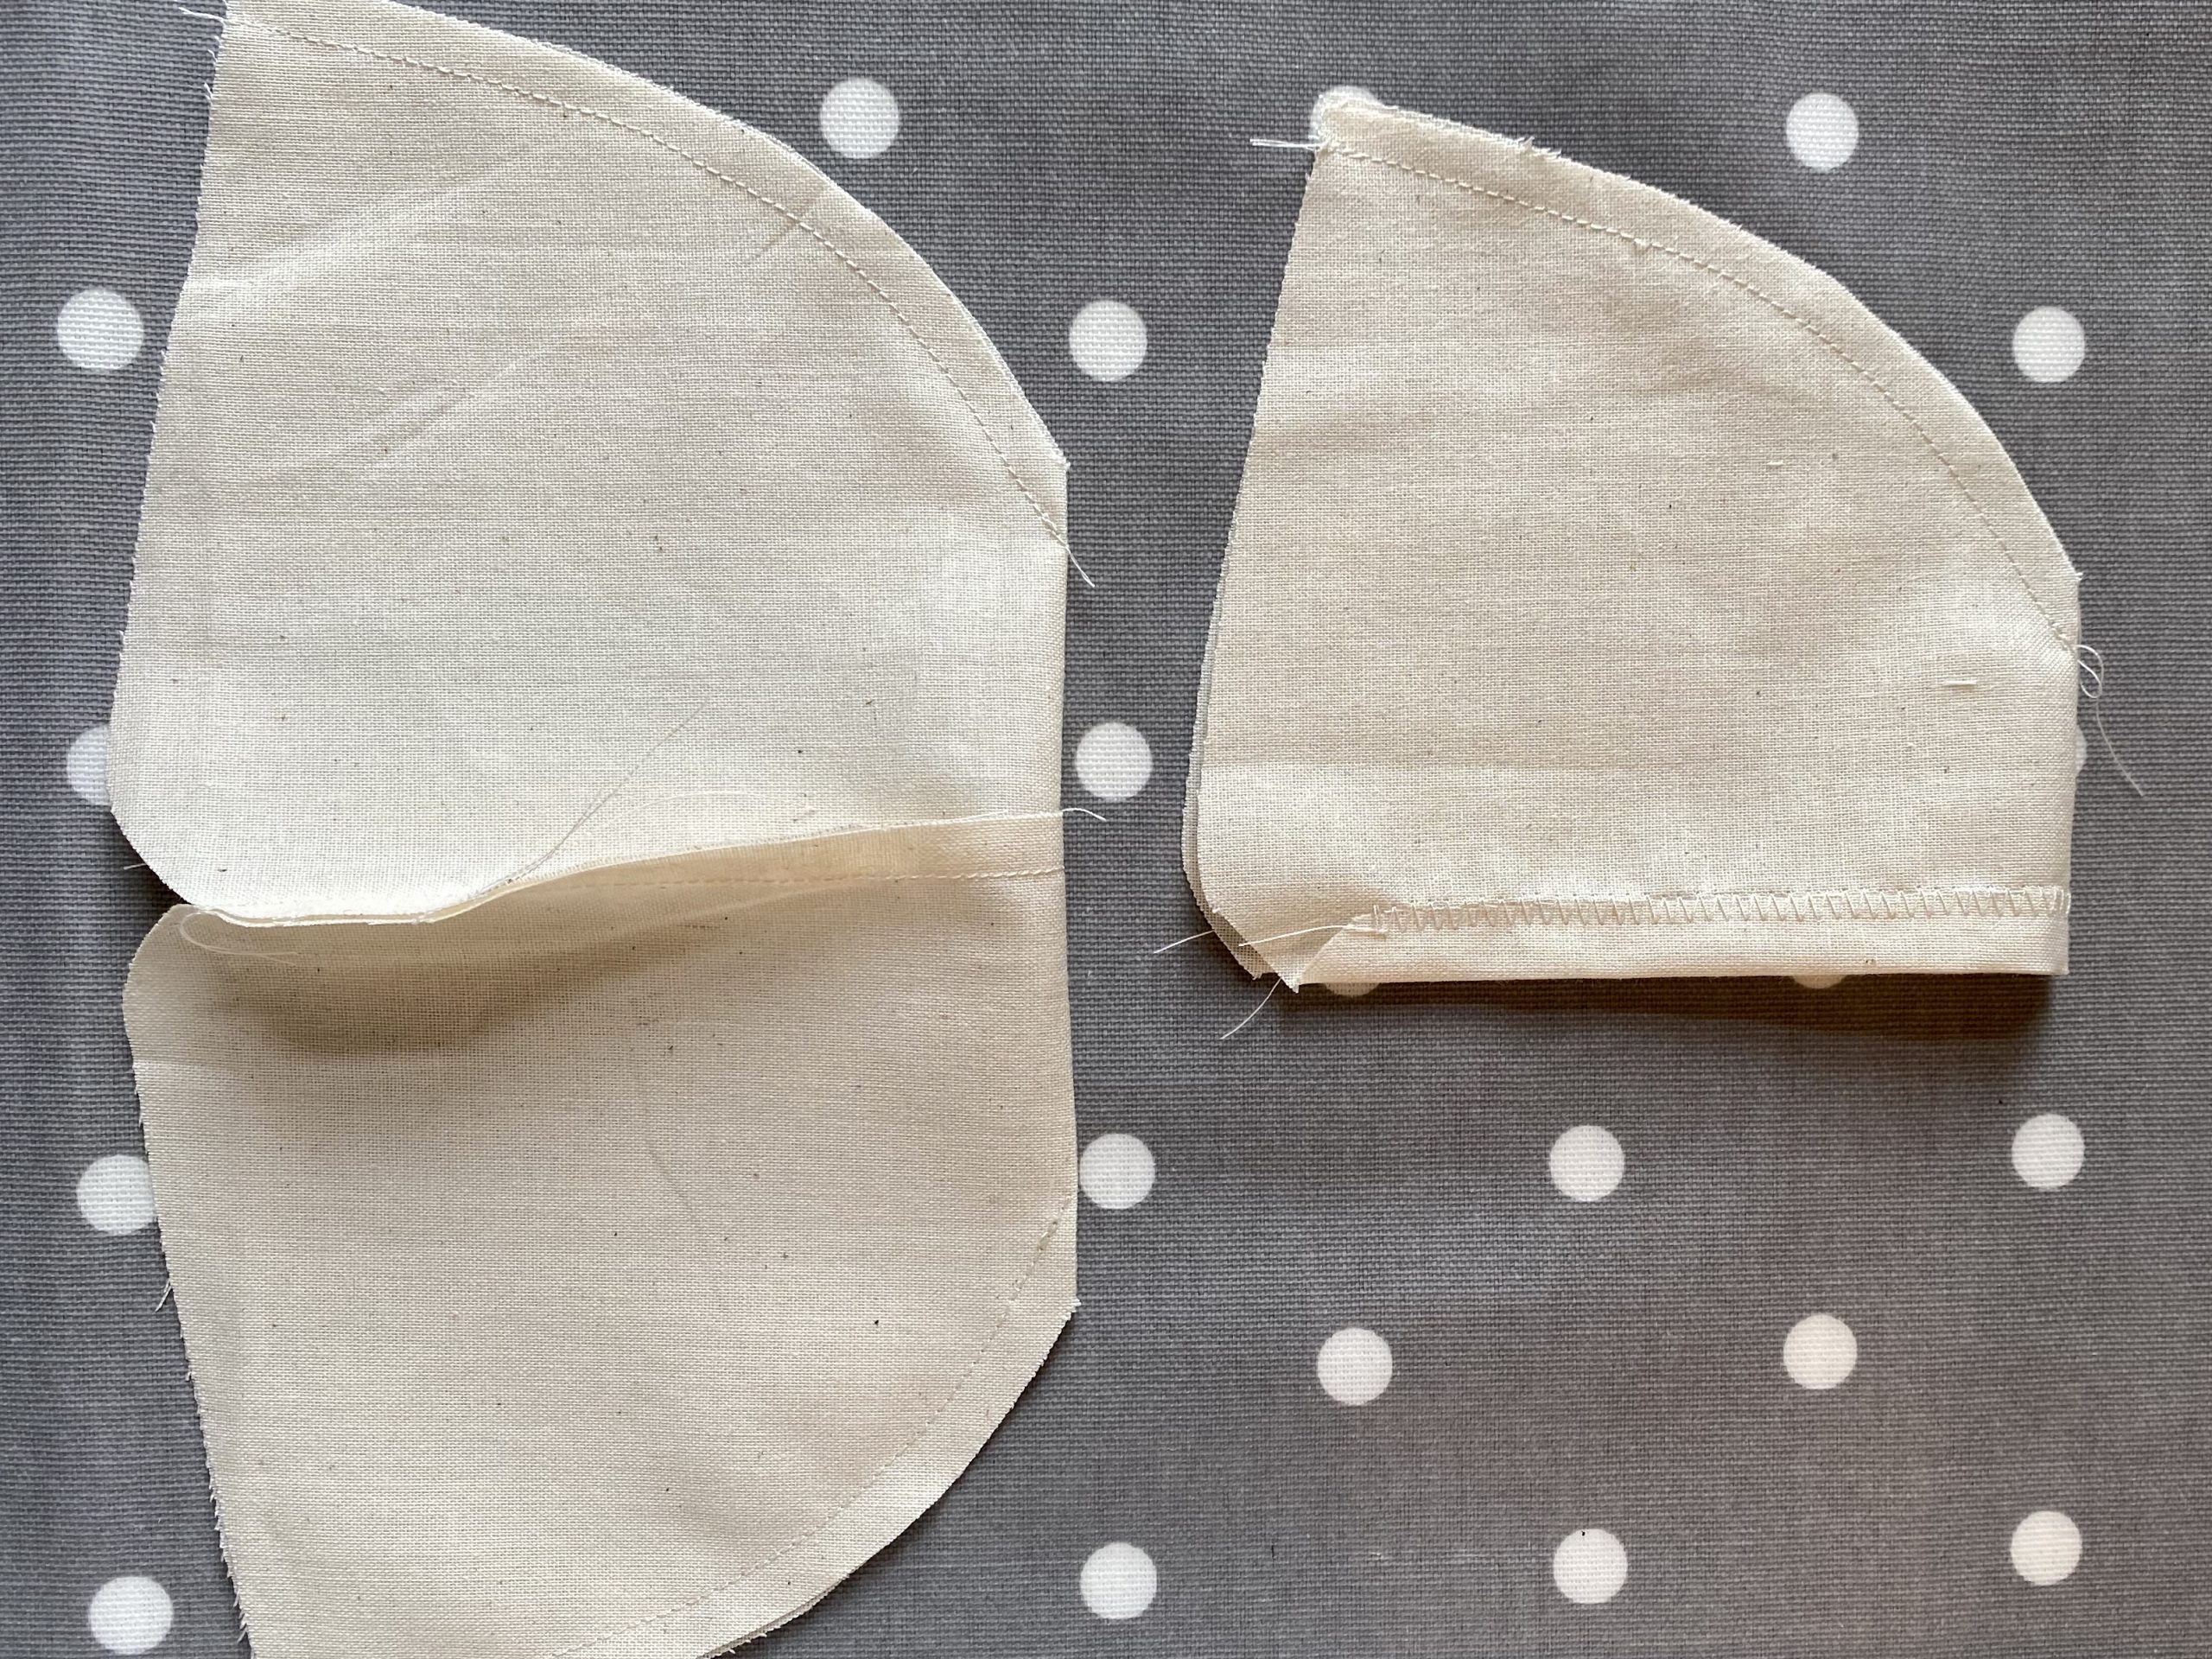
  • Press these seams open and then from the right side, top-stitch either side of the seam to hold the seam allowance back.
  • Now stitch the bottom seam and press.  You can finish it like a french seam on the outside if you like  
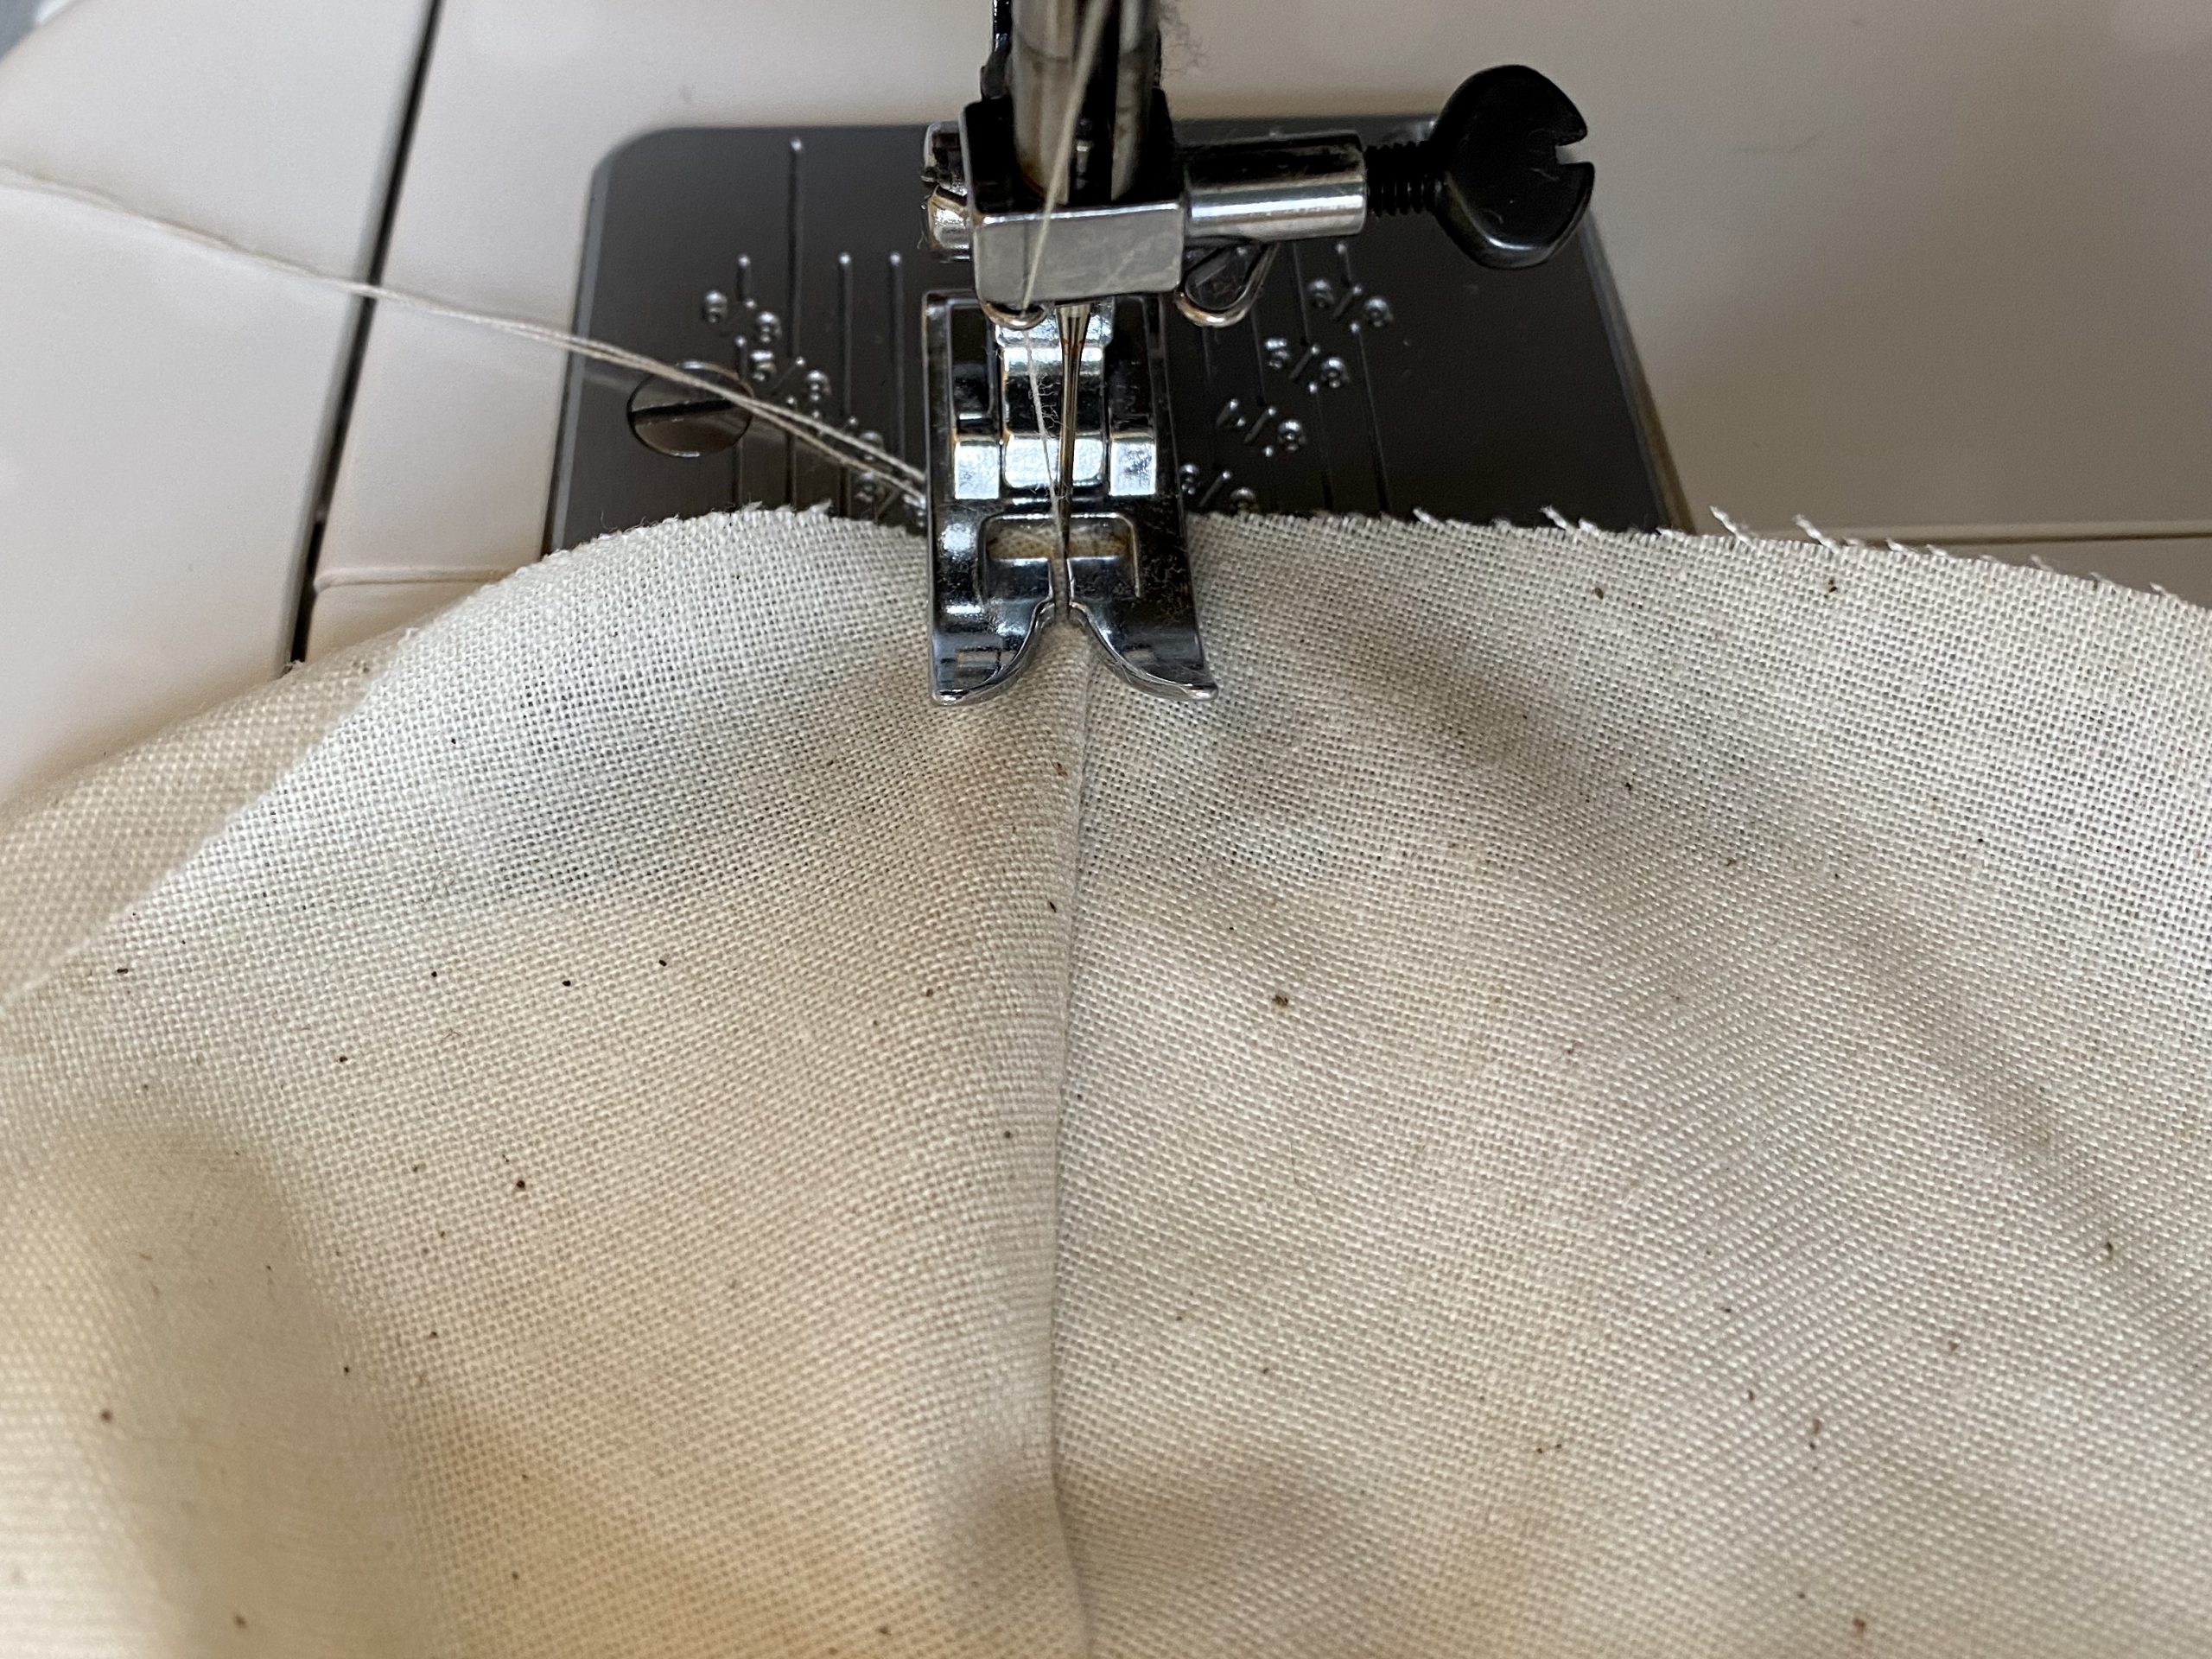
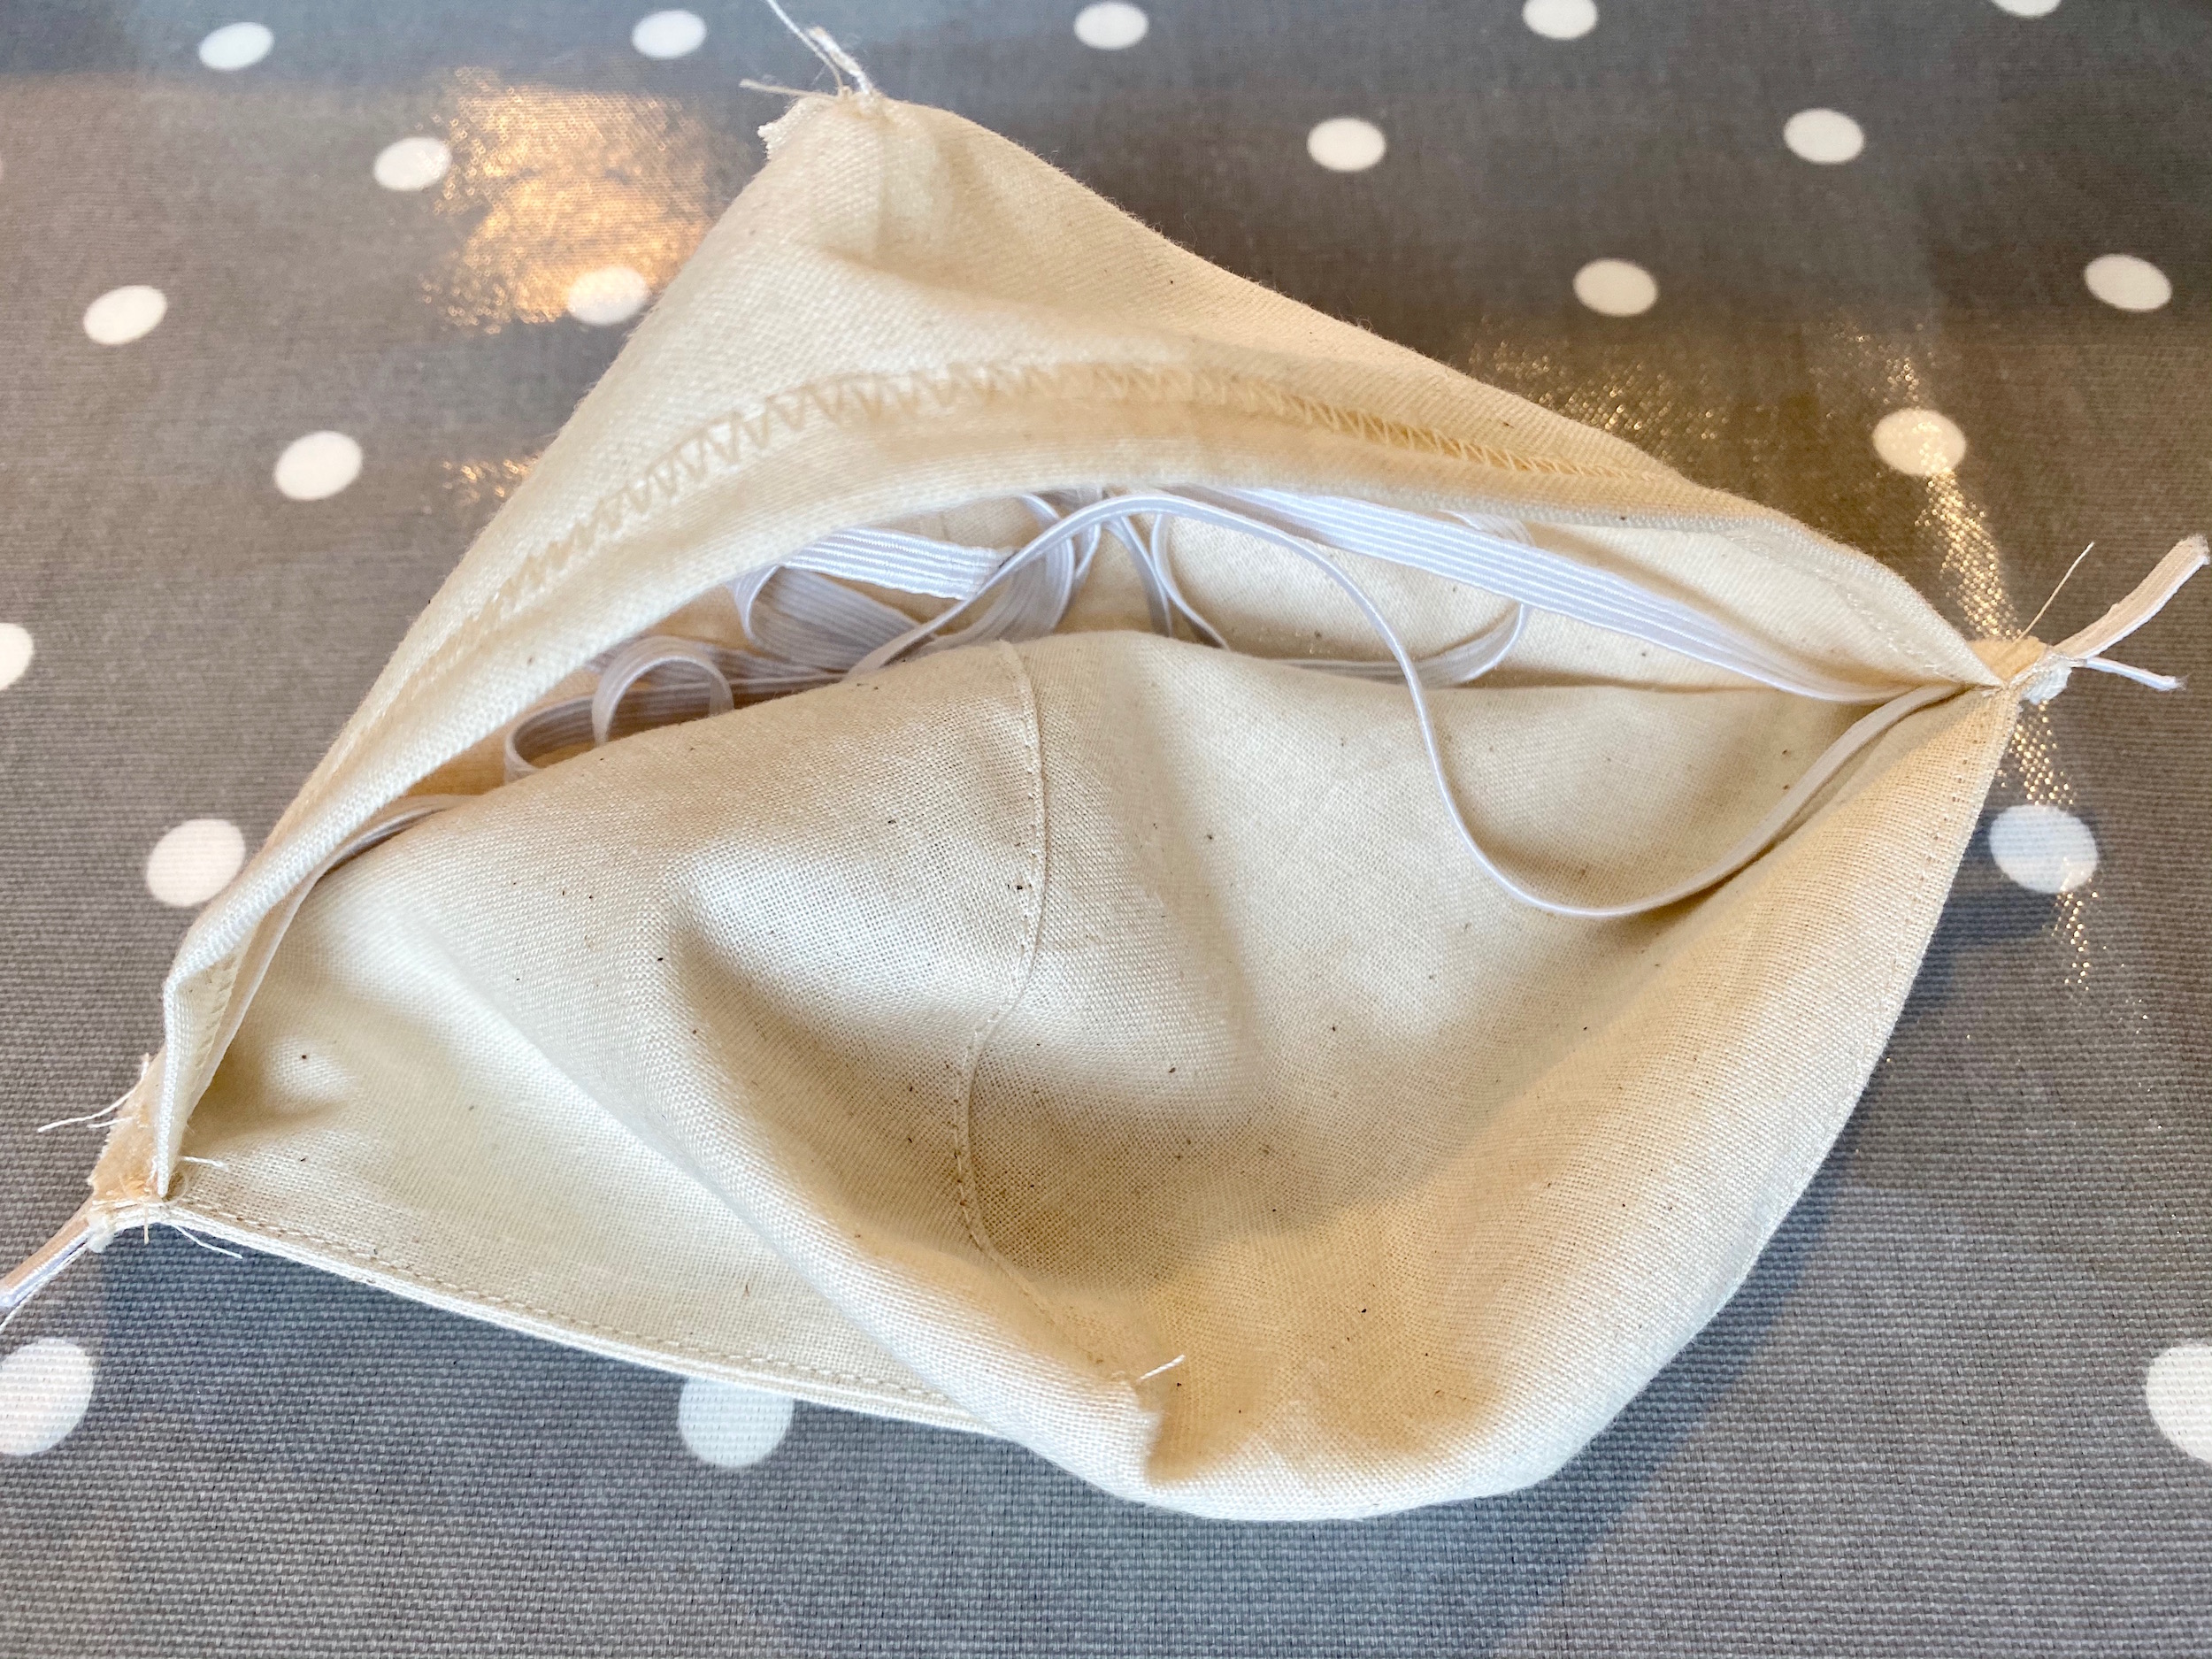
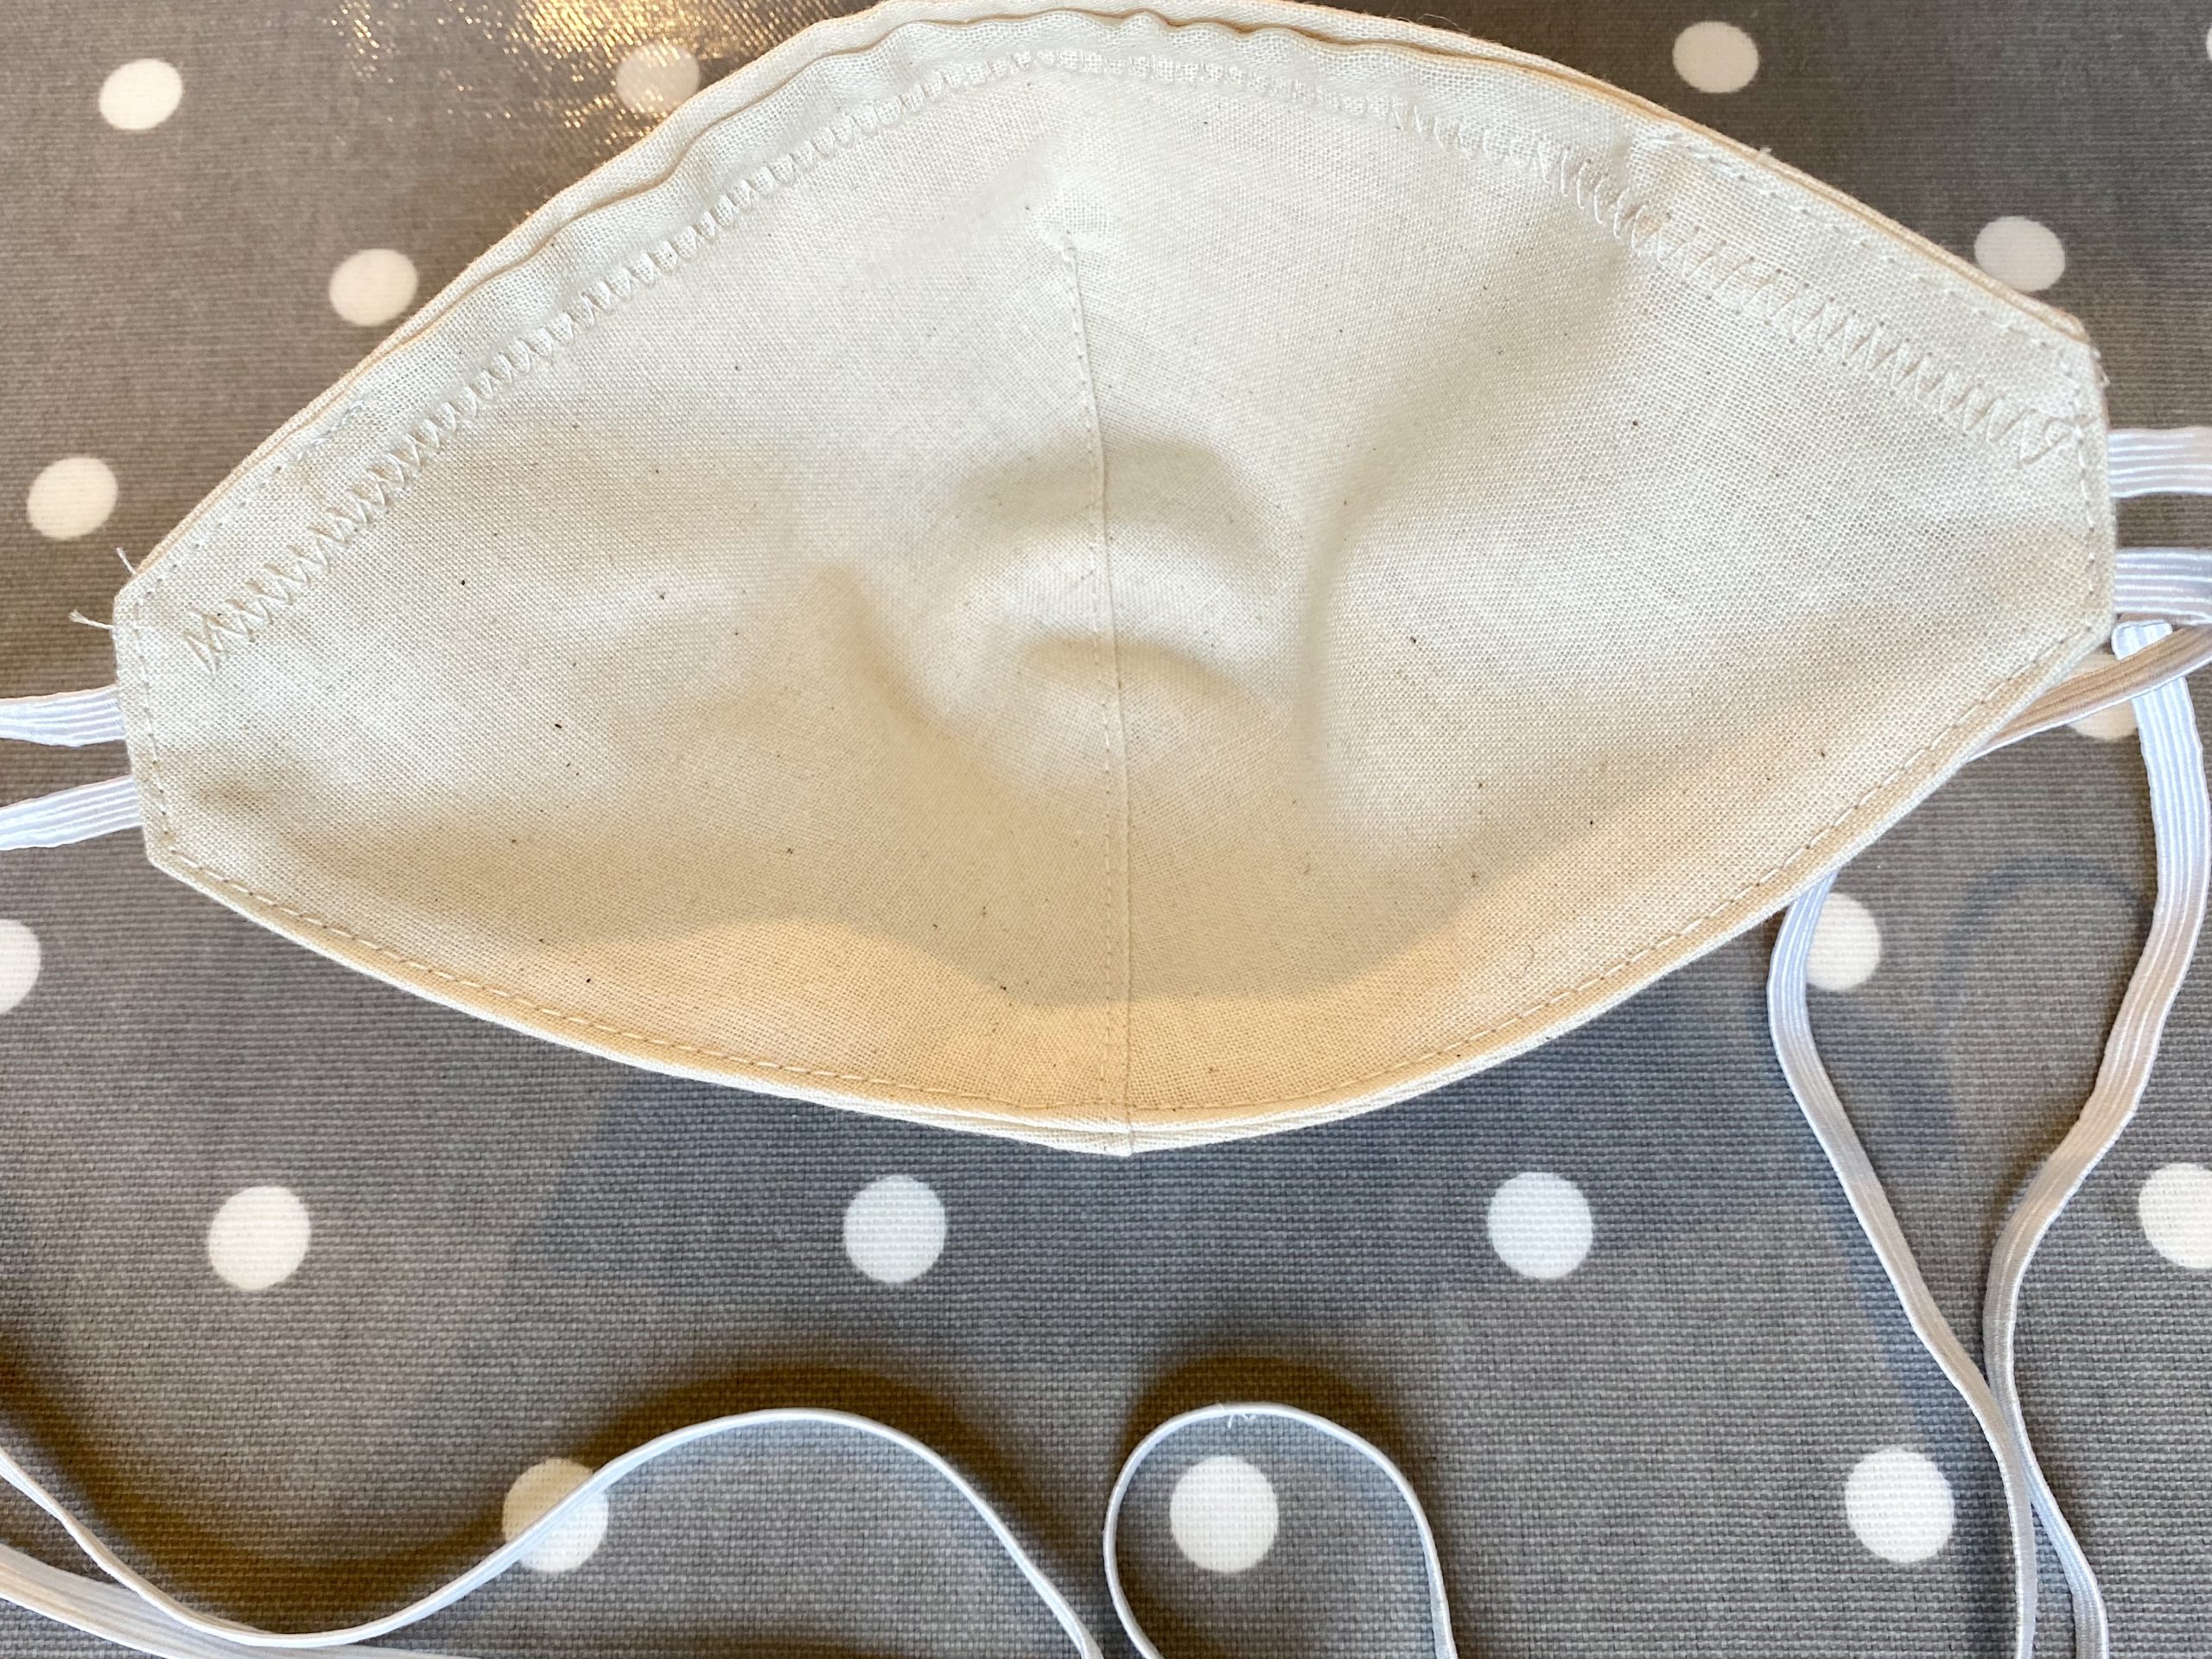
  • We now need to hem the top of the bag to make a channel for the ties.
  • Turn over and press the top edge by 1cm first and then another 4cm. The gap/holes you’ve left in the side seams should end up on the outside/right-side of the bag and in the middle of the folded back channel.
  • Top-stitch this double fold down close to the edge and then top-stitch round the top edge for added strength.
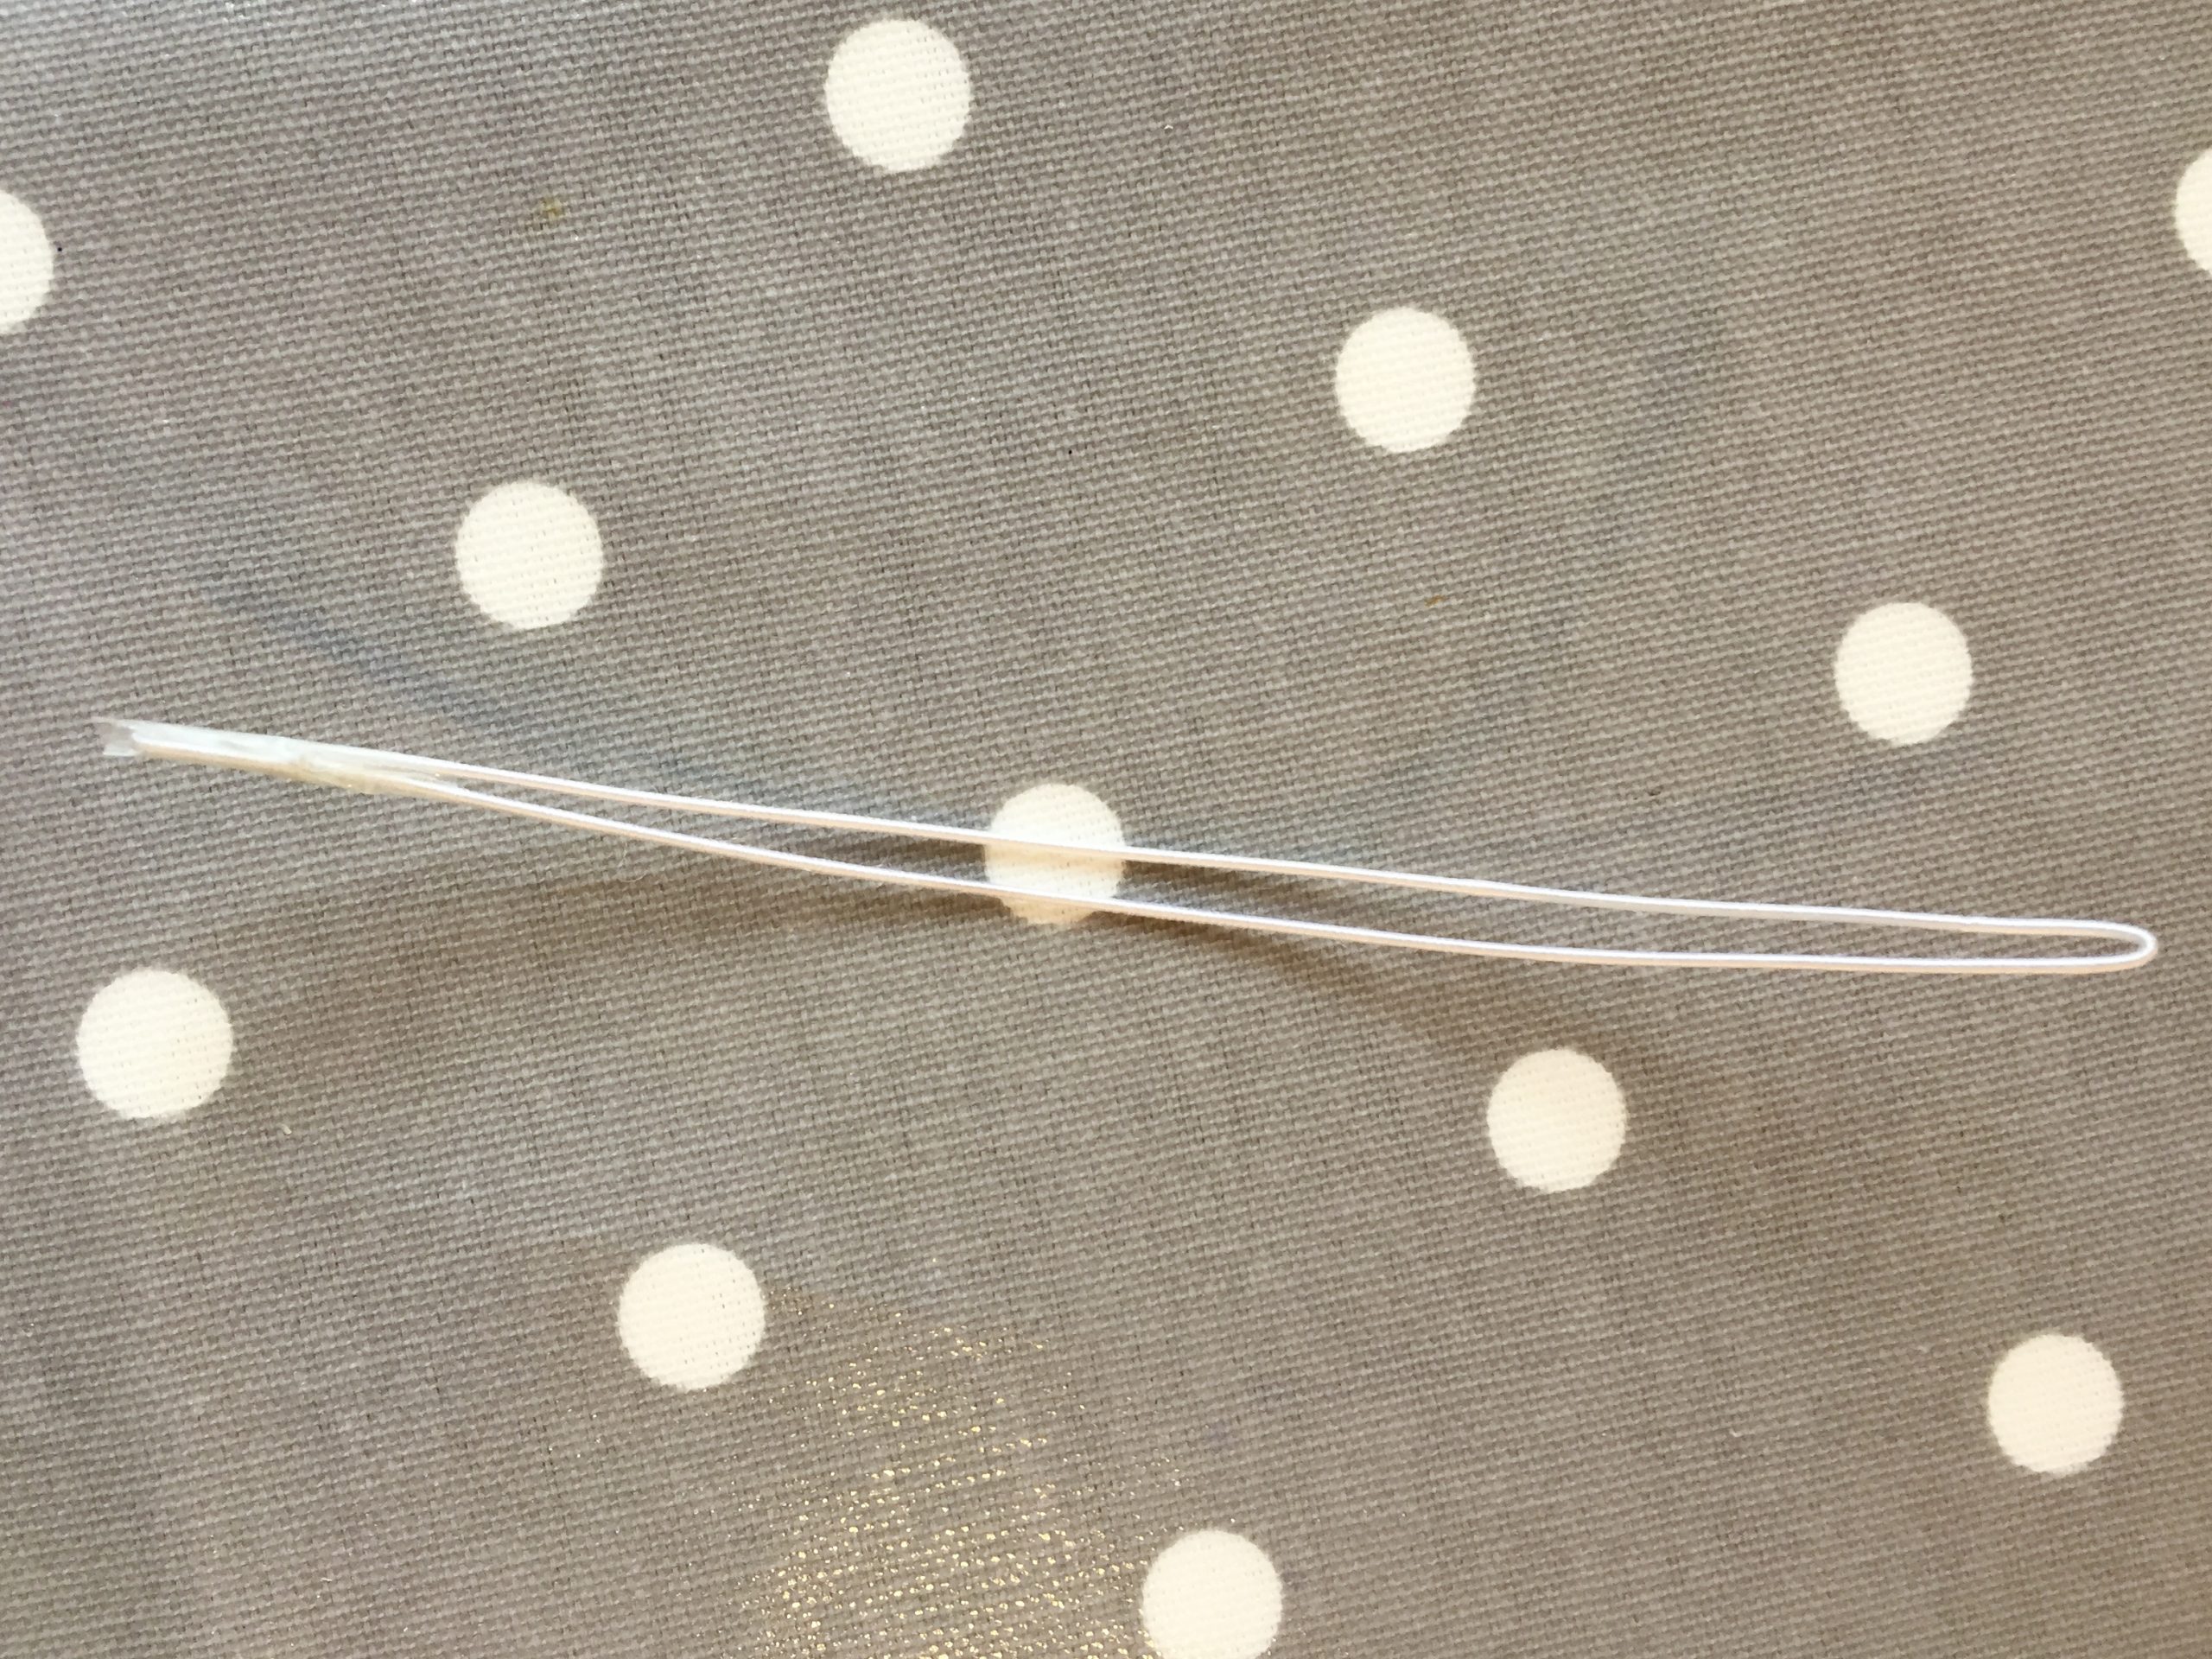
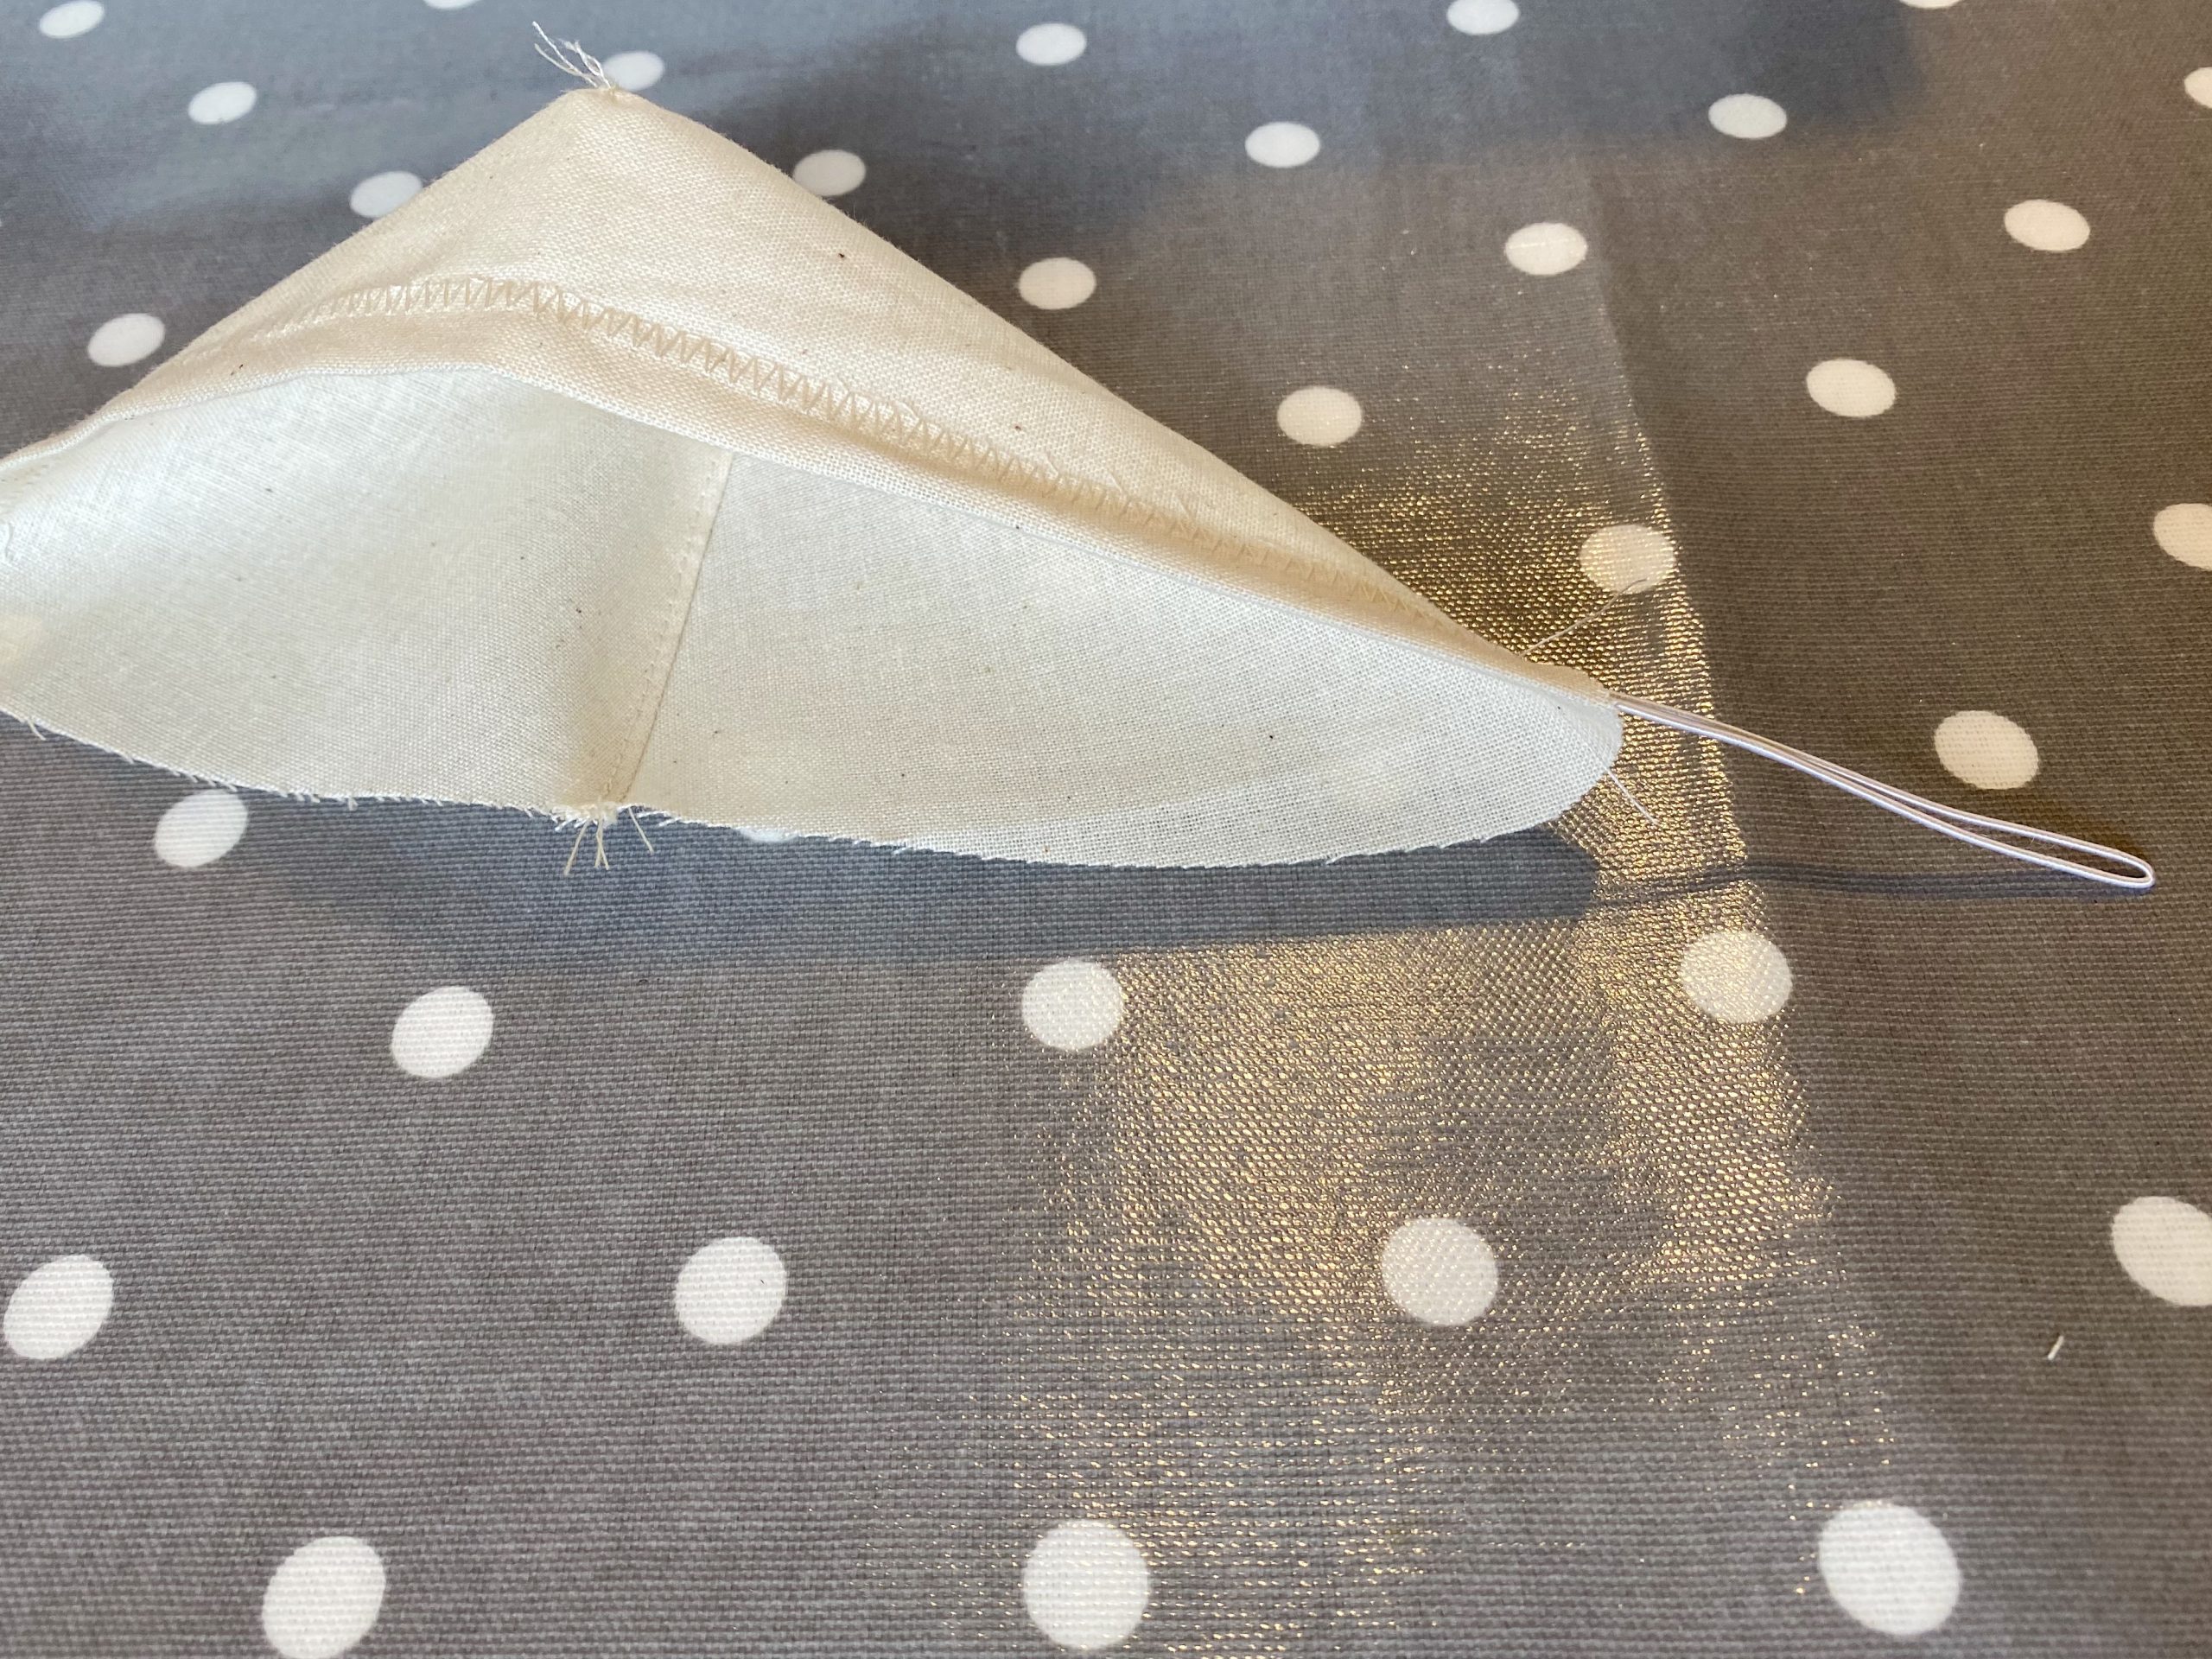
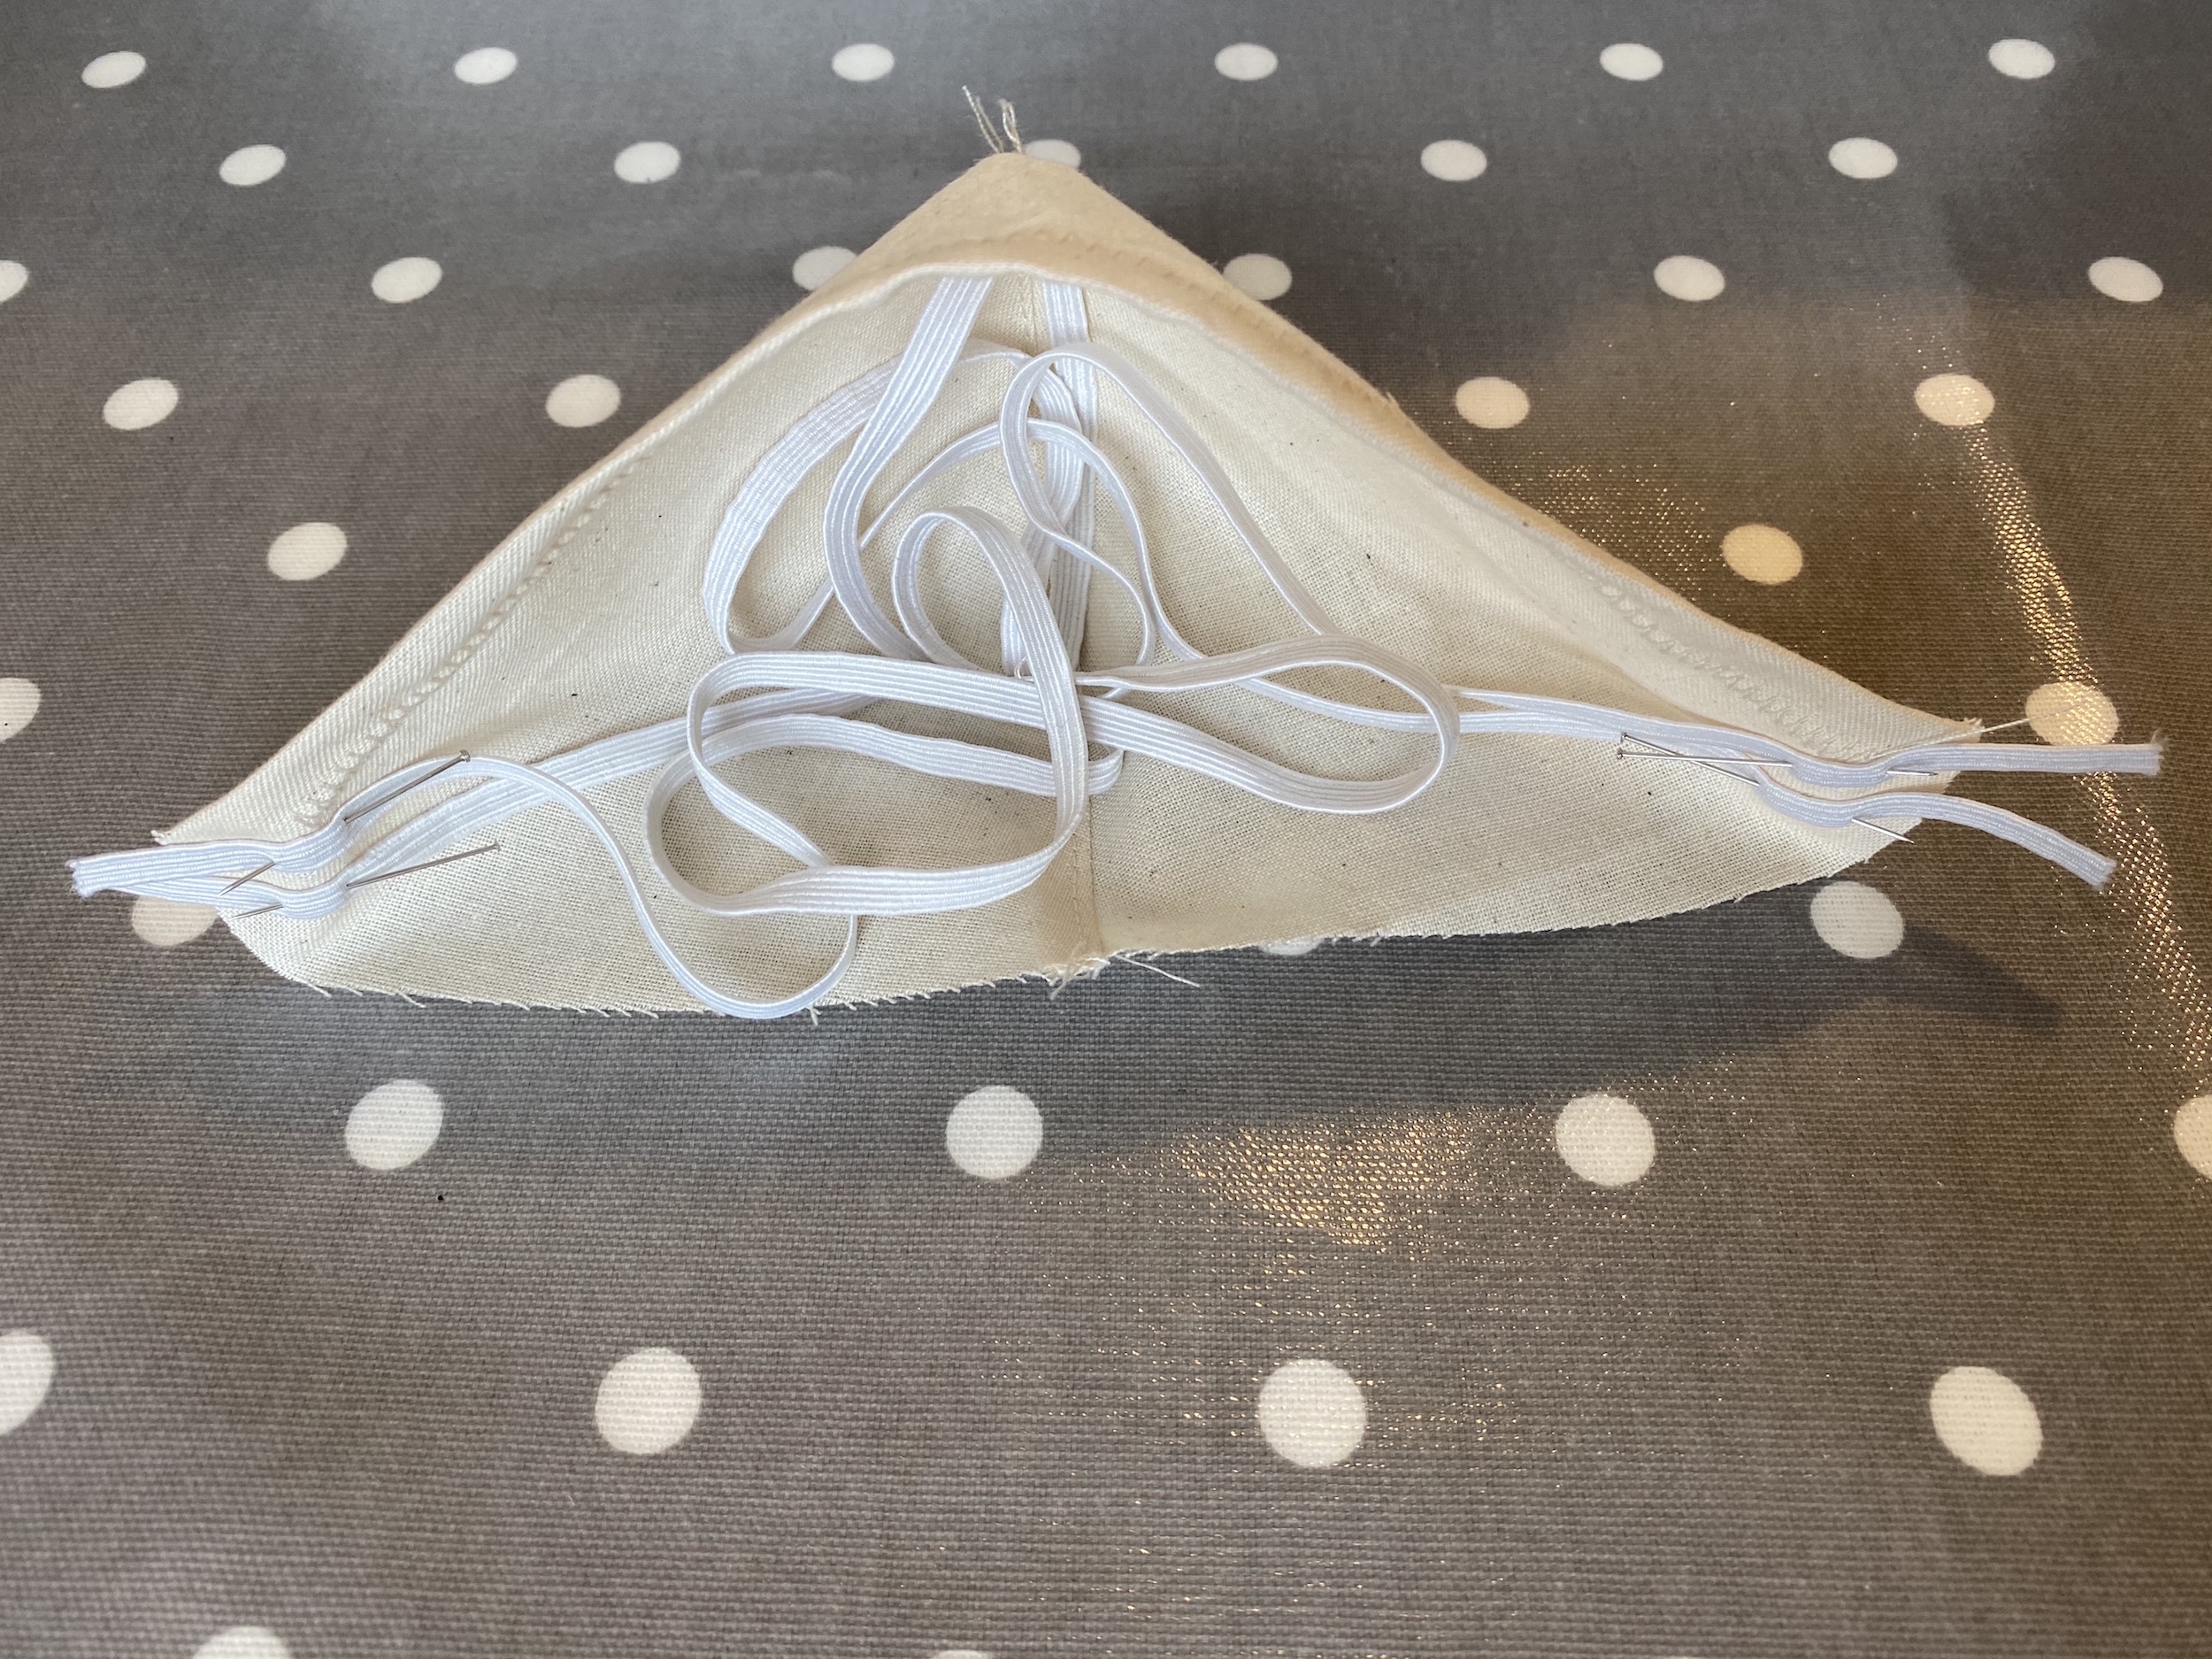
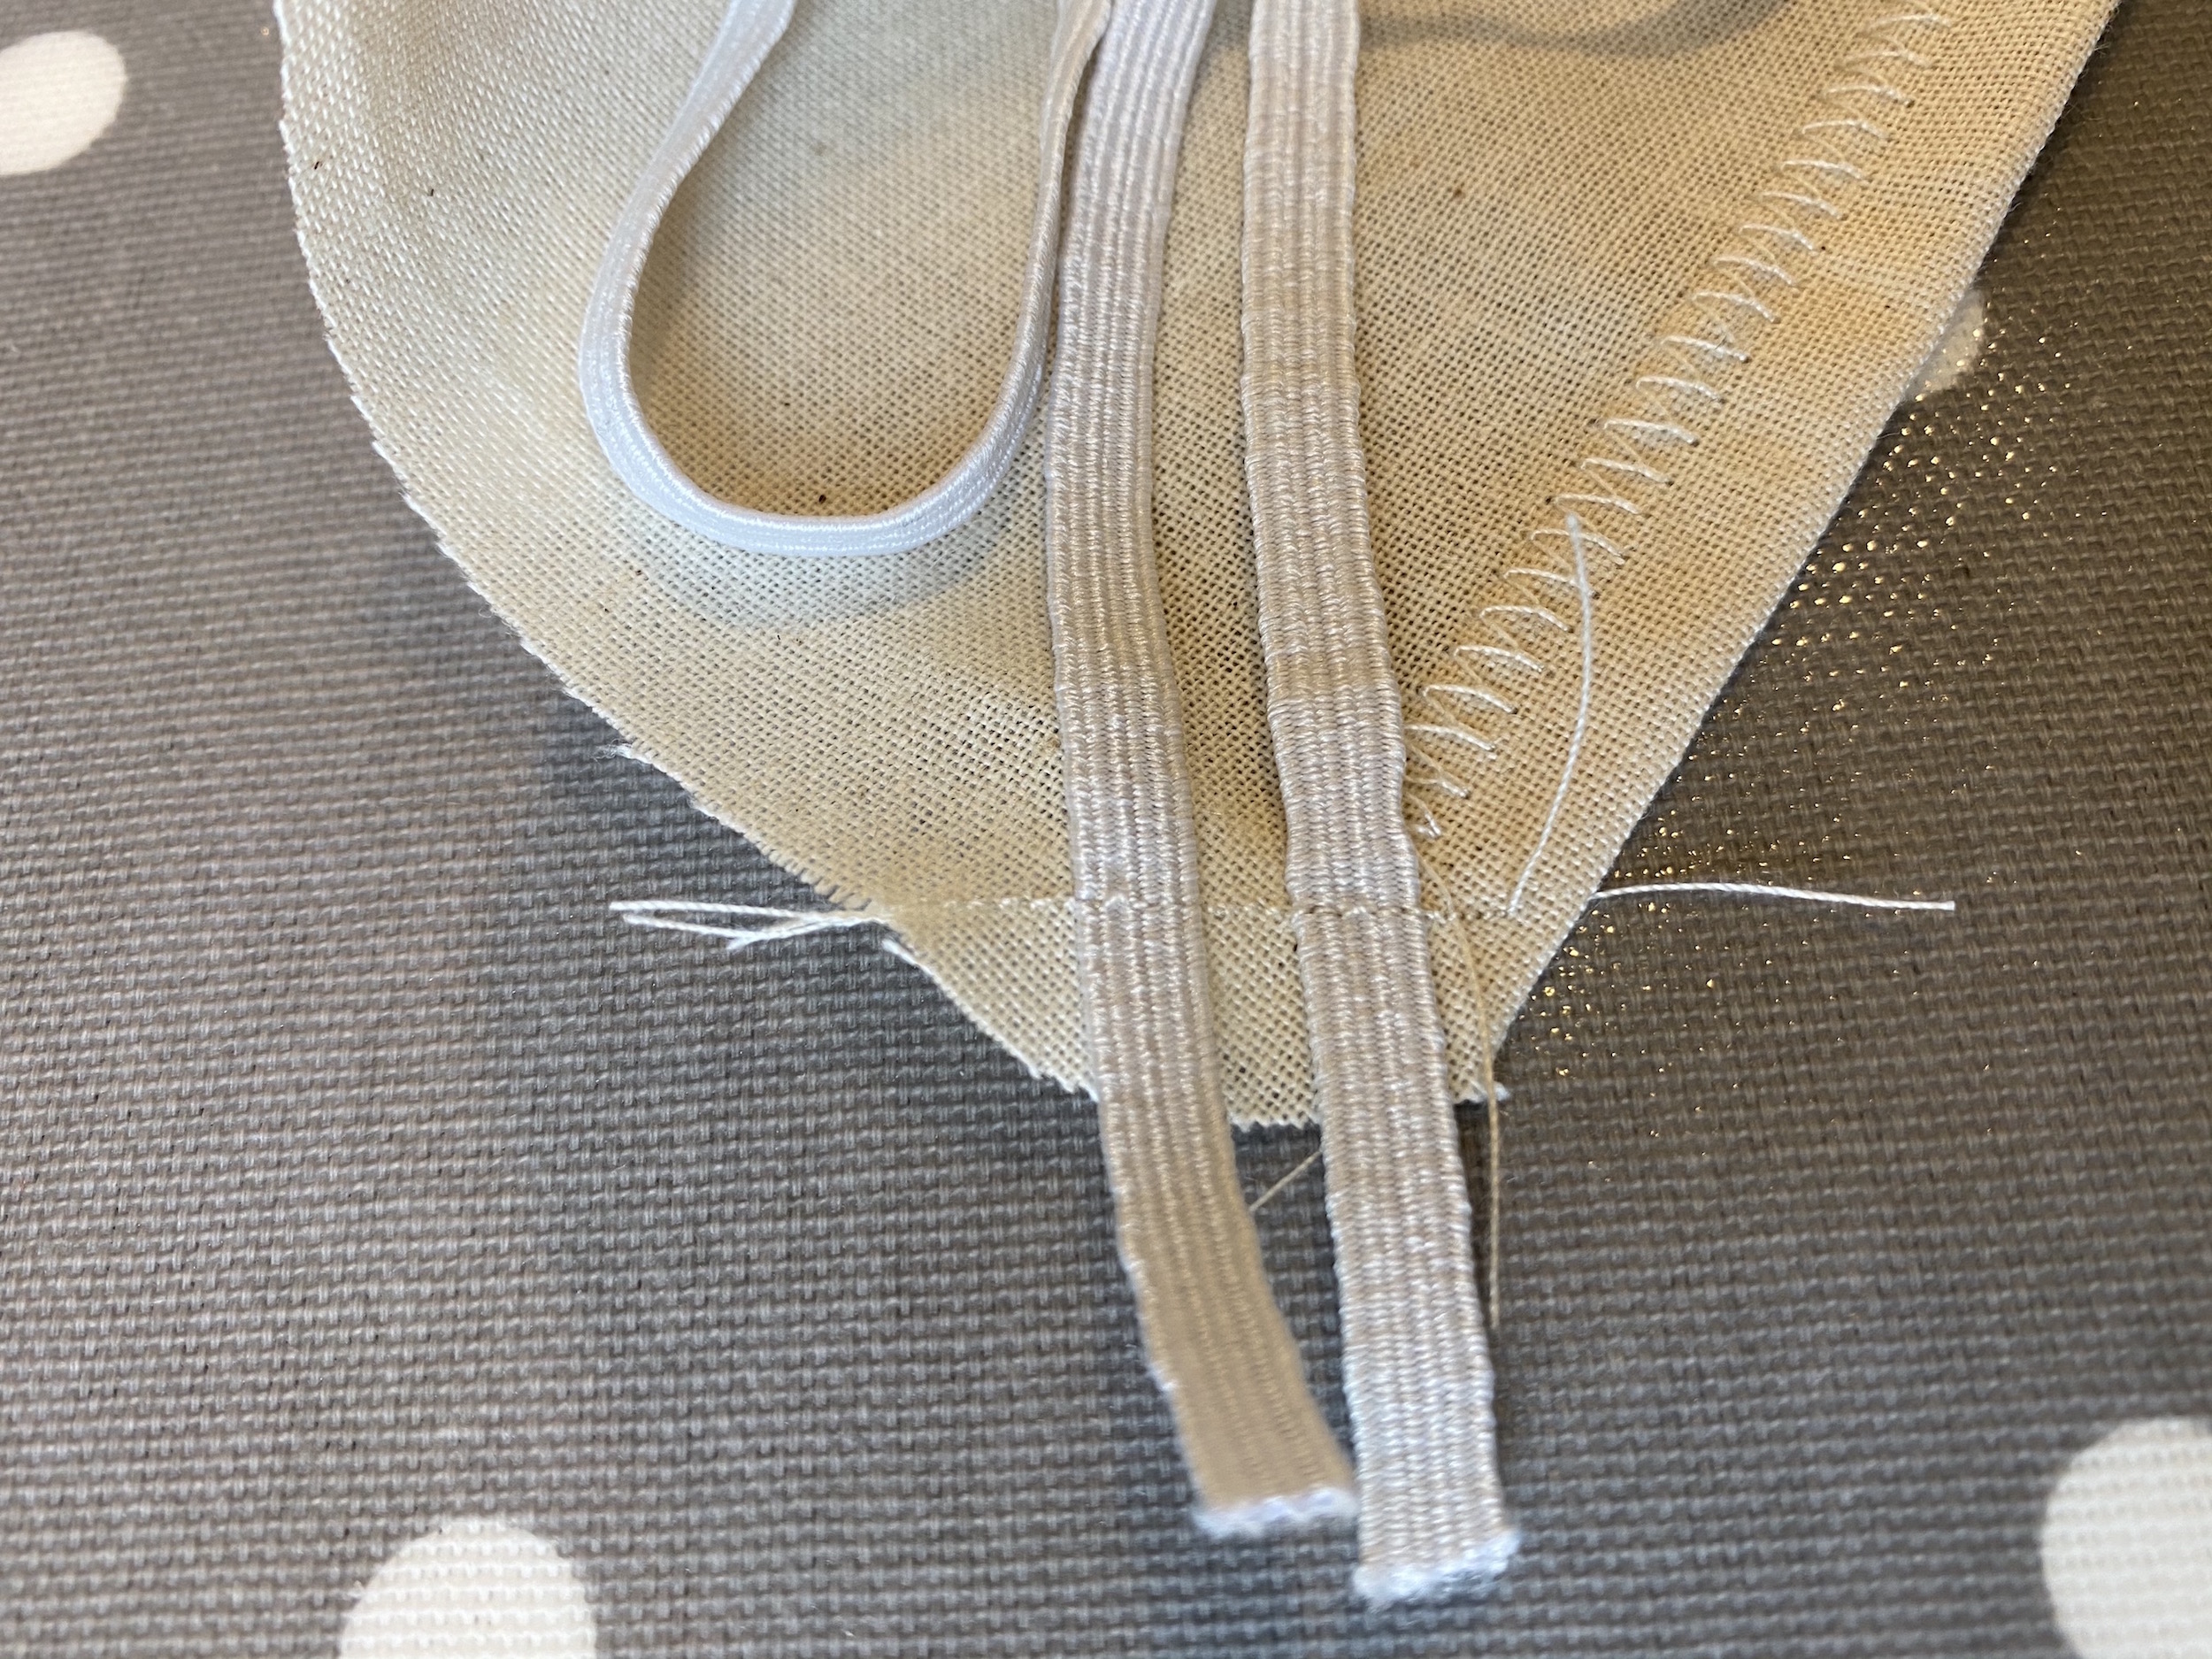
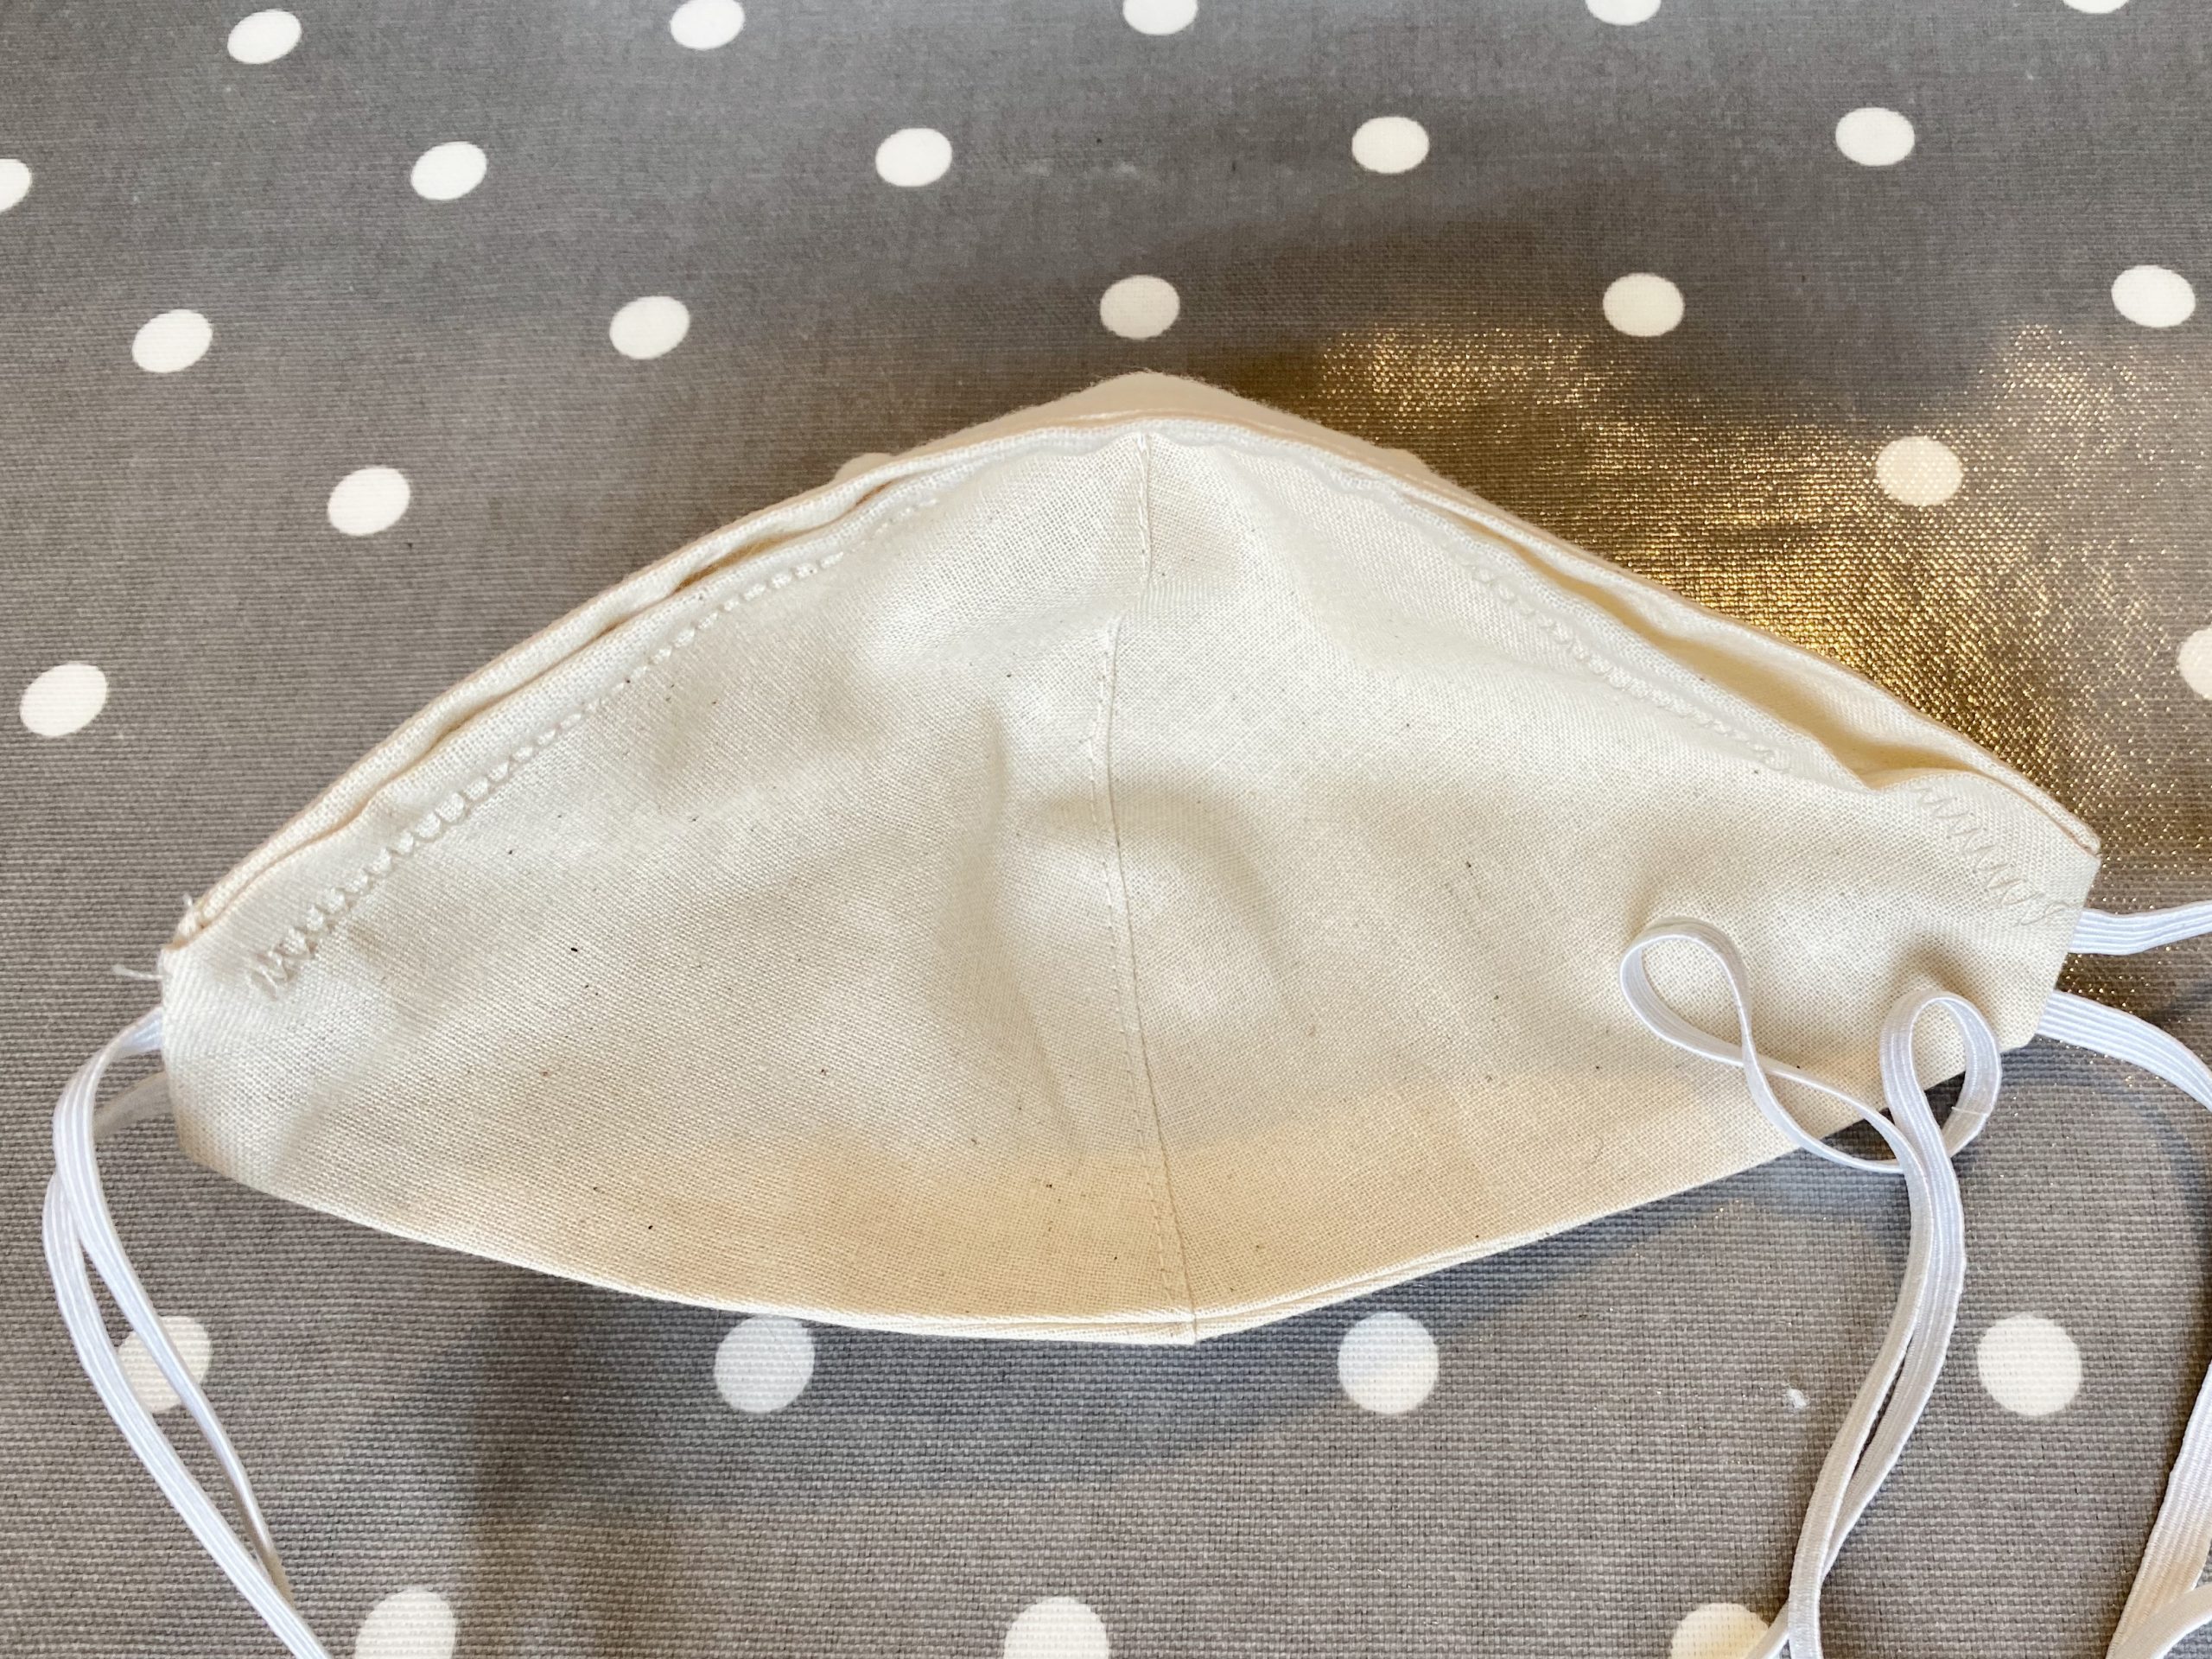
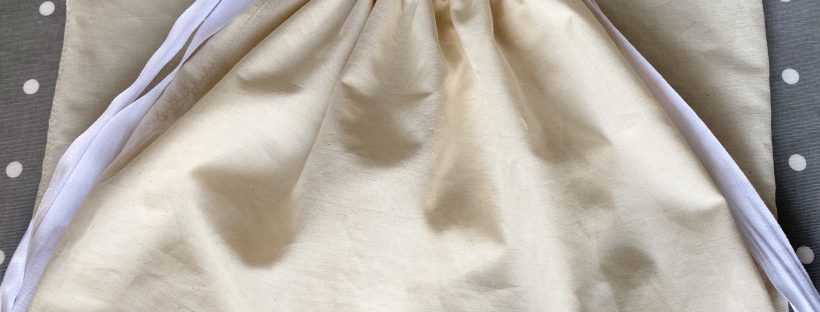
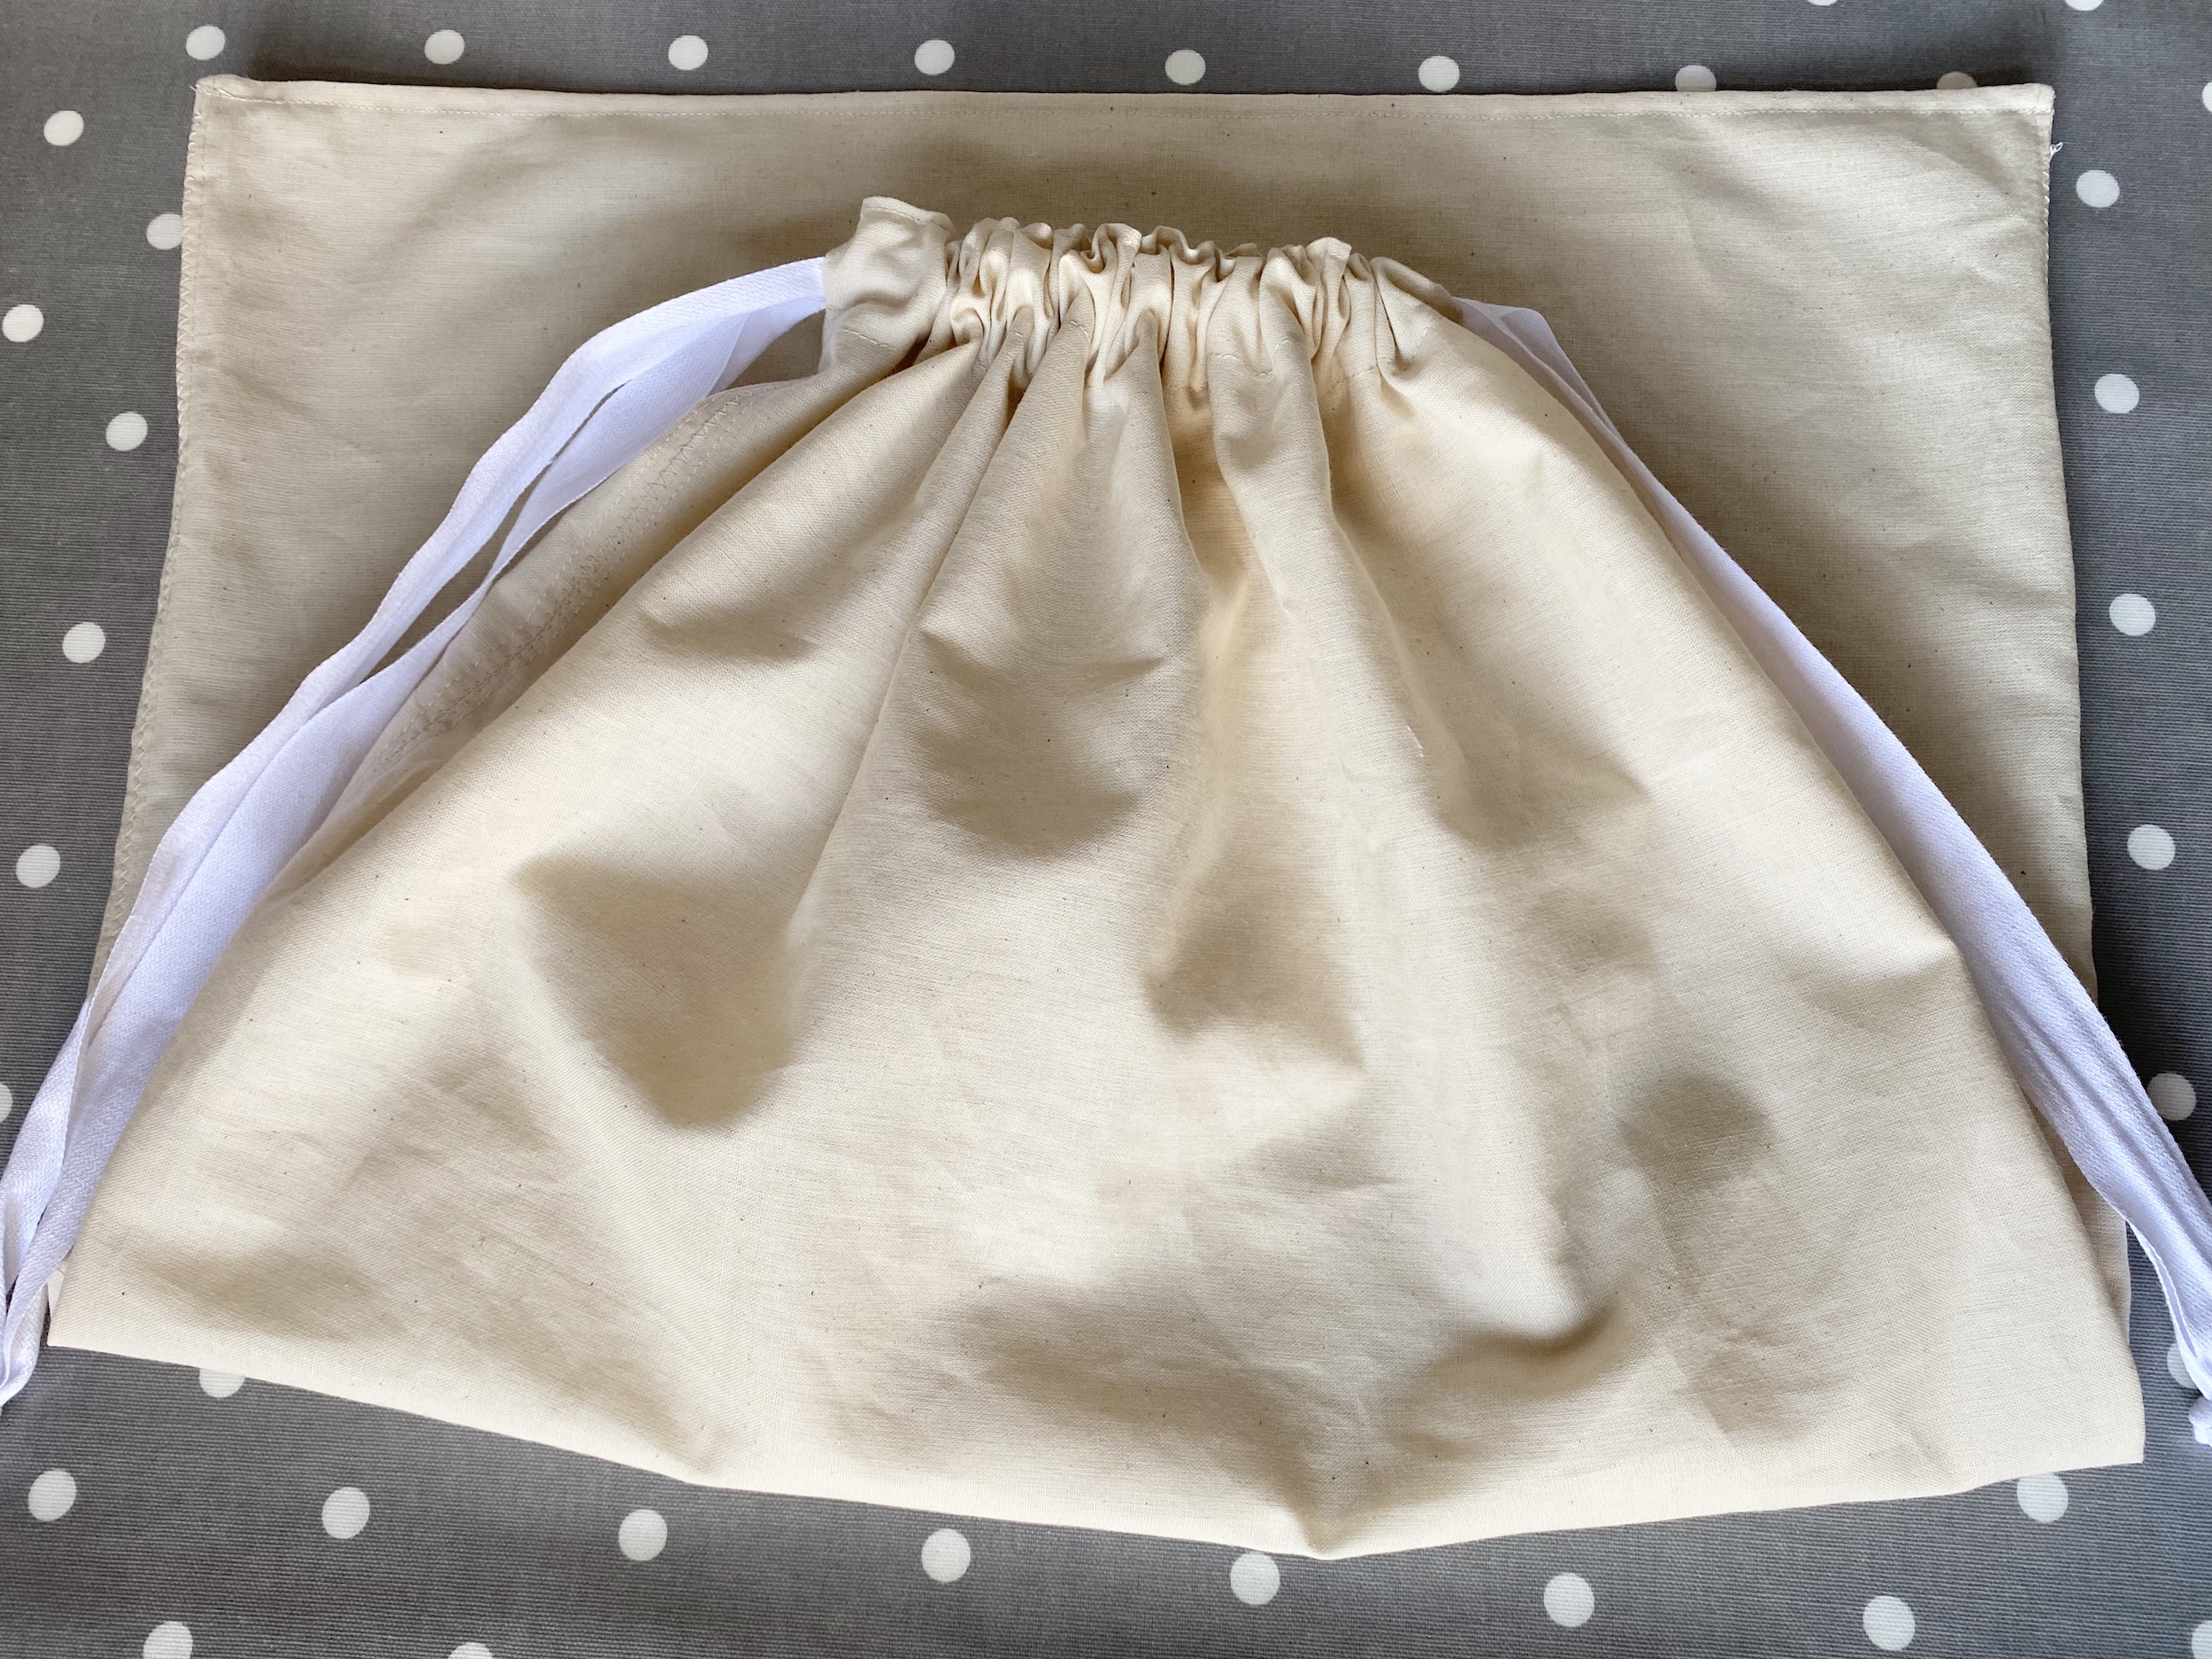
  • Using a safety pin, pass one length of the cotton tape in a hole at the side, all the way around the channel at top of the bag and out of the same hole. Tie the two ends in a knot.
  • Do the same with the other length of cotton tape starting and finishing on the opposite side.


If you are making your own ties…

  • Cut two lengths of fabric 5cm x 150cm
  • Press the two short edges in by 1cm
  • Press long edges in by 1cm so they almost meet in the middle and then press in half lengthways.
  • Top-stitch all the way around the edges of this tie to make it nice and flat and strong.


IF YOU NEED ANY HELP PLEASE CONTACT ME…

https://www.sewschool.co.uk/contact-helen

GREAT STOCKIST FOR MATERIALS…

https://www.fabricland.co.uk/product/budget-cotton-tape-2-5cm-wide/

https://www.fabricland.co.uk/product/calico-fabric-300cm-wide/

FREE FACE MASK PATTERN & INSTRUCTIONS

FACE MASK

This Face Mask is 3 layers thick and has a pocket to put in a filter if desired. It’s a snug fit with wire to hold the shape over your nose.  It is a generous size, giving a great amount of face cover and is cut with room to breathe.

Click HERE for the PDF pattern. When printed, the measurement between the points should be 21.5cm

For a simpler version of this FACE MASK, please click HERE to view my YouTube video.


 Shopping List:

  • 1 Metre of soft cotton fabric will make at least 10 x masks
  • Approximately 0.75cm narrow elastic/cotton tape per mask
  •  10cm wire per mask – you could use a pipe cleaner, garden wire, snap metal hair clips…
  • Matching thread
  • Interfacing is a good idea for added protection

https://www.fabricland.co.uk


Making Up:

  • Cut x 3 using the Face Mask Pattern
  • For added protection or if your fabric is a bit thin, iron some interfacing onto the back of one or more fabric pieces.


A FOOTS WIDTH SEAM ALLOWANCE


  • Seam 2 pieces together along the top with a foots width seam allowance.
  • With the other piece, fold the top edge over no more than 1cm and zig zag down.


  • Open out the 2 pieces that you seamed together and fold in half the other way.
  • Pin the curved edges right sides together, ready to sew.


  • Do the same to the other piece.
  • Stitch the curved edges with a foots width seam allowance.


  • Open out the seams you have just stitched.
  • Top-stitch these seams from the right side so that the seam is pulled flat and stitched down on to the seam allowance.


  • Cut the wire  and make sure the ends aren’t sharp by bending the wire or using sticky tape.
  • Feed the wire through channel.


  • Cut the elastic/tape in half, then cut each piece in half again… two for each side.
  • Pin and sew the elastic/tape as shown on to the right side of the fabric. LOOK AT EDIT BELOW!!


EDIT

  • Having worn the face mask out a couple of times, I decided it would be even more comfortable if I moved the position of the elastic/tape to the corners, coming out at an angle, rather than straight out of the sides.  I have edited the pattern to show the elastic position.


CONTINUED…

  • Take the pieces that were seamed together and fold them right sides out, along the straight seam so that they are the same shape as the piece with the wire in.  Press carefully and top stitch this seam to keep it flat if necessary.
  • This double piece slots, right sides together with the other, sandwiching the elastic between.


  • Pin, with all the edges exactly together, down the side, along the bottom edge to and up the other side.
  • Stitch together with a foots width seam allowance.


  • Turn it all right side out and press nice and flat


  • Top-stitch close to the edge, about 5cm along the top edge, down the side, along the bottom edge, up the other side and about 5cm along the top edge on the other side.


  • The picture below shows the pocket where you could put a filter if so desired. The top elastics/tapes should be comfortably tied together and worn above the ears and the bottom elastics/tapes should be comfortably tied together and worn below the ears.